DIY $1 Halloween Frame & Free Halloween Printable
How to turn a One Dollar Frame into a fun, frugal, and easy Halloween decoration:
I needed one more thing for my entryway table so I I picked up some of my favorite $1 frames and got busy creating this:

{PIN THIS}
It was quick and easy to make {and very inexpensive}. I made 2, one for me and one for a friend. Here is what you need to make your own:
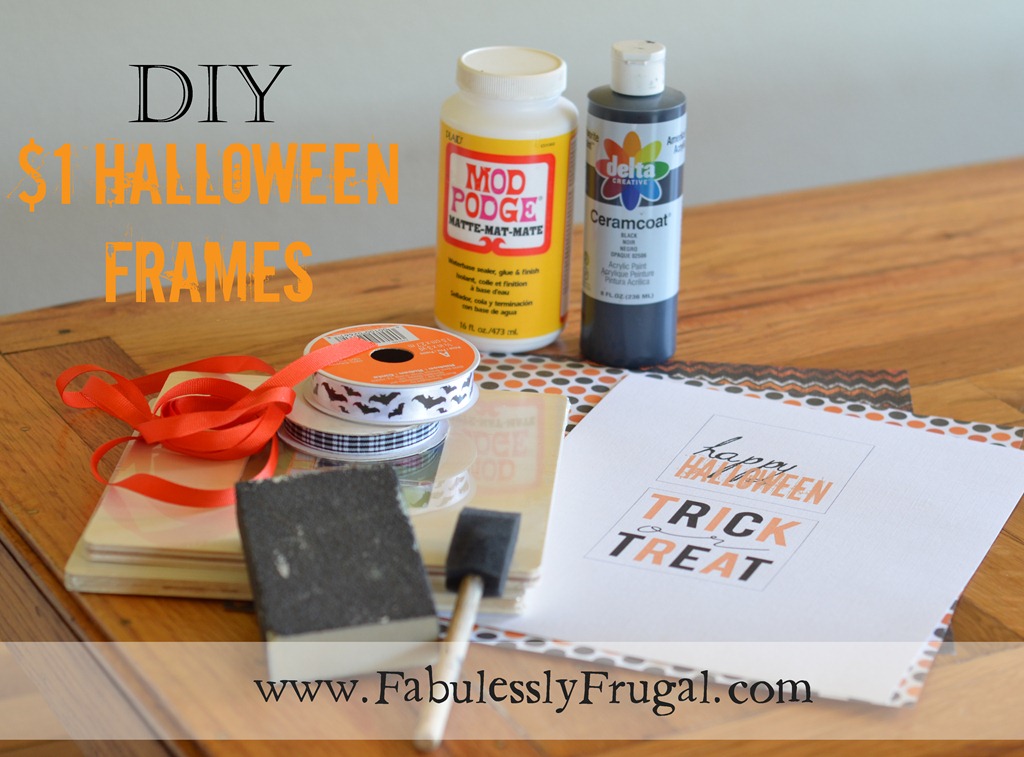
Supplies:
Square $1 Frames {Wal-Mart or Michaels}
Black Paint
Mod Podge {get it here}
Decorative Halloween Paper {leftover from my banner}
Black or Orange Cardstock
Ribbon {find some here}
Sanding sponge or big emery board
You can download the cute Halloween Printable here. Just print it out on white cardstock.
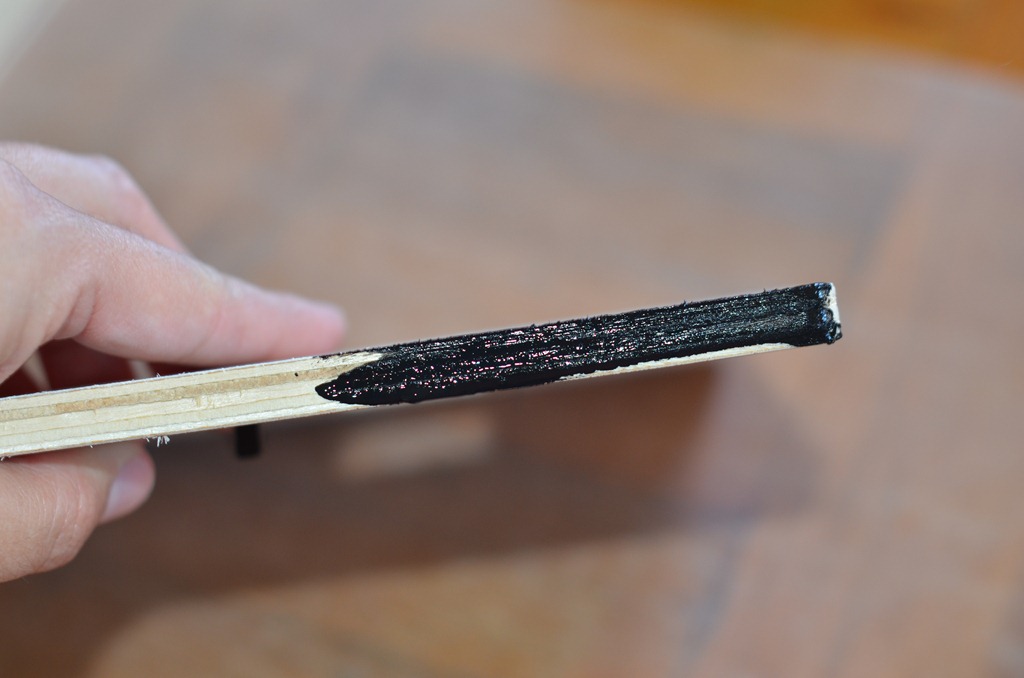
First paint the edges of the frame and the inside edges of the frame. I painted the back too.
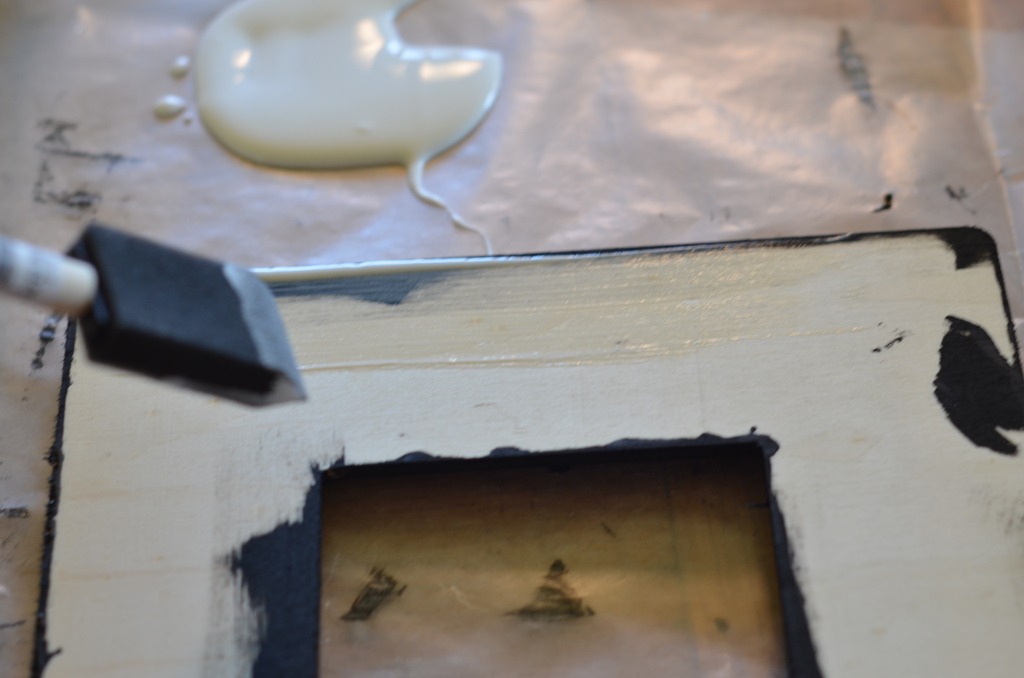
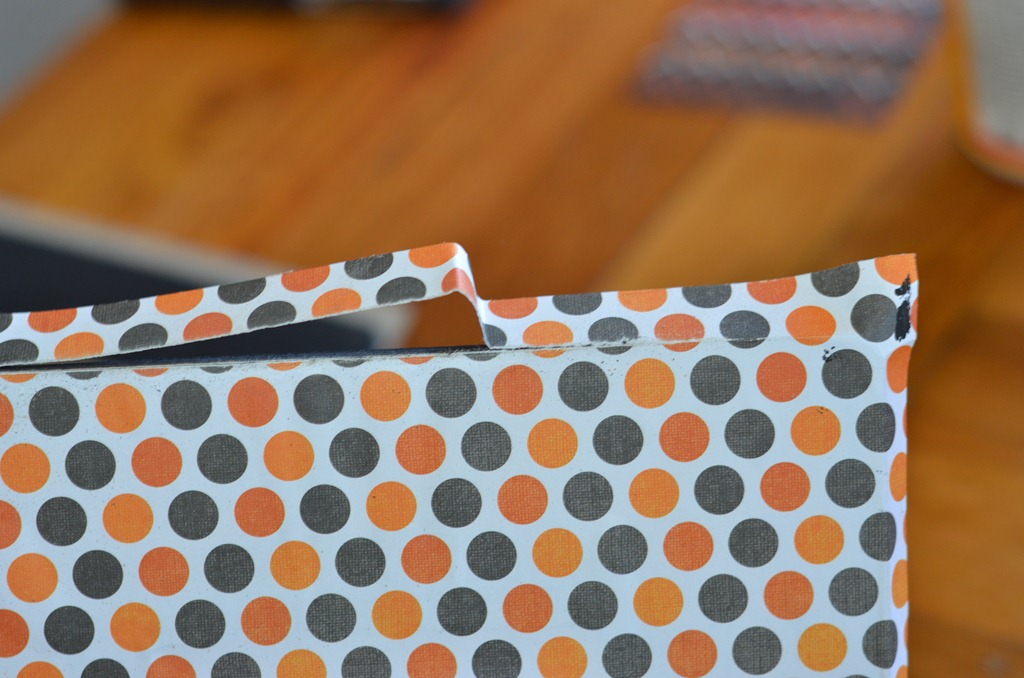
After the paint dries brush a layer of mod podge over the front of the frame and place the Halloween paper. Make sure to rub out any bubbles.
I place it upside down and put something heavy on it while it dries. It doesn’t take very long to dry.
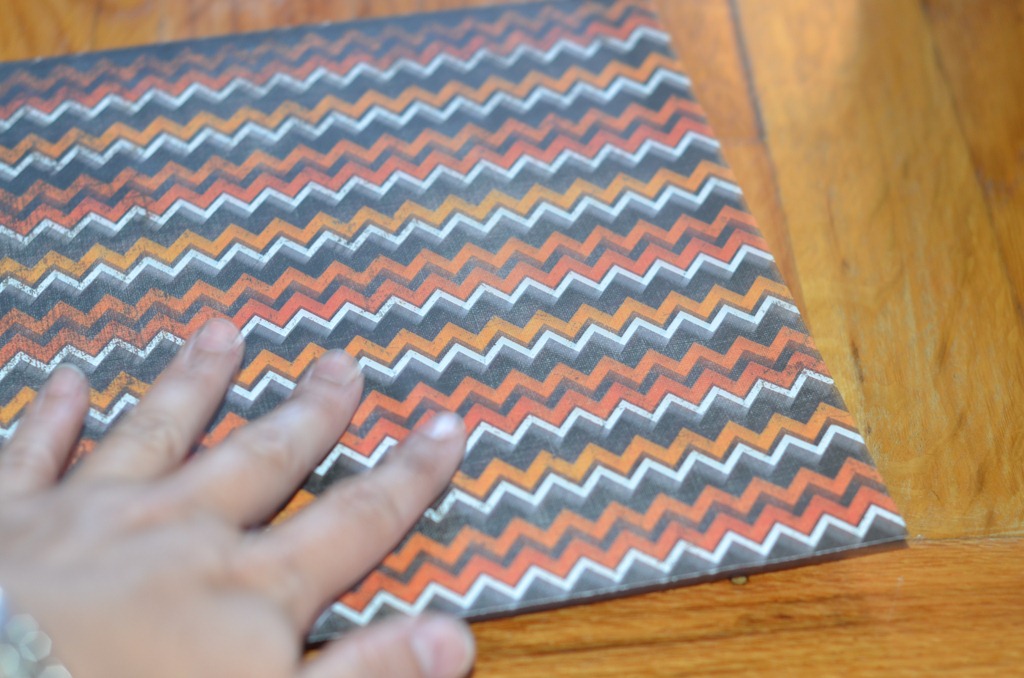
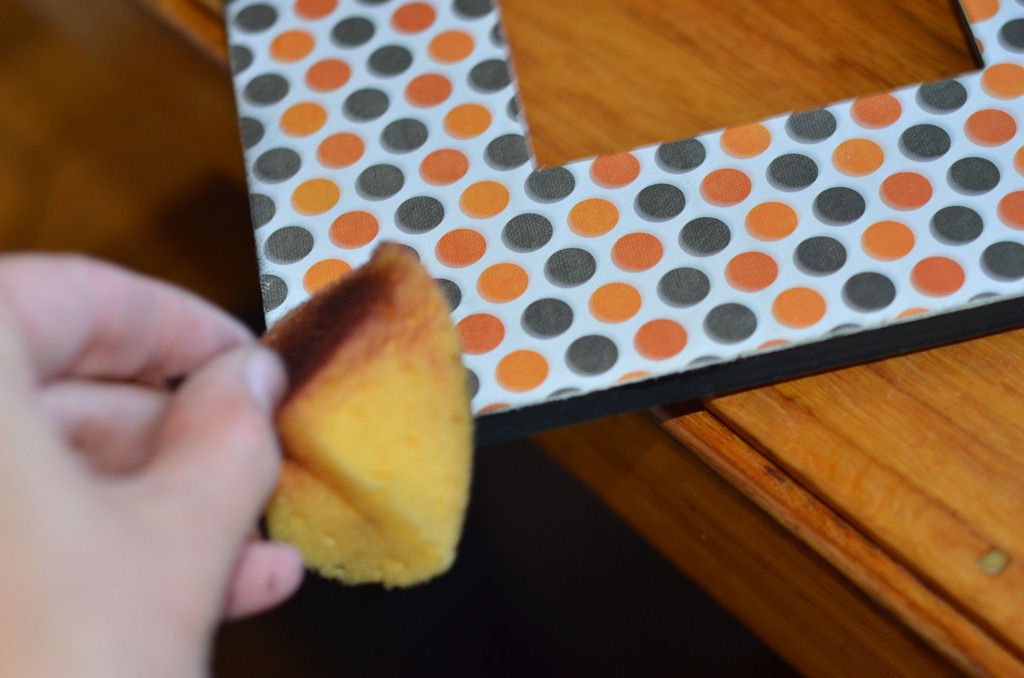
This is my favorite way to remove the extra paper: after the mod podge has dried, take a sanding block and rub it along the edges in a downward motion.
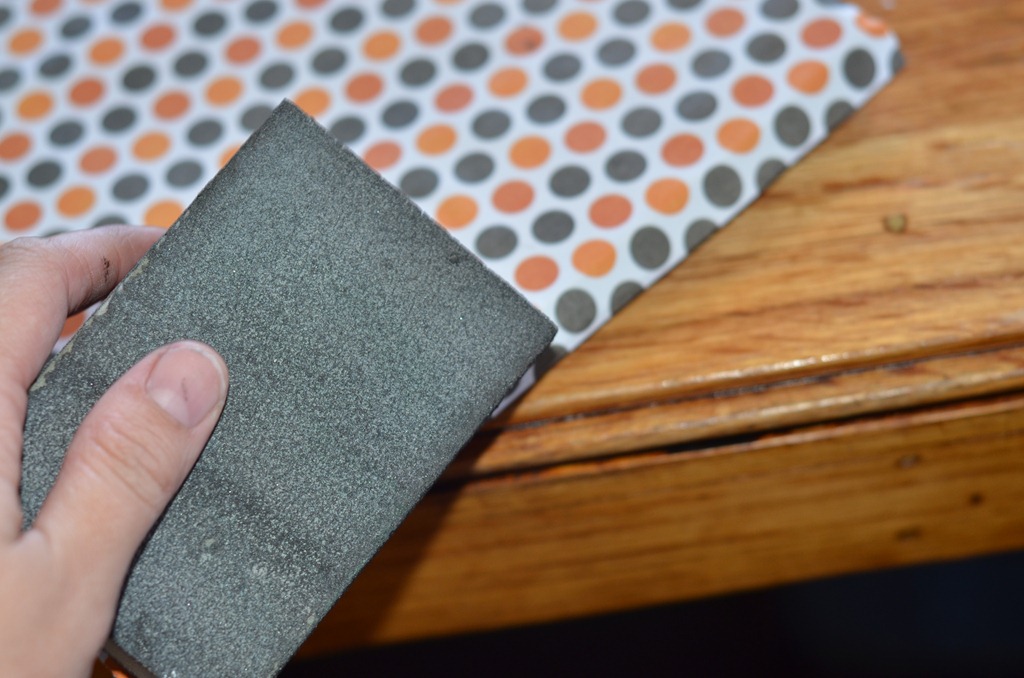
Rub it until it comes right off.
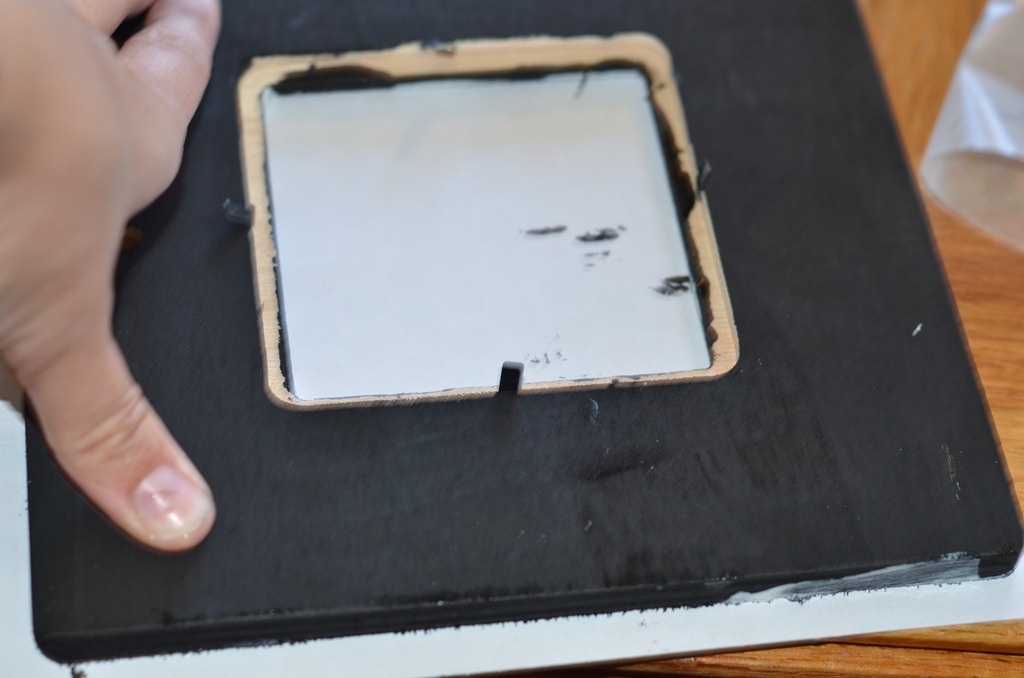
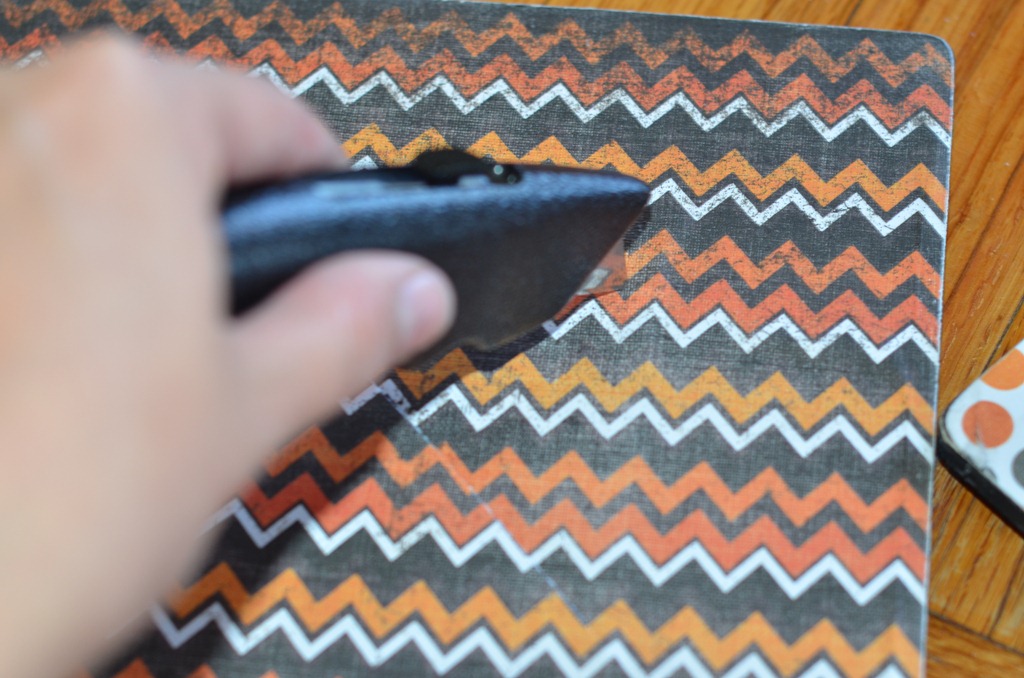
For the picture part I use an exacto knife to cut an X in the middle
Then use the large emery board to “sand” off the inside paper. Make sure you always go downward or you will tear your paper. 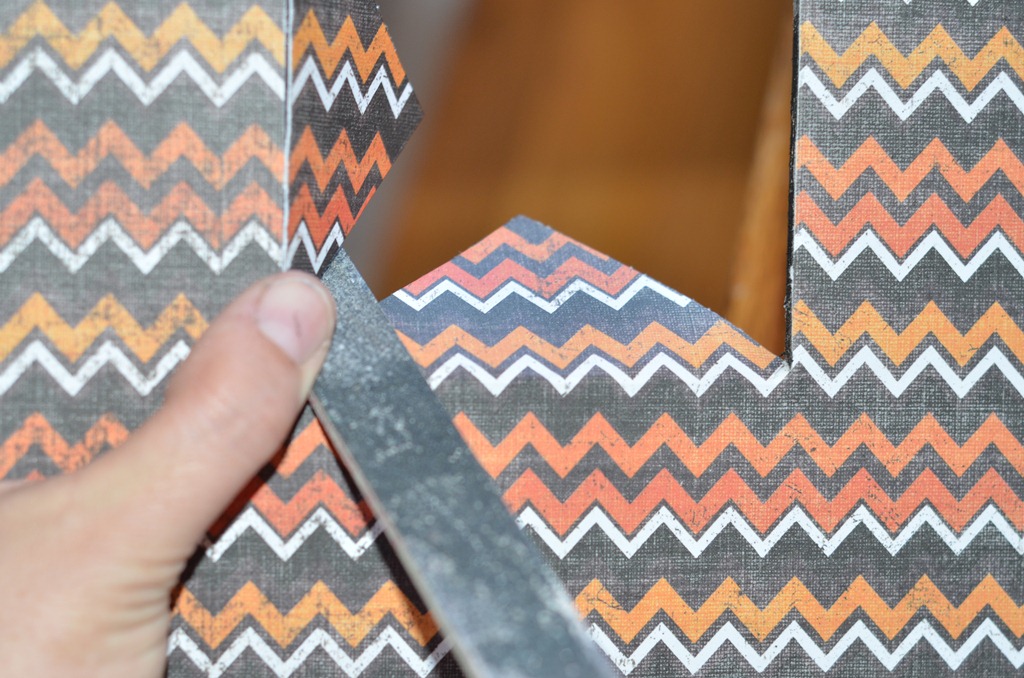

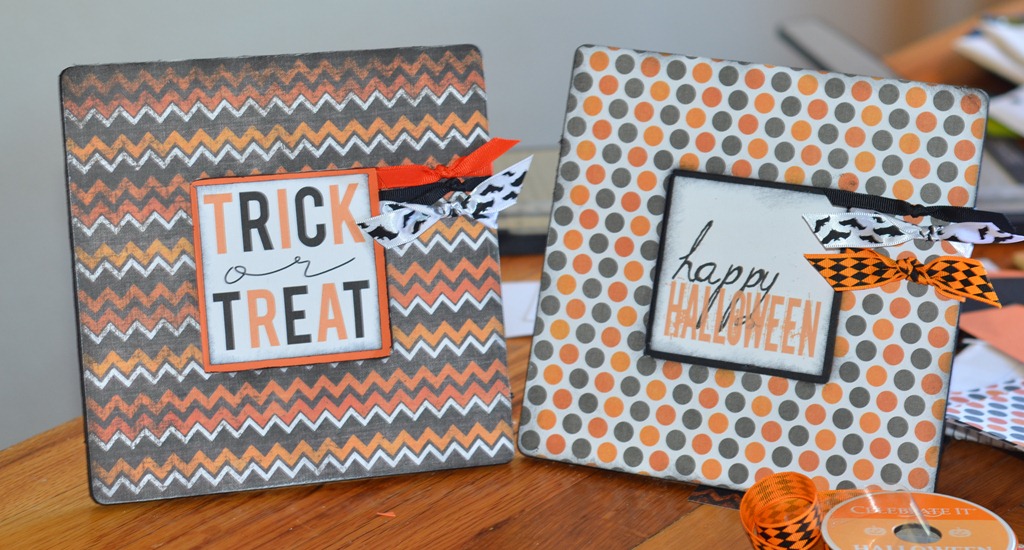
Cut out your prints, I decided that mine needed a little something more so I sponged the edges of the print and the edges of the frame with black ink. I also discovered that I made the prints a tad to small so I cut out some 3 3/4 inch squares of orange and black cardstock and mounted the print on them. I liked how this looked in the frame better anyway.
Tie some ribbon on using a square knot (right over left, left over right). I used 3 ribbons, odd numbers look better when you are doing things.

Place your print in the opening. Aren’t the fun! I love how they turned out. It took me less than 30 minutes to make both of them {that includes drying time}.
Here it is on my entryway table.
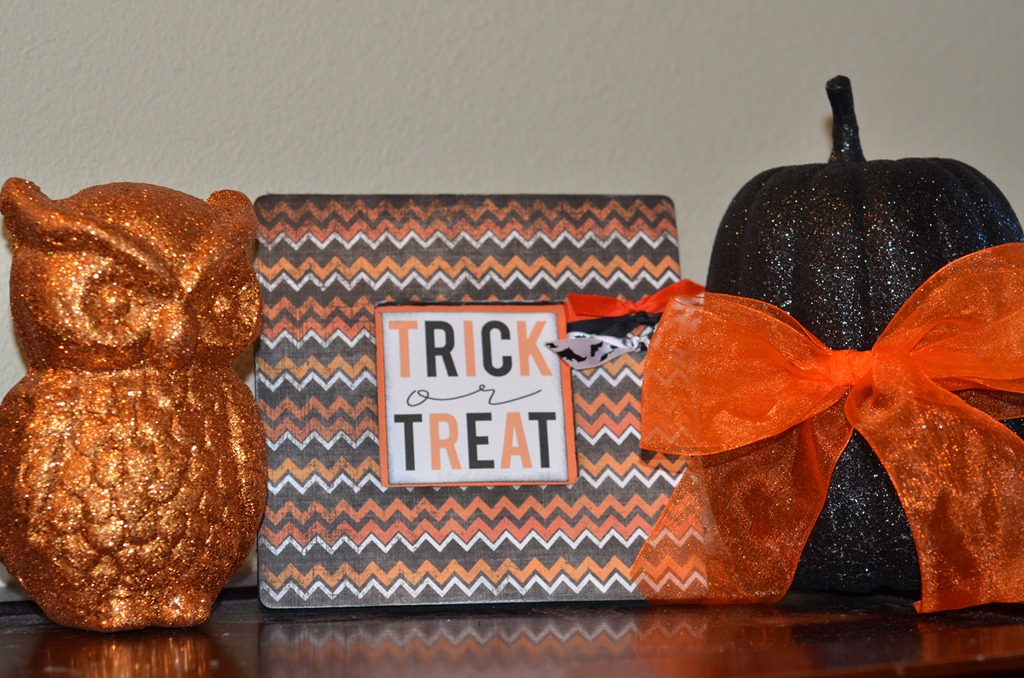
I love how it looks with my other décor.


{PIN THIS}
Comments
Leave a Reply
More Related Diys


Trending DIY Projects
- DIY
- Recipes
- Deals
- Blog


Report a Problem
Please select the problem you are facing with this deal:
- Price Increased
- Price Decreased
- No longer available
- Expired
- Link doesn't work
- Suggestion
- Compliment
- Other
Add more details:
Thank you for your feedback. We really appreciate it.
Enter your email address if you would like
to receive a follow up.
Please Try Again
Thanks for providing the email address.
We will reach out to you as soon as possible.


Popular
Recommended
About Us

At Fabulessly Frugal, our goal is to help you live HEALTHY, WEALTHY, and WISE! My team and I work hard to bring you the best, online deals, clean eating, DIY's, freezer meal recipes, and more! I LOVE coaching and inspiring people to improve their health in my fitness challenge! You should also check out my favorite cleanse! Learn more about me and the rest of my team.

Copyright © 2008–2024
Fabulessly Frugal: A Coupon Blog Sharing Gift Ideas, Amazon Deals, Printable Coupons, DIY, How to Extreme Coupon, and Make Ahead Meals. All rights reserved
Very cute! Love how you remove the excess paper, I’ll remember that one for sure!!
So cute and looks easy enough for me too! Thanks for your nice clear directions.
Never would’ve thought of this! Love it! I’ve been wondering what to do with some old frames. I hate throwing things out, and sending them to a thrift store is no good, because I just KNEW I’d eventually figure out what to do with them. 😉