DIY Large Typography Sign {Picture Tutorial}
I have seen lots of large typography signs all over pinterest. I saw this one and knew it would be perfect for a wall in my house, but couldn’t pay the $45 price tag (my kids are always needing new shoes and things like that). I figured out how to make it for under $10.
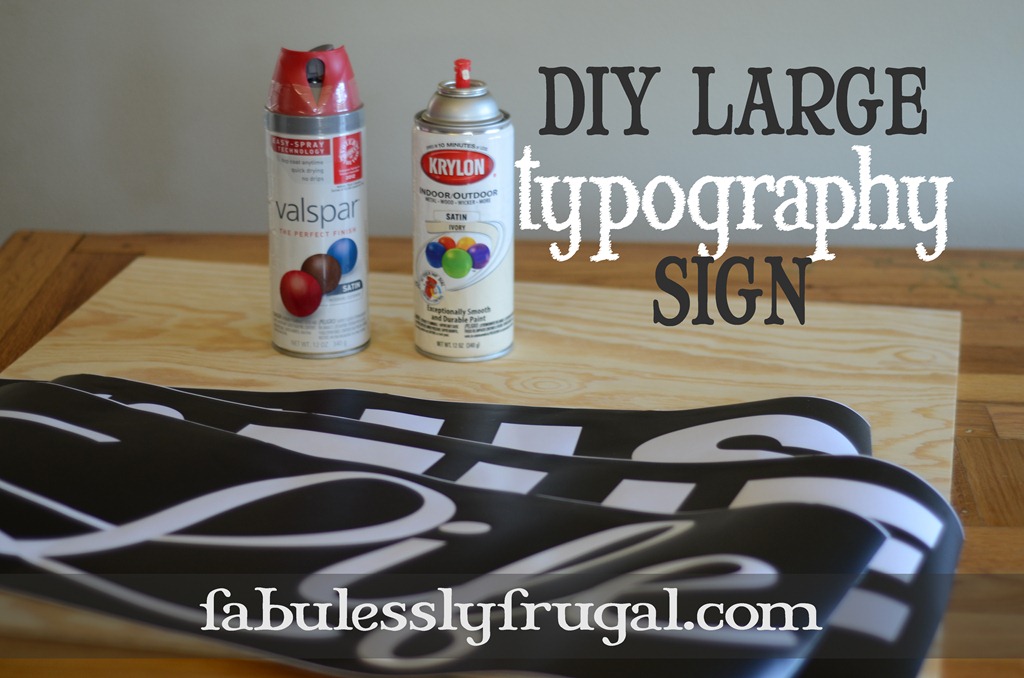
It takes a bit of patience to get it just right, but was pretty easy to put together. The only thing I had to buy was the large piece of wood. It is a 24X24 piece of plywood that I got at Lowes for around $5. Here is what you need:
{PIN THIS}
24X24 piece of Wood
2 colors of spray paint {I used Valspar Bright Red and Krylon Ivory both in Satin finish, I did not want it to be glossy}
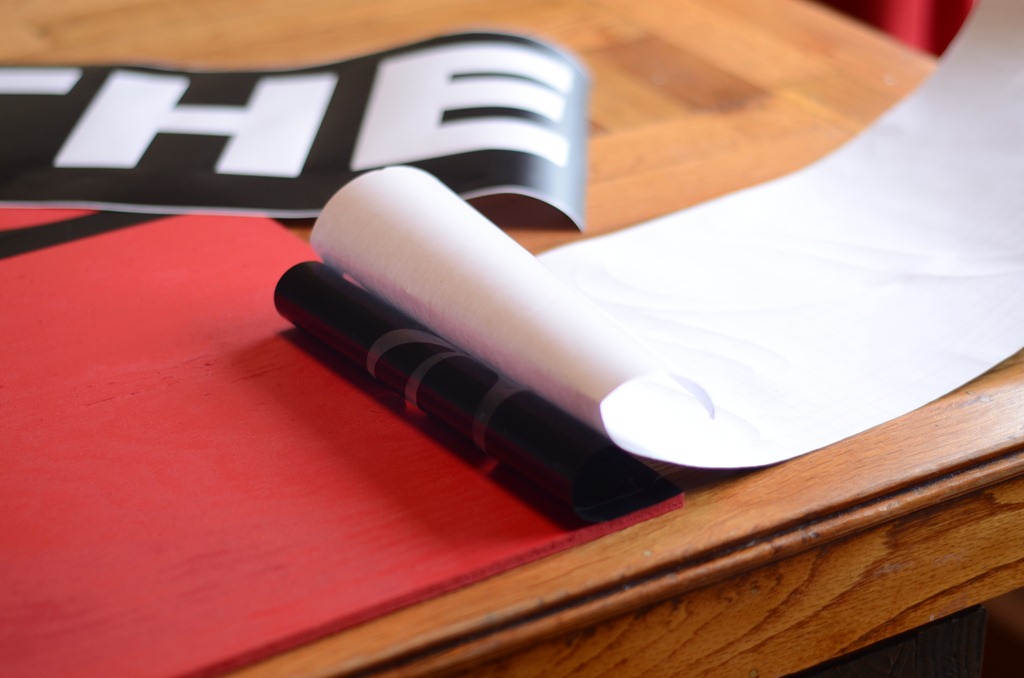
Vinyl Stencil {I cut mine out with my Silhouette, you can download my studio file here} If you don’t have a vinyl cutting machine find a friend who has one or you could go to a local sign and banner place and they could cut some vinyl for you. Or you can print it out and use some carbon paper to trace the words onto the board and paint it by hand.
Mod Podge & Sponge Brush {forgot to get them in the picture}

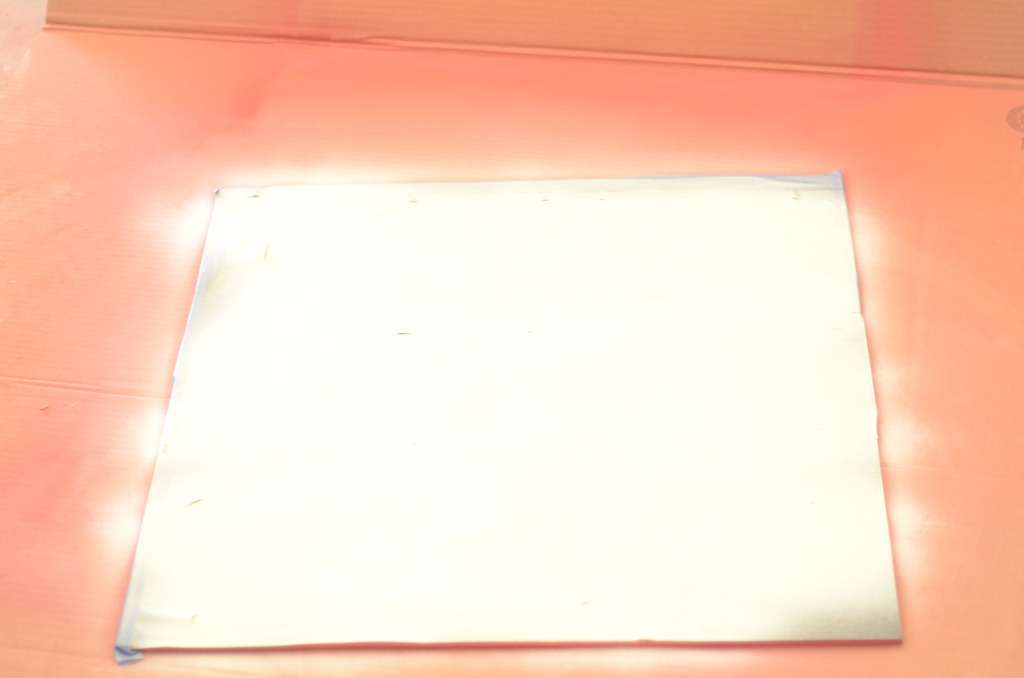
First spray paint your board. My board was pretty smooth and didn’t need to be sanded at all, but it is a good idea to dust it off before you paint.
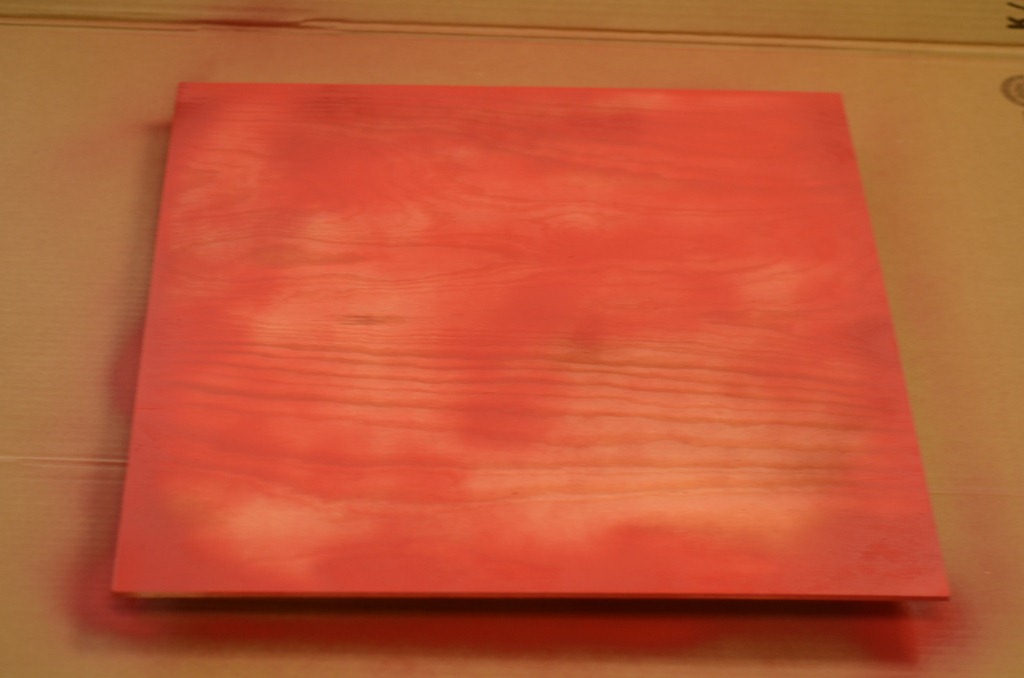
Red is a color you have to do lots of coats of. I’m not sure how many I did, probably around 4 or 5. I let it dry overnight (remember I’m in Arkansas and it is HUMID here so things take longer to dry!)
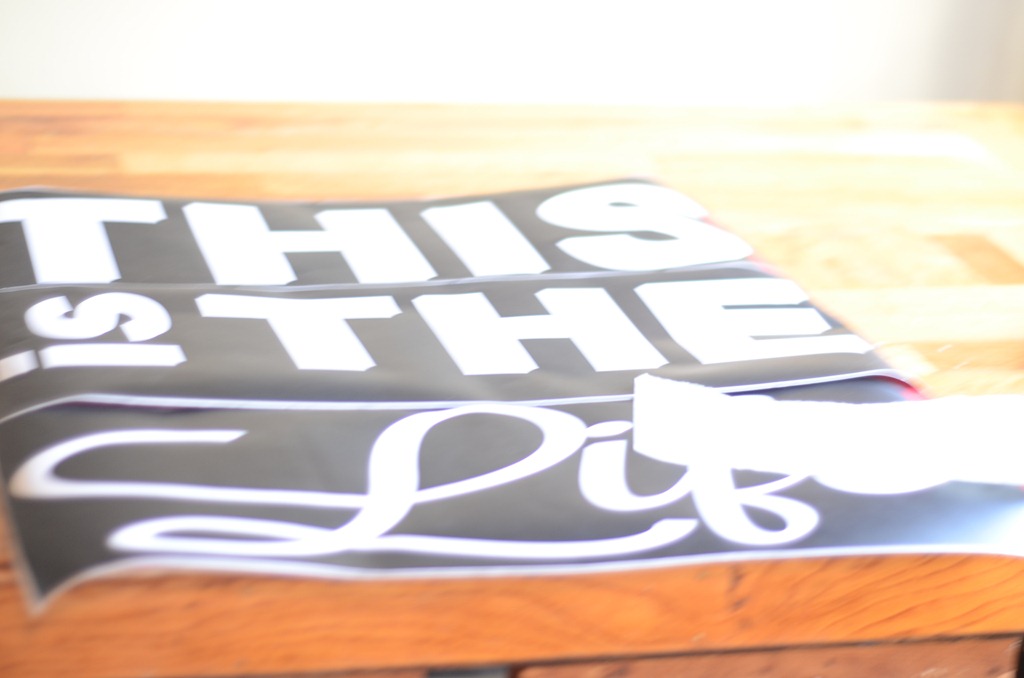
Lay out your vinyl stencils on your board to make sure they all fit. I wasn’t going to use transfer paper, but it was a little easier to use it. The vinyl didn’t stick great to the wood so I had to work hard to get the transfer paper off without pulling the vinyl off. Pulling it off at an angle seemed to be easier
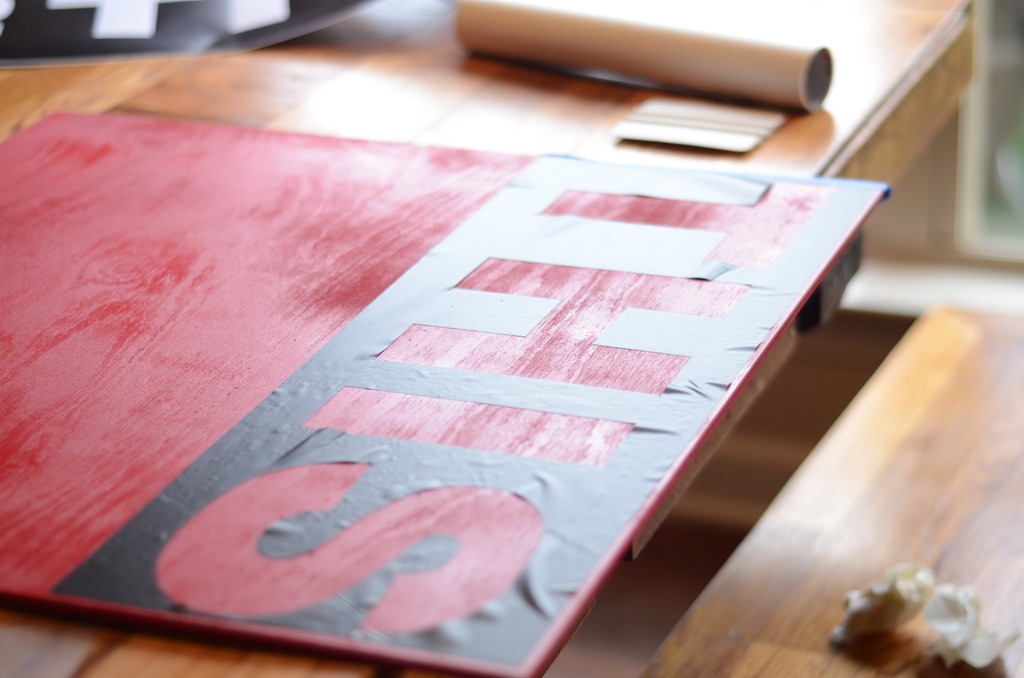
It helped to put the backing on top of the vinyl to help press out the air bubbles. The vinyl can stretch or tear easily so be careful. Just using your fingers works good too.

Also don’t pull all the backing paper off at once! Pull about 2 inches off and get it placed then slowly pull it off as you press the vinyl down. This is the part not to go to fast and just take your time. I rushed on the first one and had lots of air bubbles to work out.
I put the “this” on vinyl first and you can see it has the most bubbles, I got better as I did the rest of the board

After you get them all on now you take your mod podge matte
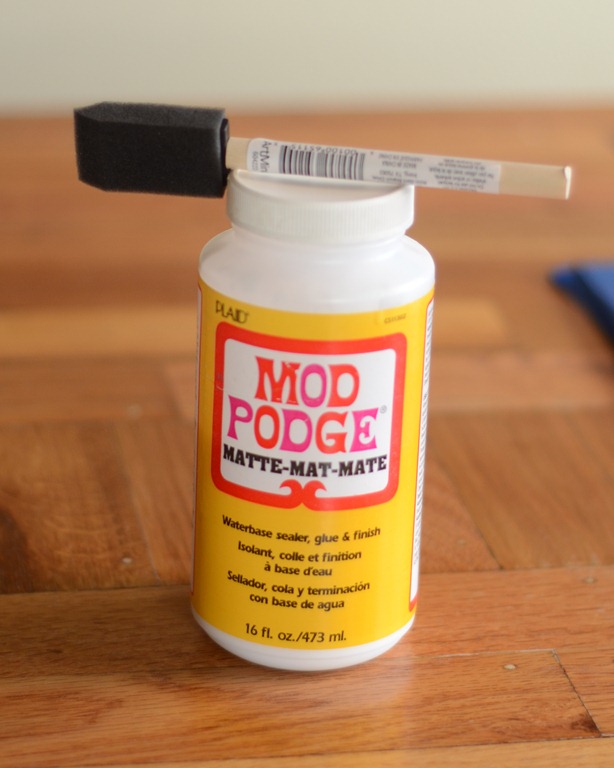
and brush it over the edges of the letters. You do this to help prevent bleeding through. Don’t put it on too thick. I brushed it over the whole letter so it would all be the same finish when I painted it.


I taped up the parts of the board that the vinyl didn’t cover so they wouldn’t be spray painted. You can also paint it with acrylic paint if you don’t want to use spray paint.
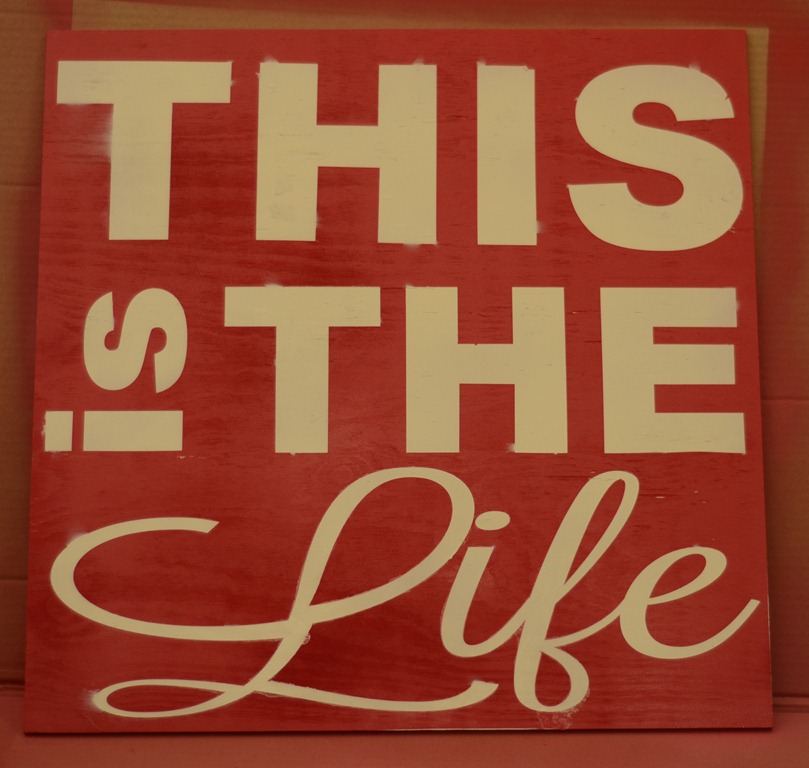
Now I spray painted with the ivory.

I think I used about 4 coats, until the red didn’t show through. I let it dry for a few hours.
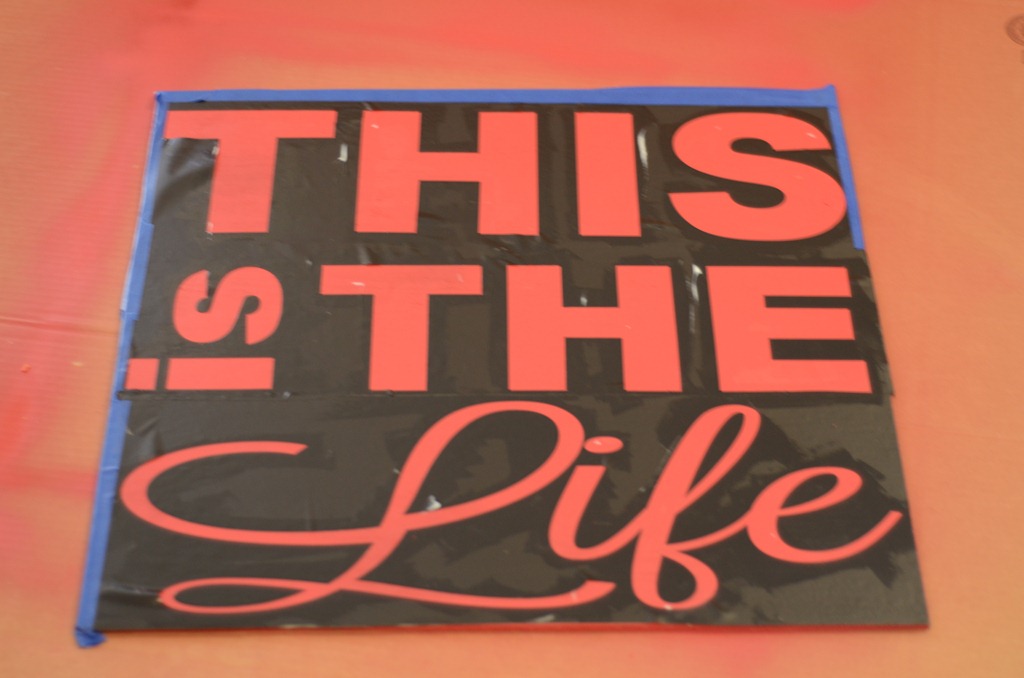
The next part is my favorite, peeling off the vinyl and seeing the magic!
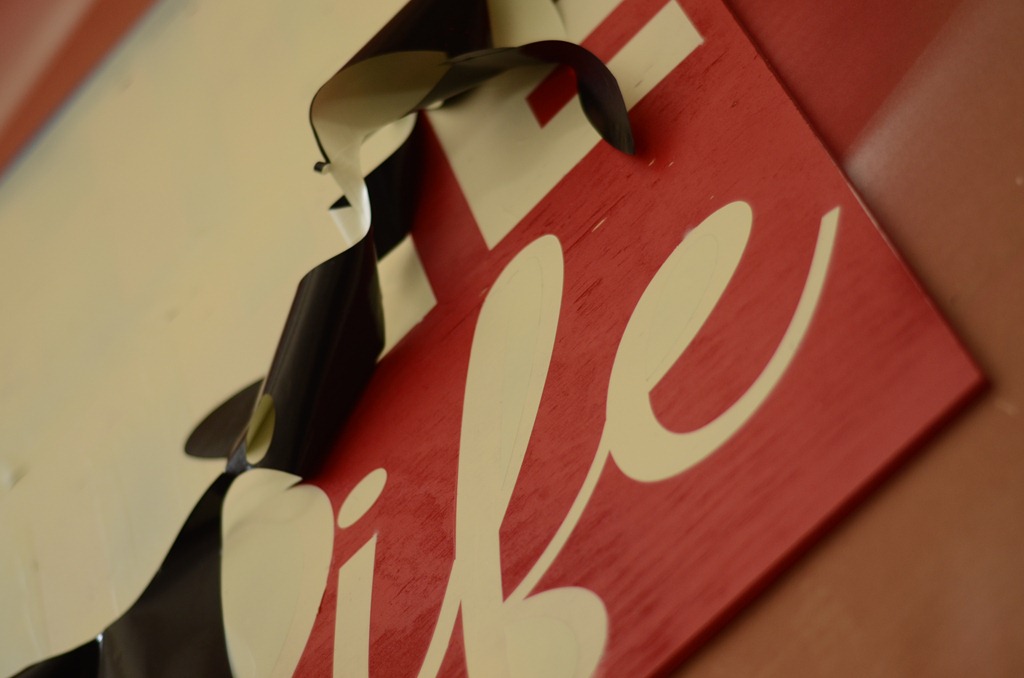
You can see a little ivory bled through, but I think it happened more when I held the can too close.
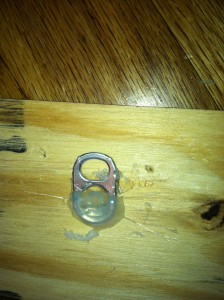
{When I first hung it I used the 3M picture hanging strips. They didn’t stick good to the unfinished wood on the back and it fell off the wall. So I texted my friend who has a similar sign and she said she hot glued a soda can tab to the back of the sign. I tried it and it works perfectly! I love it because it is FREE!! The sign is so thin and I din’t want to nail into it for fear it would go through the other side.
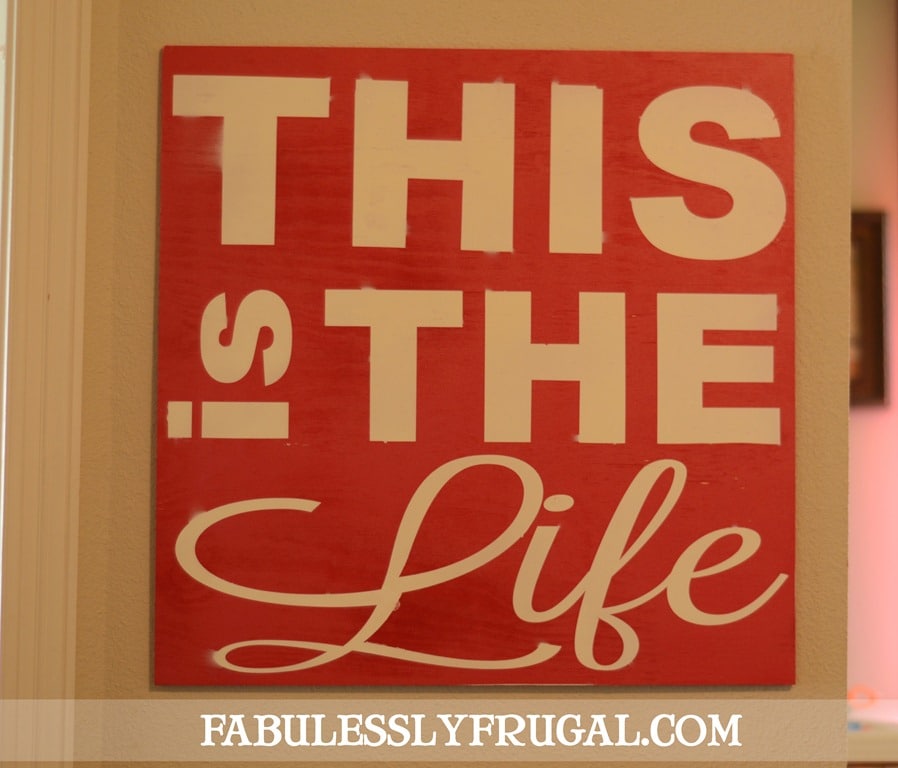
Here it is on my wall:
I added some pictures to the wall:

{PIN THIS}
I love how it fills up this little wall in my house. I have a few more things I want to add to the wall, but haven’t found them yet (we just moved and have lots of things in boxes still!). So for around $10 I made this awesome sign that makes me happy when I see it.
More Related Diys


Trending DIY Projects
- DIY
- Recipes
- Deals
- Blog


Report a Problem
Please select the problem you are facing with this deal:
- Price Increased
- Price Decreased
- No longer available
- Expired
- Link doesn't work
- Suggestion
- Compliment
- Other
Add more details:
Thank you for your feedback. We really appreciate it.
Enter your email address if you would like
to receive a follow up.
Please Try Again
Thanks for providing the email address.
We will reach out to you as soon as possible.


Popular
Recommended
About Us

At Fabulessly Frugal, our goal is to help you live HEALTHY, WEALTHY, and WISE! My team and I work hard to bring you the best, online deals, clean eating, DIY's, freezer meal recipes, and more! I LOVE coaching and inspiring people to improve their health in my fitness challenge! You should also check out my favorite cleanse! Learn more about me and the rest of my team.

Copyright © 2008–2024
Fabulessly Frugal: A Coupon Blog Sharing Gift Ideas, Amazon Deals, Printable Coupons, DIY, How to Extreme Coupon, and Make Ahead Meals. All rights reserved