DIY Stencil – For accent walls and more
 While the children are away, mom shall play! Now that school is back in session for most, it is a great time for a DIY project at home. I have wanted to do a small accent wall for awhile, but I have not wanted to pay an arm and a leg for a designer stencil. Then I realized, I could pay $30-$50 for a stencil or I could make my own. With a fairly simple design, making your own stencil is a piece of cake. Here is what you’ll need to make the stencil and get started on an accent wall. This DIY stencil is not just for walls either. It can be used on t-shirts with fabric paint, on a dresser or another piece of furniture, on canvas, and much more.
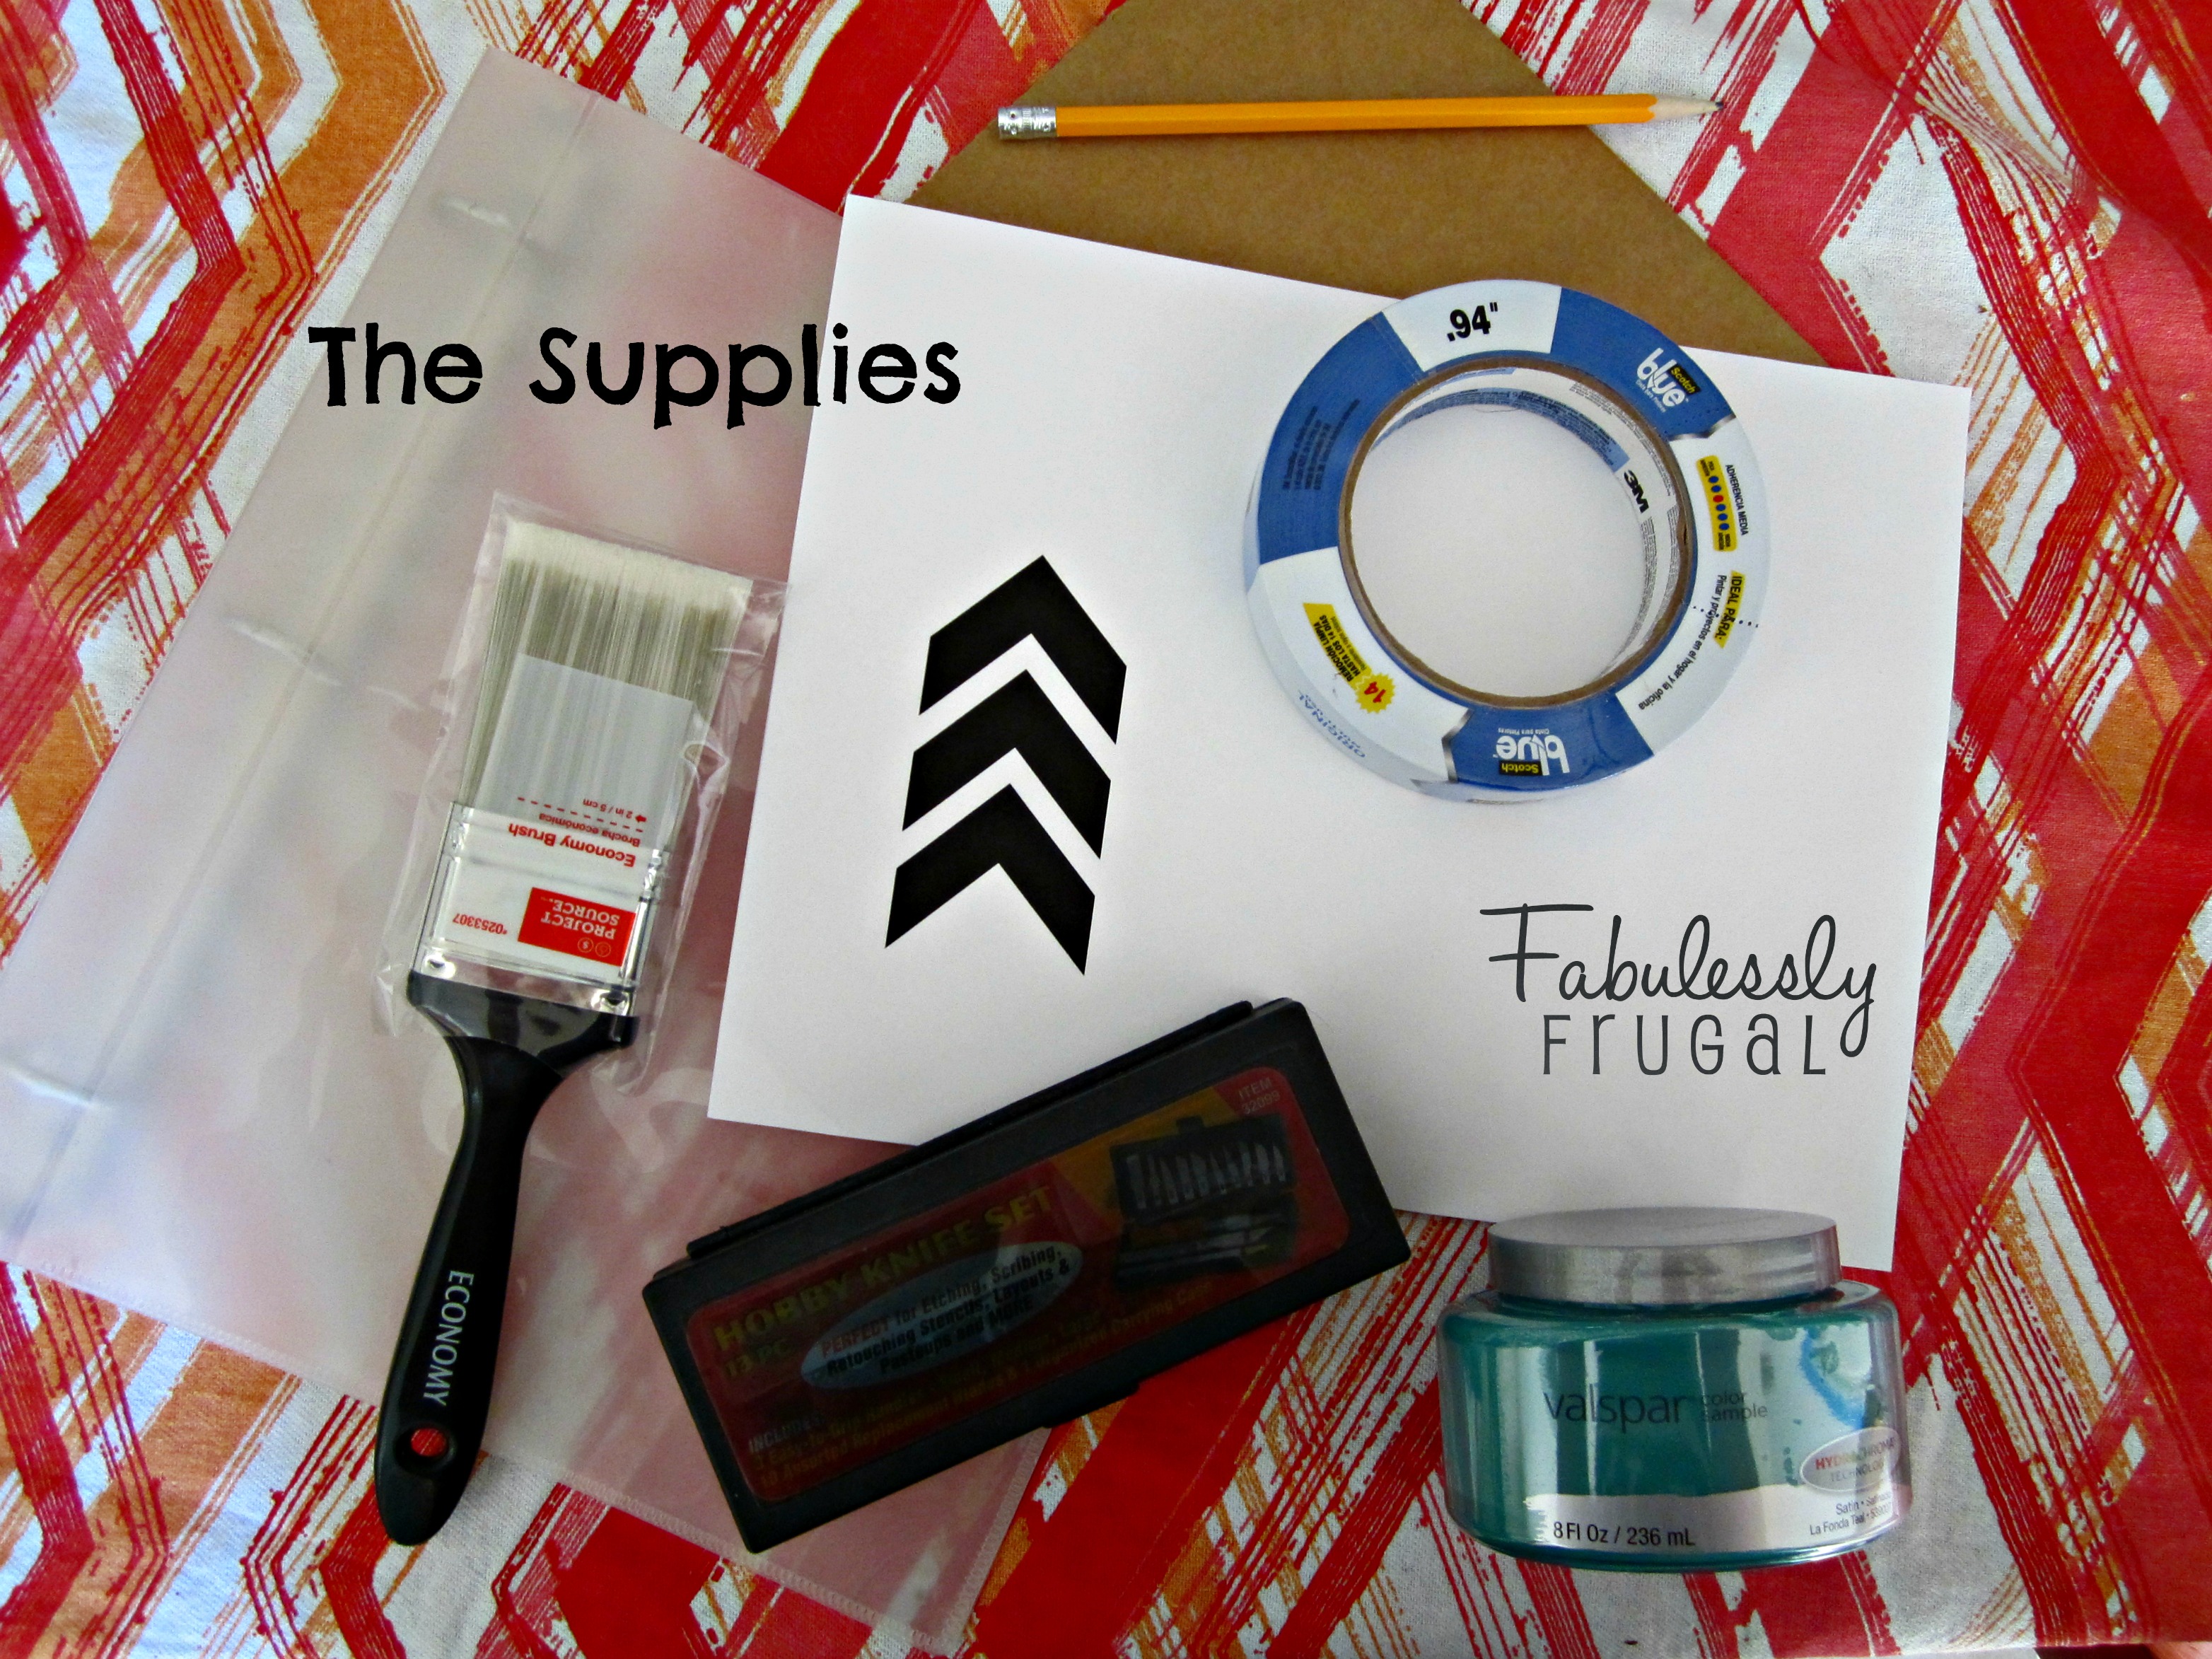 The Supplies:
- Hobby knife or Exacto knife
- Printed design of choice (or use my Arrows Template)
- cardboard for cutting surface
- tape
- clear plastic folder or stencil paper
- pencil
- paint
- stencil brush
The Instructions:
 I used a plastic notebook for my stencil project because I wanted my stencil to be heavy-duty and built to last. Stencil paper can also be purchased, just be sure it is thick enough for the type of project you are doing. If you use a notebook, just trim the metal rings off by cutting a straight line with the craft knife.
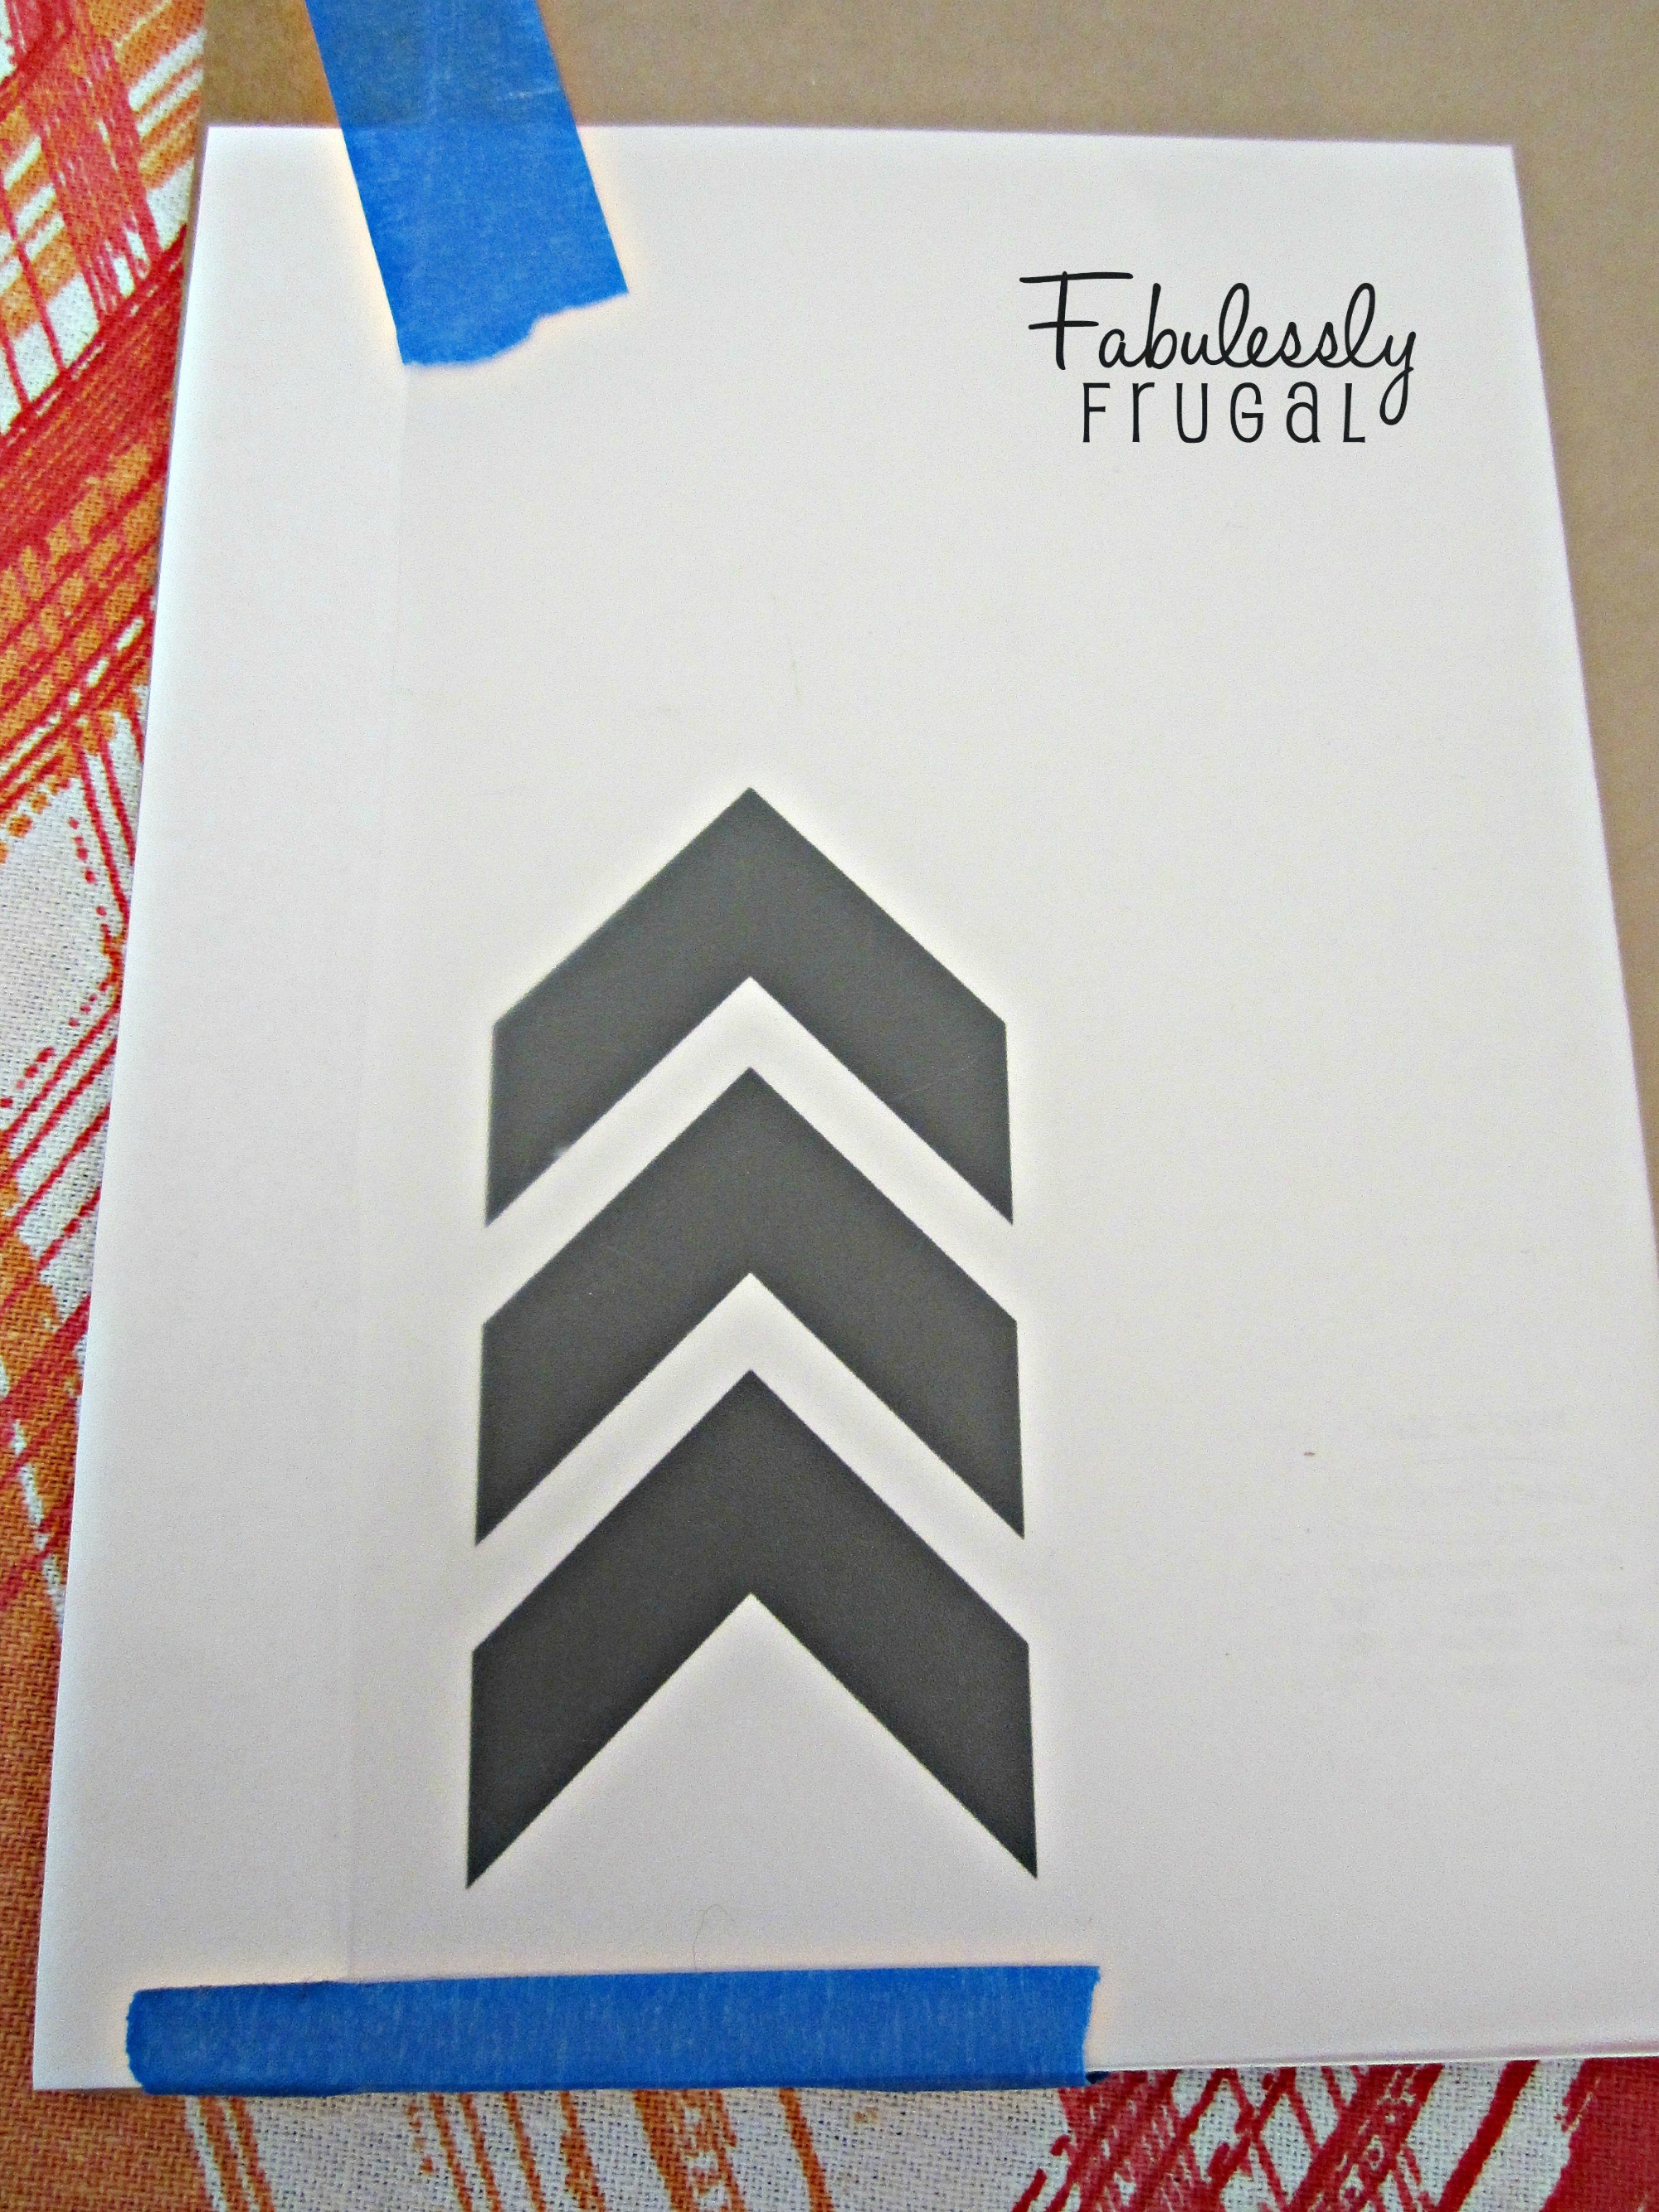 You can use any design you would like, or you can use my Arrows Template if you want a similar stencil. I printed the arrows on my home printer and taped the page to the cardboard backing with the plastic on top.
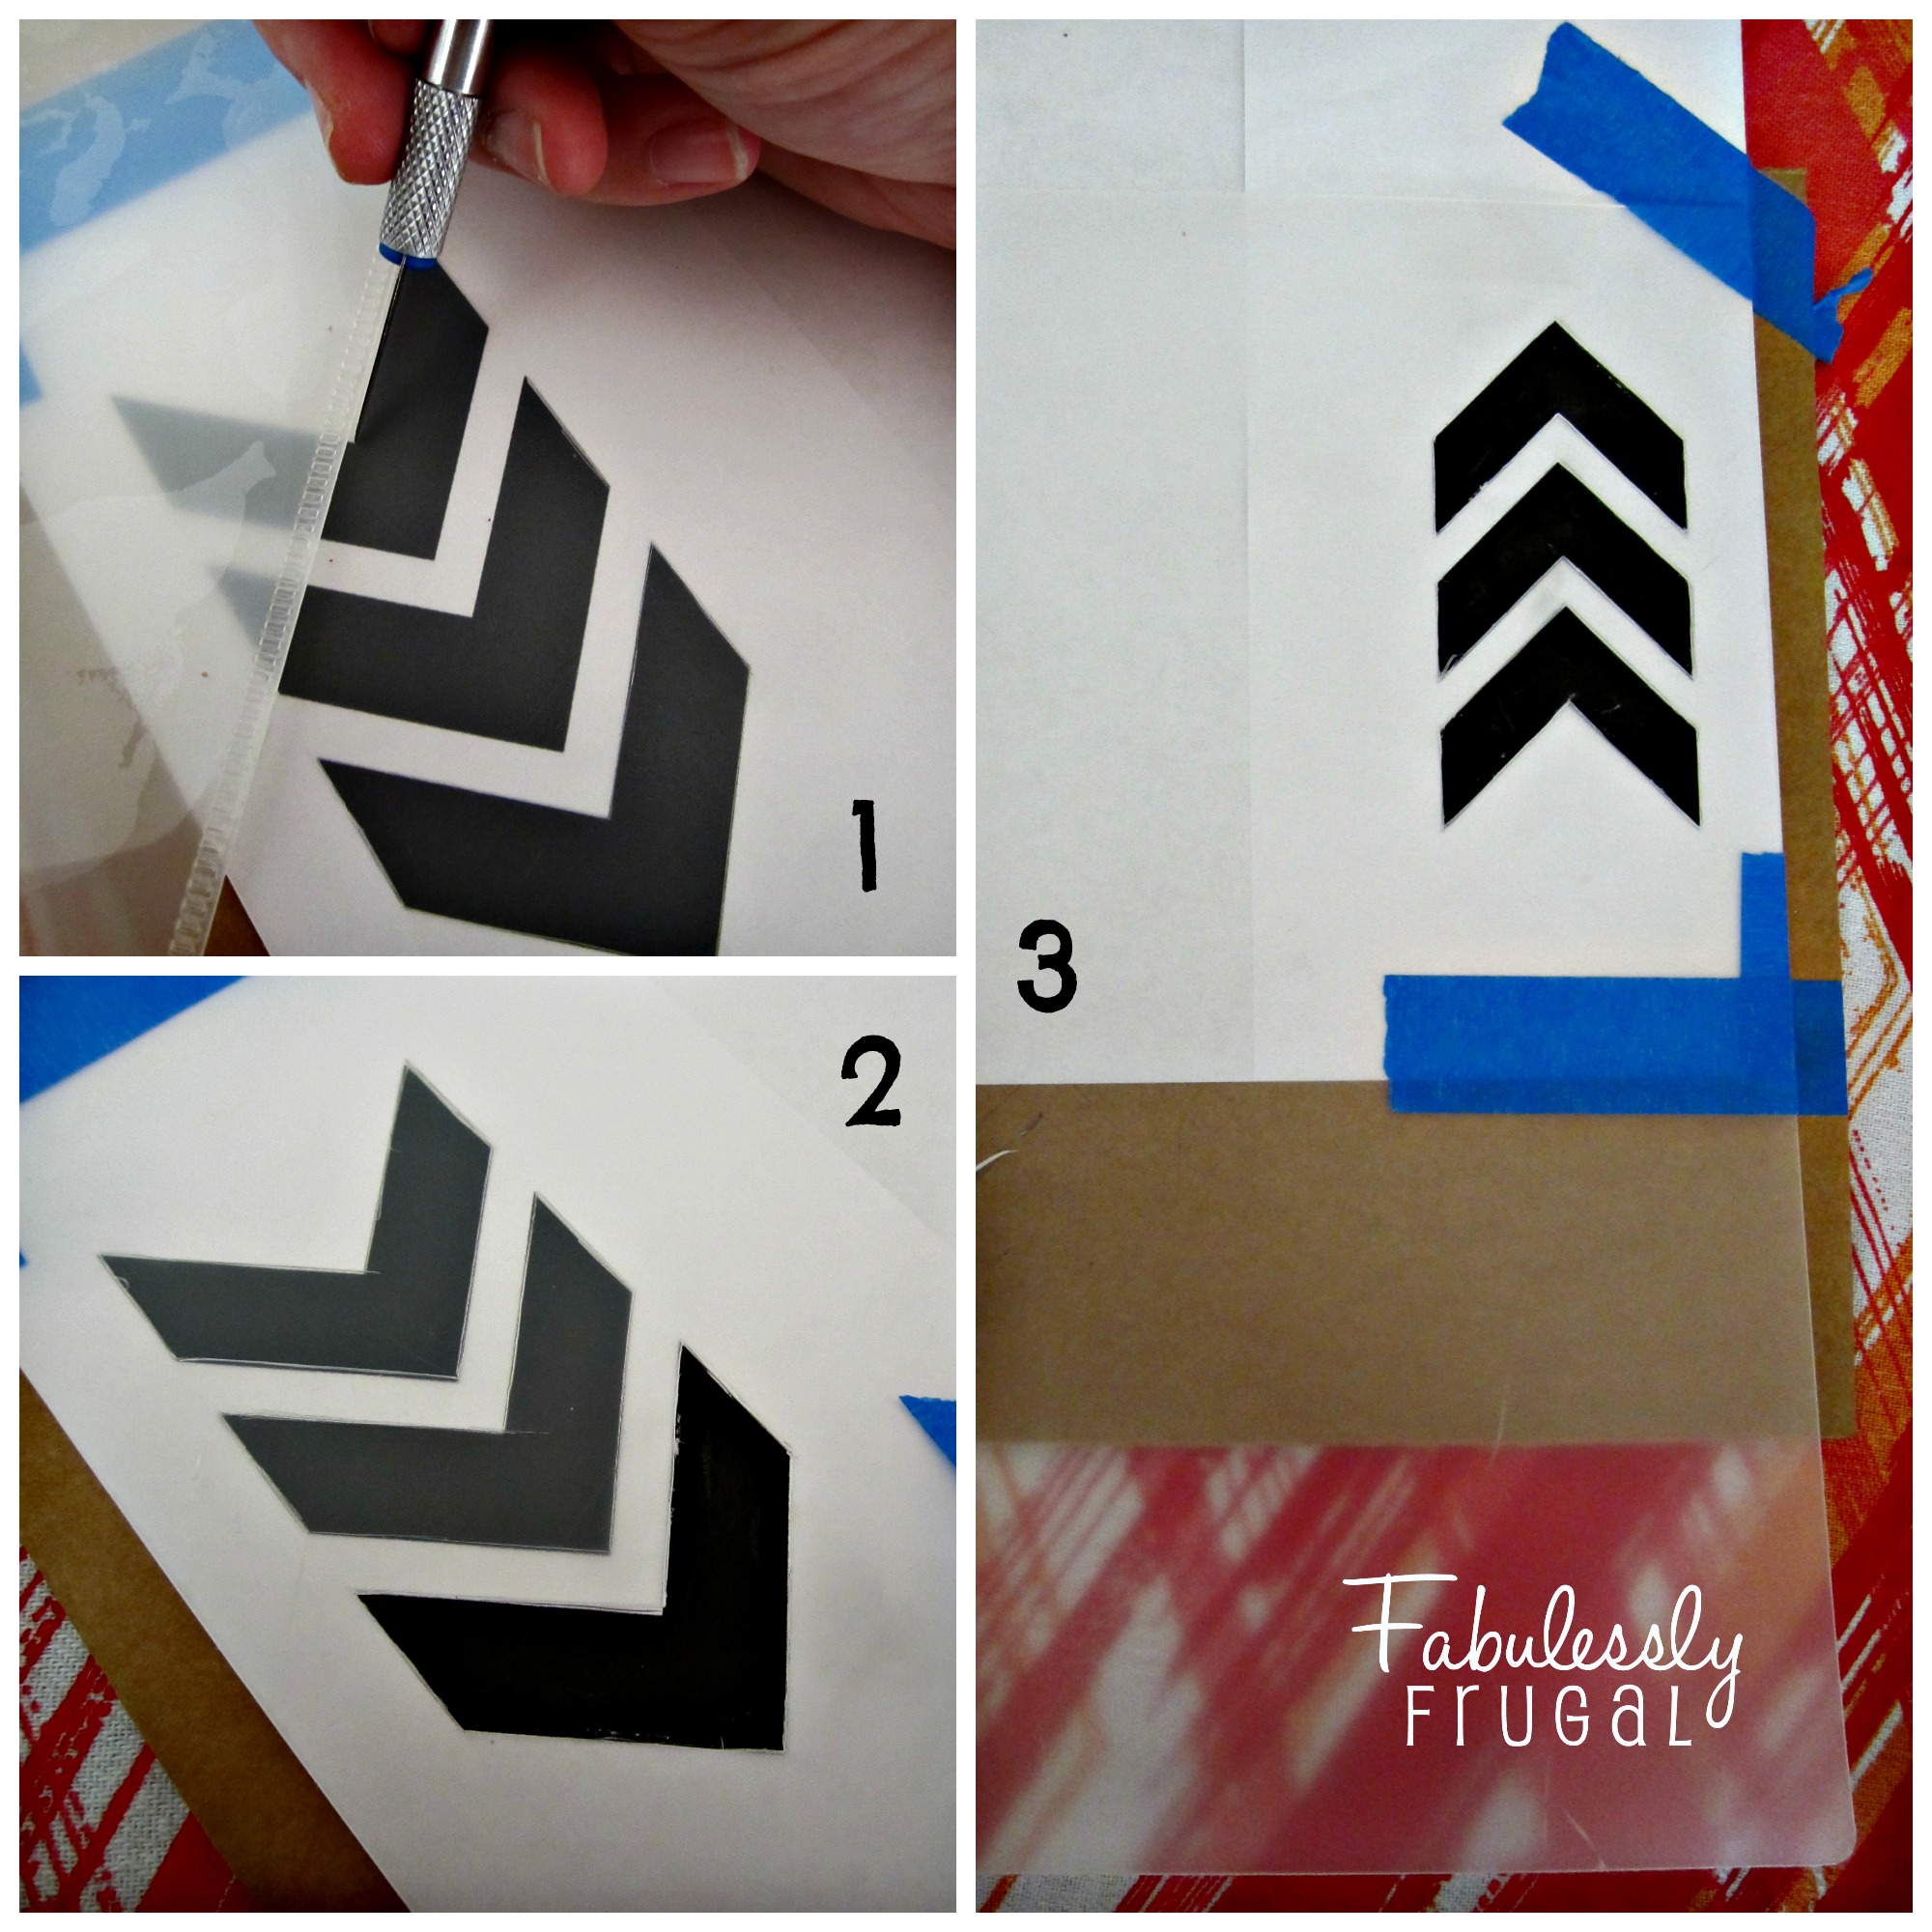 Because I used thick plastic, it took a fair amount of pressure to cut through. I found it easiest to make indentation lines first. I used the other half of my heavy duty plastic notebook as a guide for cutting straight lines. It was good to have a practice round with making indentations before I cut all the way through. Once the indentations looked good, I went back over them with the craft knife and cut out the arrow pieces.
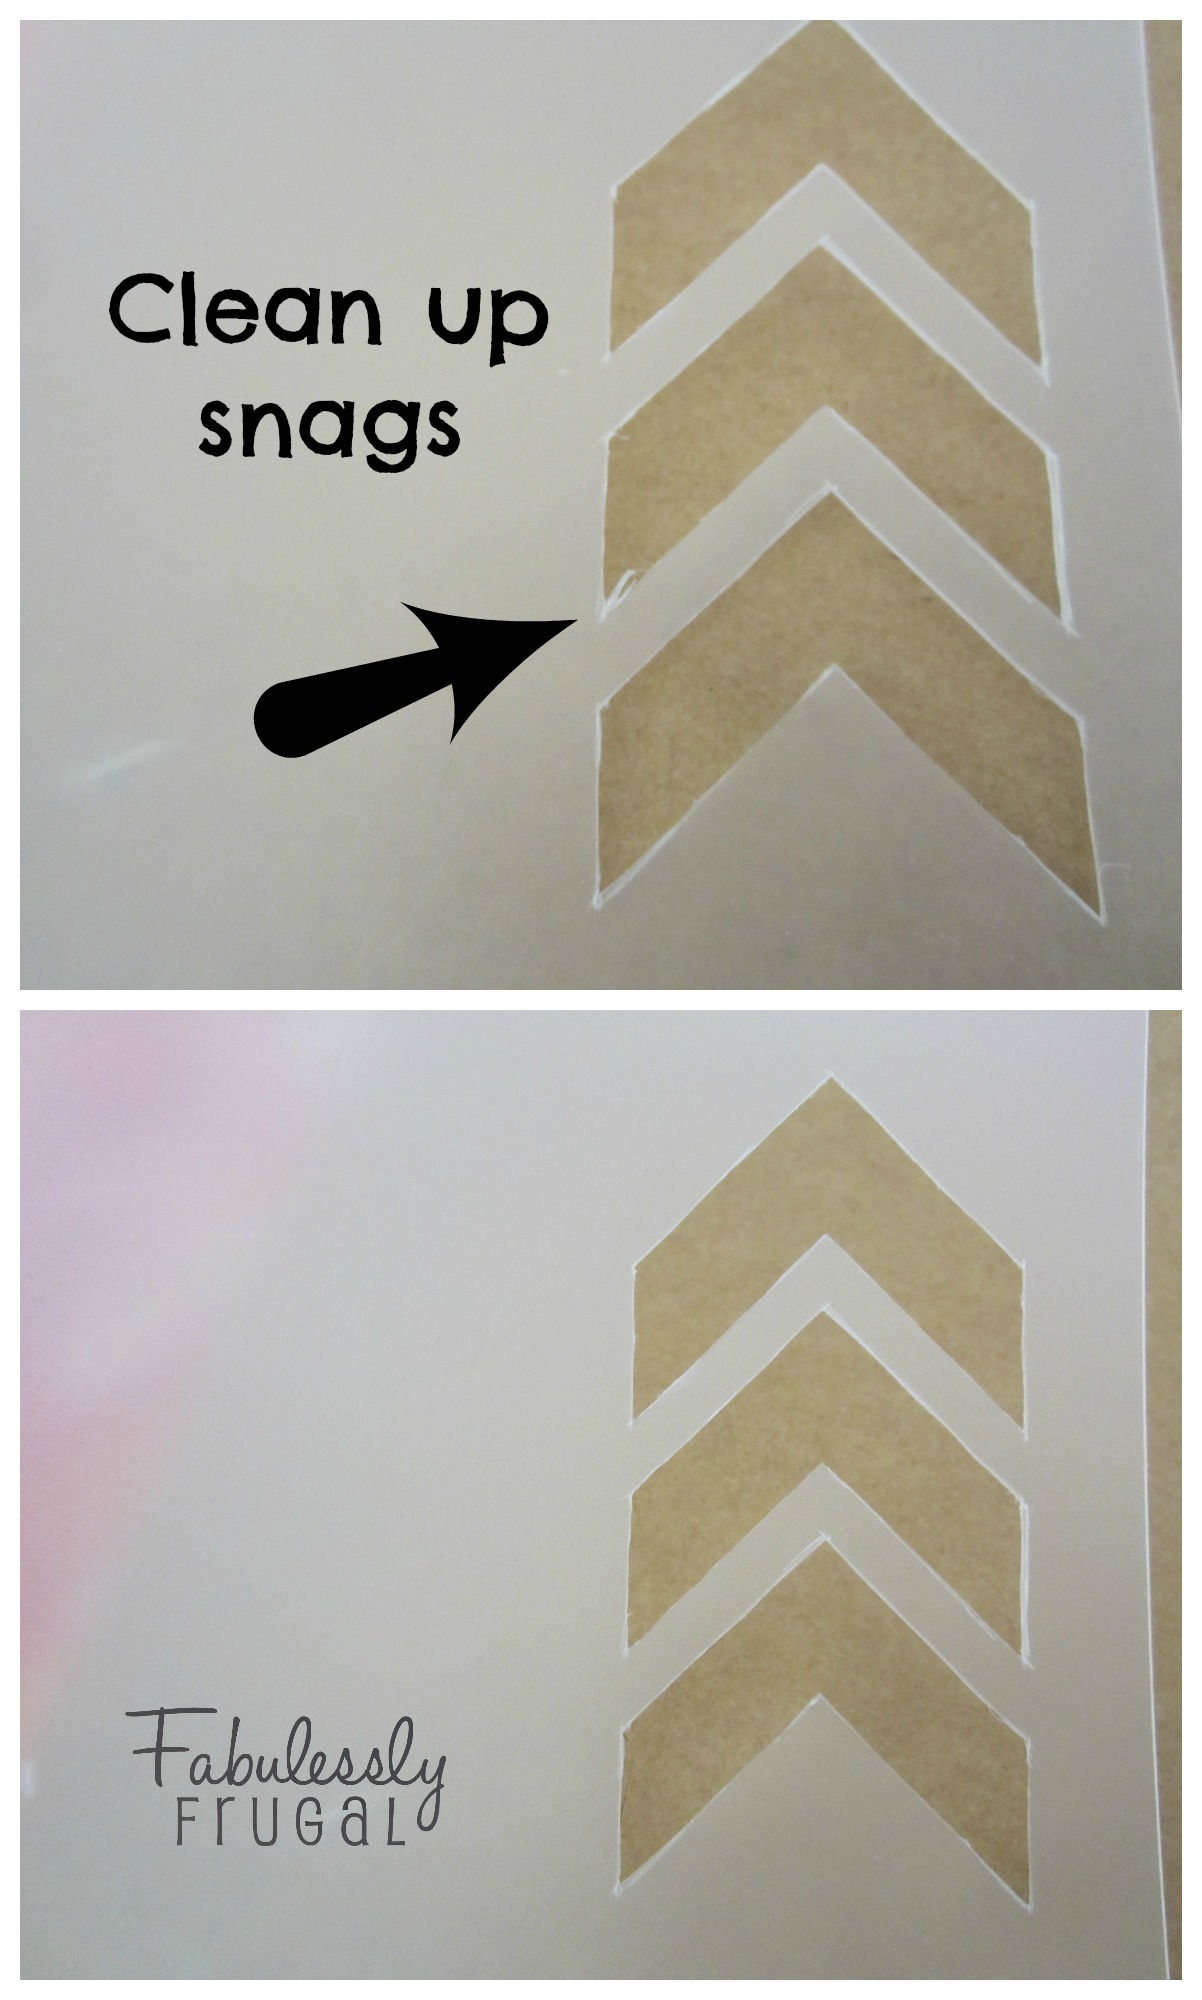 After removing the cardboard backing and paper template, you might discover you still have a few hanging snags in the corners of your stencil. To give your stencil a nice, clean edge, use the craft knife and gently slide it towards the snag to shave off any unwanted pieces of plastic or uneven edges.
 After attempting to paint straight onto the wall with the stencil, I decided I could get a cleaner finish by tracing my stencil on the wall and hand-painting within the lines. For me, it made for much smoother edges. If you want to stencil right on to the wall, I would suggest using stencil adhesive to help you get a tight seal and clean lines when you pull the stencil back.
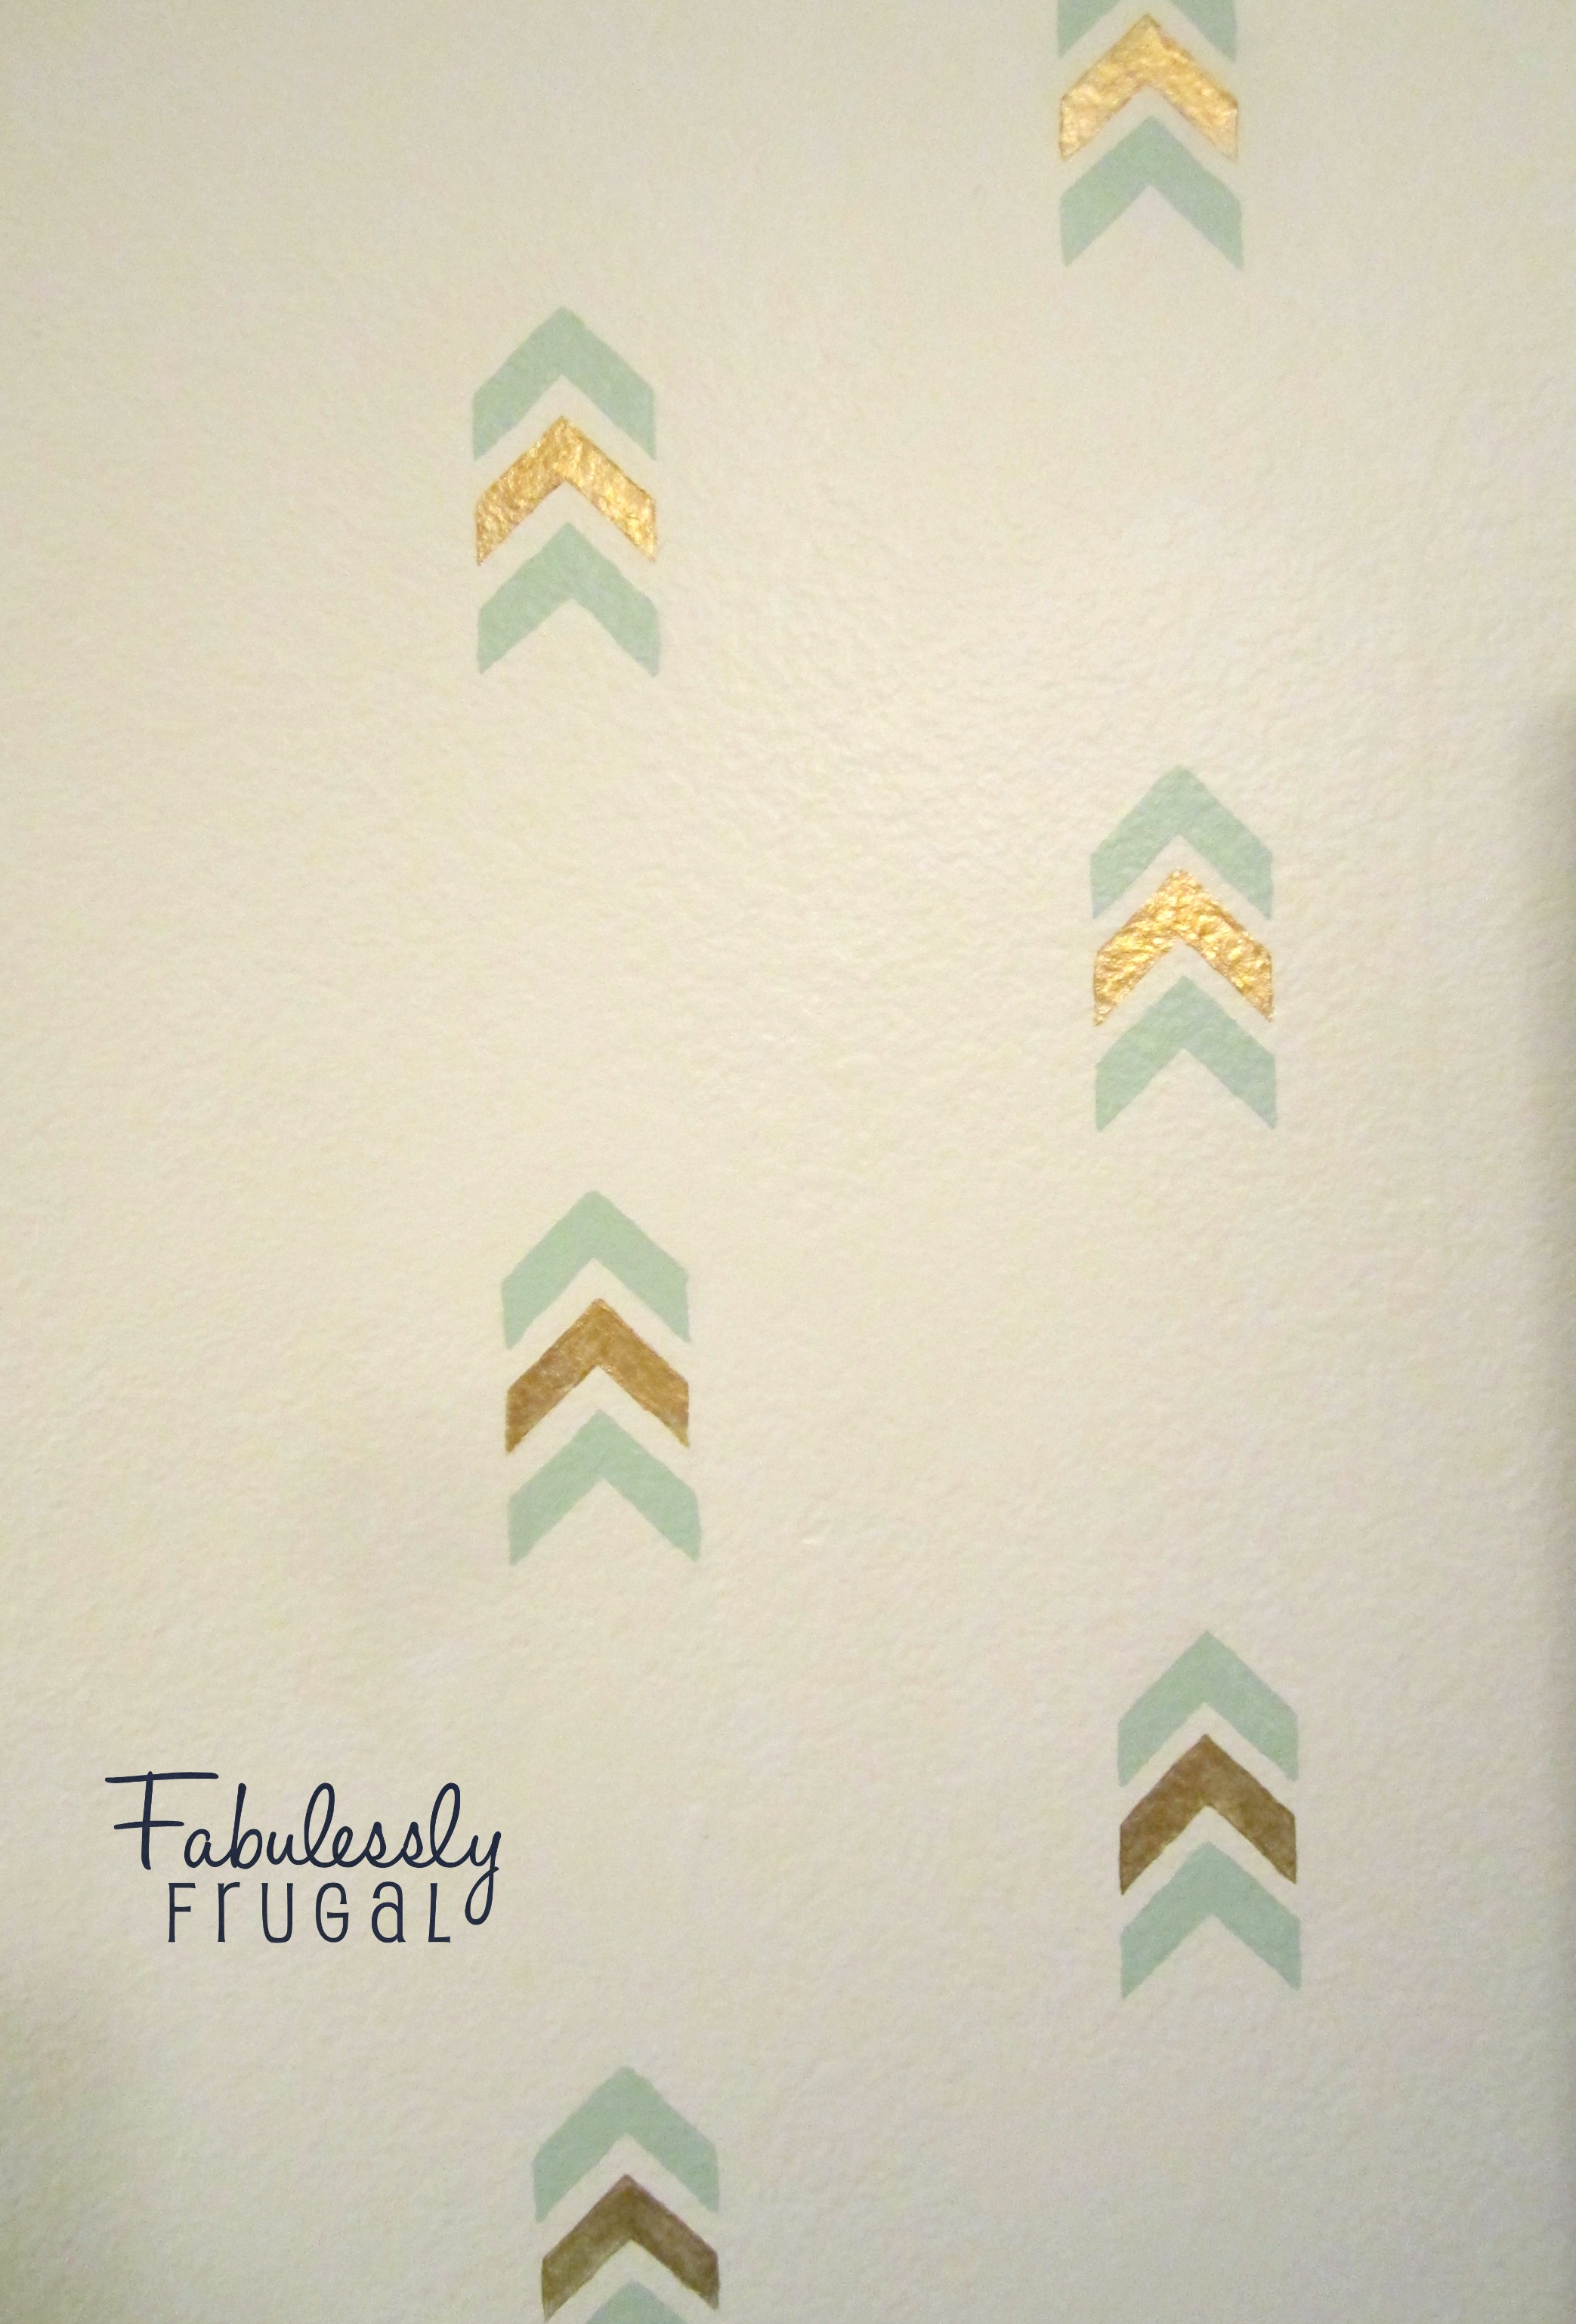 For paint, I used an 8 oz. Valspar sampler. If you want quality paint, but do not want to buy a whole quart or gallon, Lowe’s has a great deal on their sample size paint tubs. It is less than $3 and you can pick any color they carry. Some stores charge more for tiny 2 oz. bottles, and they do not offer every color, so I have loved trying out different paints from Lowe’s. For the gold paint, I used an enamel craft paint.
I hope you have fun getting creative with your own stencil designs and projects.
More Related Diys


Trending DIY Projects
- DIY
- Recipes
- Deals
- Blog


Report a Problem
Please select the problem you are facing with this deal:
- Price Increased
- Price Decreased
- No longer available
- Expired
- Link doesn't work
- Suggestion
- Compliment
- Other
Add more details:
Thank you for your feedback. We really appreciate it.
Enter your email address if you would like
to receive a follow up.
Please Try Again
Thanks for providing the email address.
We will reach out to you as soon as possible.


Popular
Recommended
About Us

At Fabulessly Frugal, our goal is to help you live HEALTHY, WEALTHY, and WISE! My team and I work hard to bring you the best, online deals, clean eating, DIY's, freezer meal recipes, and more! I LOVE coaching and inspiring people to improve their health in my fitness challenge! You should also check out my favorite cleanse! Learn more about me and the rest of my team.

Copyright © 2008–2024
Fabulessly Frugal: A Coupon Blog Sharing Gift Ideas, Amazon Deals, Printable Coupons, DIY, How to Extreme Coupon, and Make Ahead Meals. All rights reserved