
DIY Spring Flower and Moss Wreath
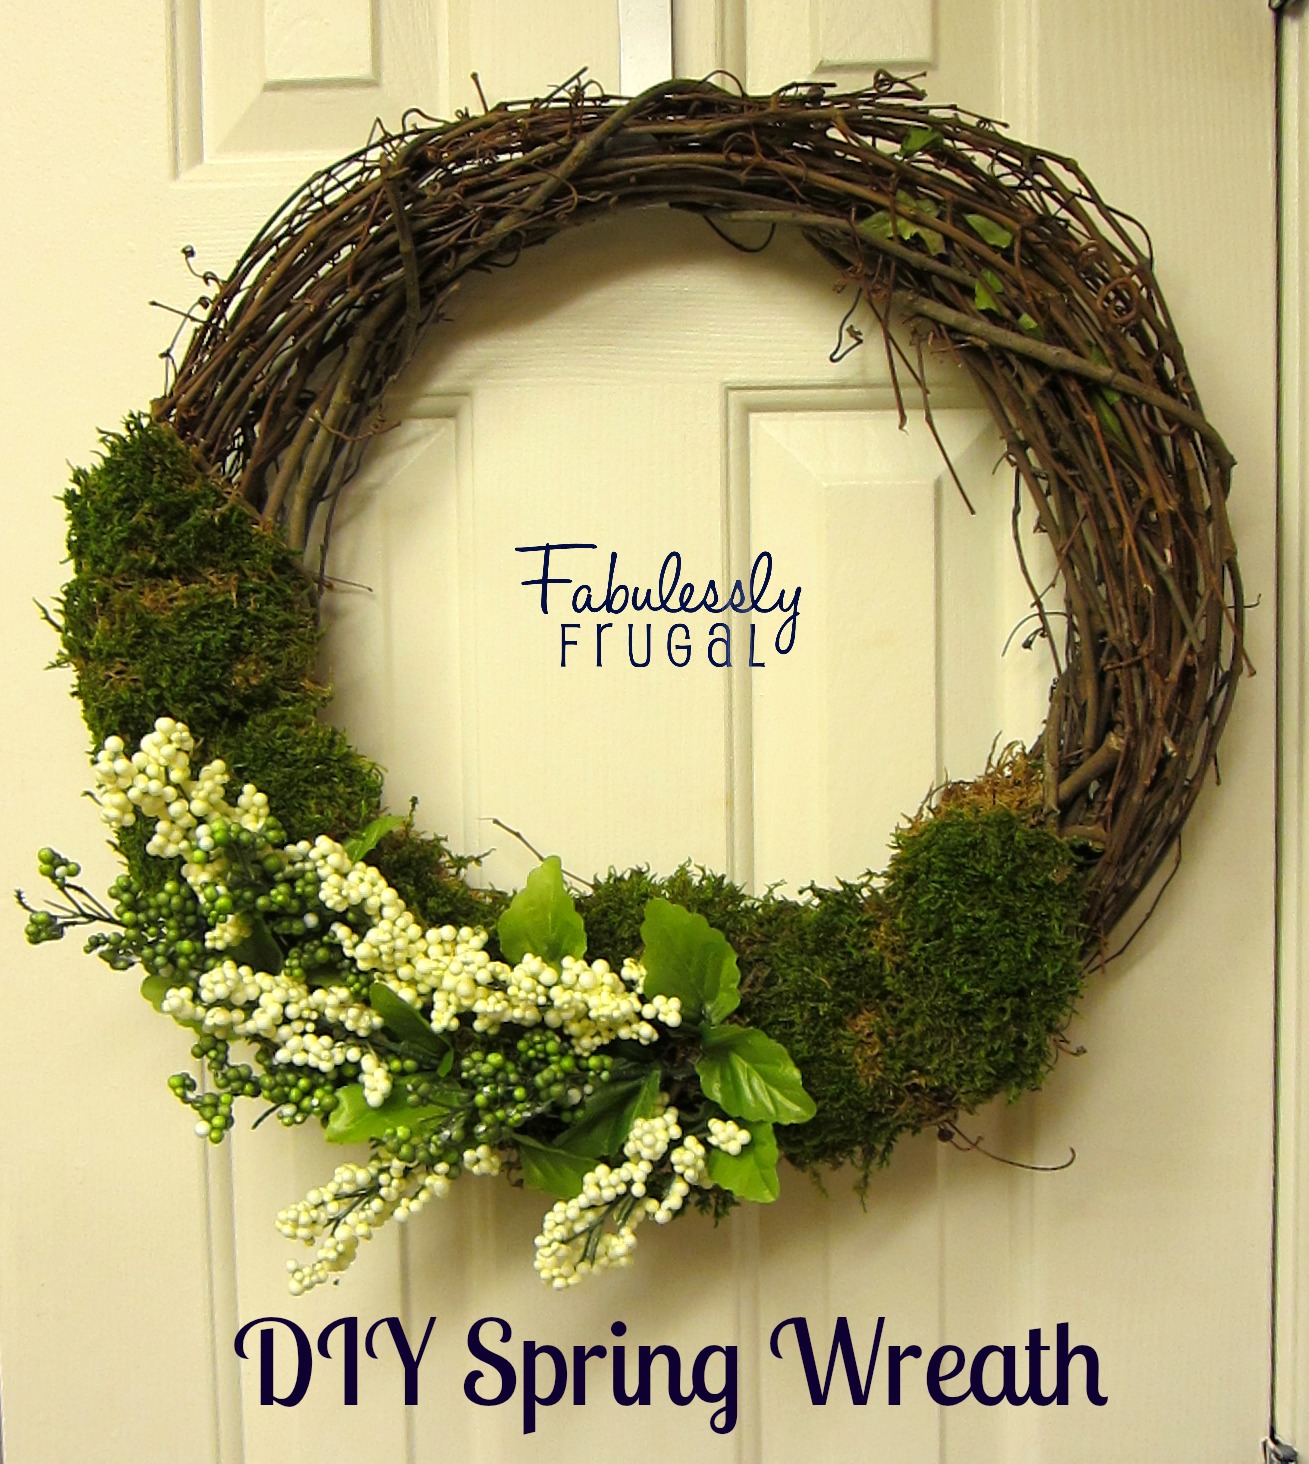
It is the perfect time of year to add some fresh, bright, natural green in your home. It’s spring! This moss-wrapped wreath gives the look of bringing nature indoors. Customize this wreath with your own preference of flowers. I chose green and white so it would work in my home not just for spring, but for everyday use. You could also use daffodils or tulips for an even more spring-like look.

The Supplies:
- grapevine wreath
- sheet moss
- flowers of choice
- hot glue gun and glue
- newspaper
- scissors
I purchased my wreath and sheet moss at Walmart and my flower stems from the Dollar Tree. The cost of those supplies was just over $10, so much better than the $40 wreaths you find at the stores.
The Instructions:
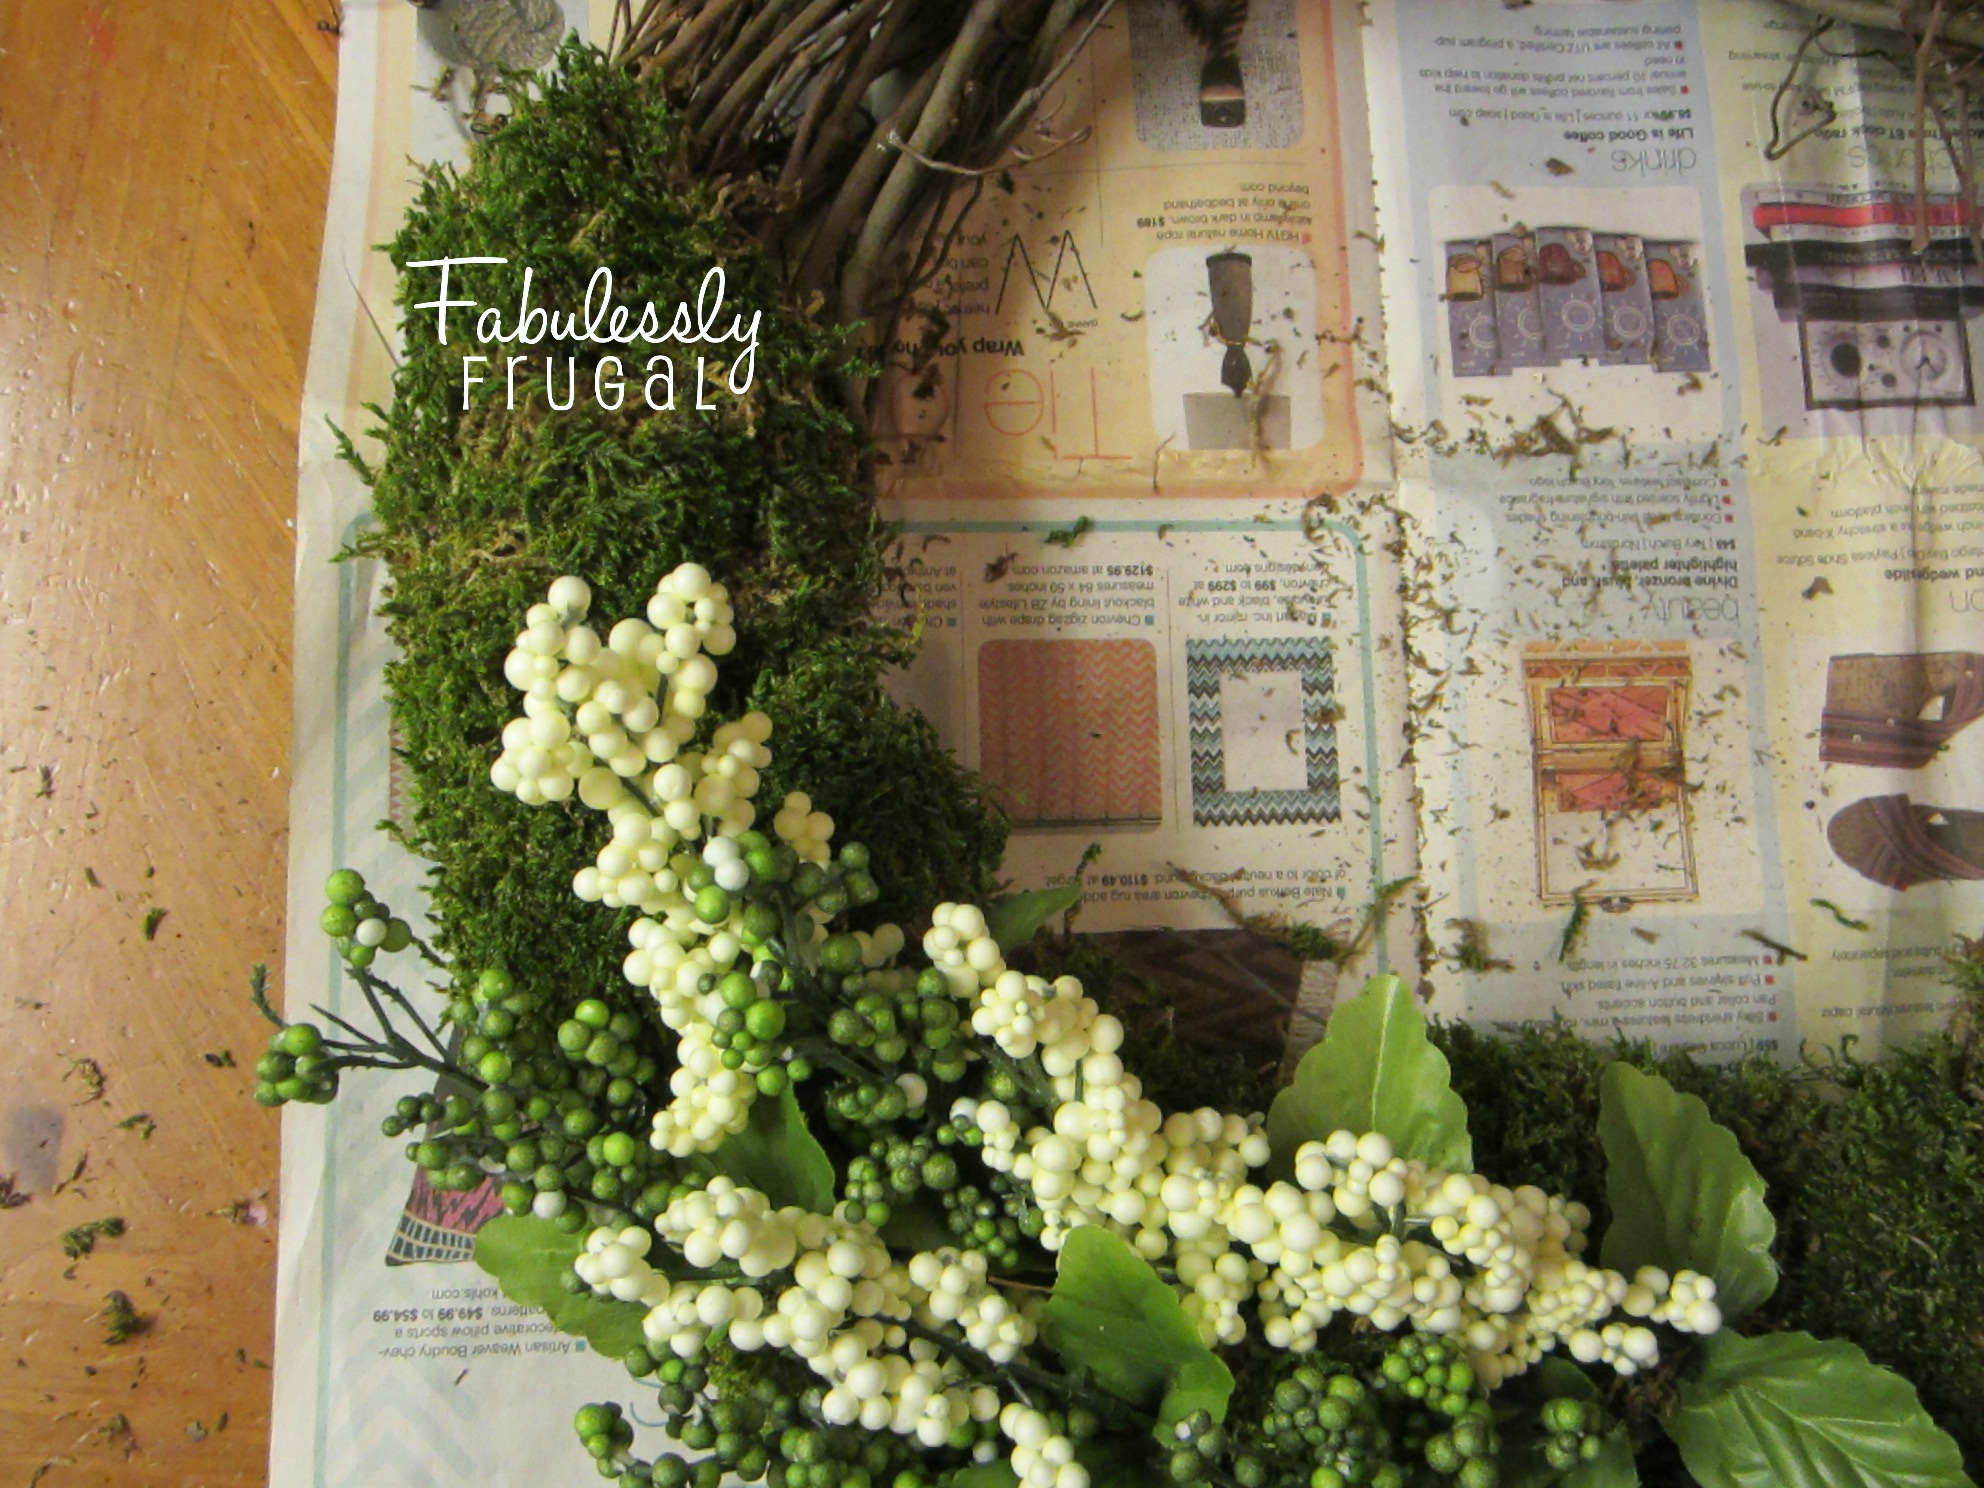
Being by laying out the newspaper under your wreath. It will help when it comes time to clean up, although, be warned: this is a messy project. The moss sheds dirt as you work with it, but rest assured, once you are done making the wreath, it will not keep shedding.
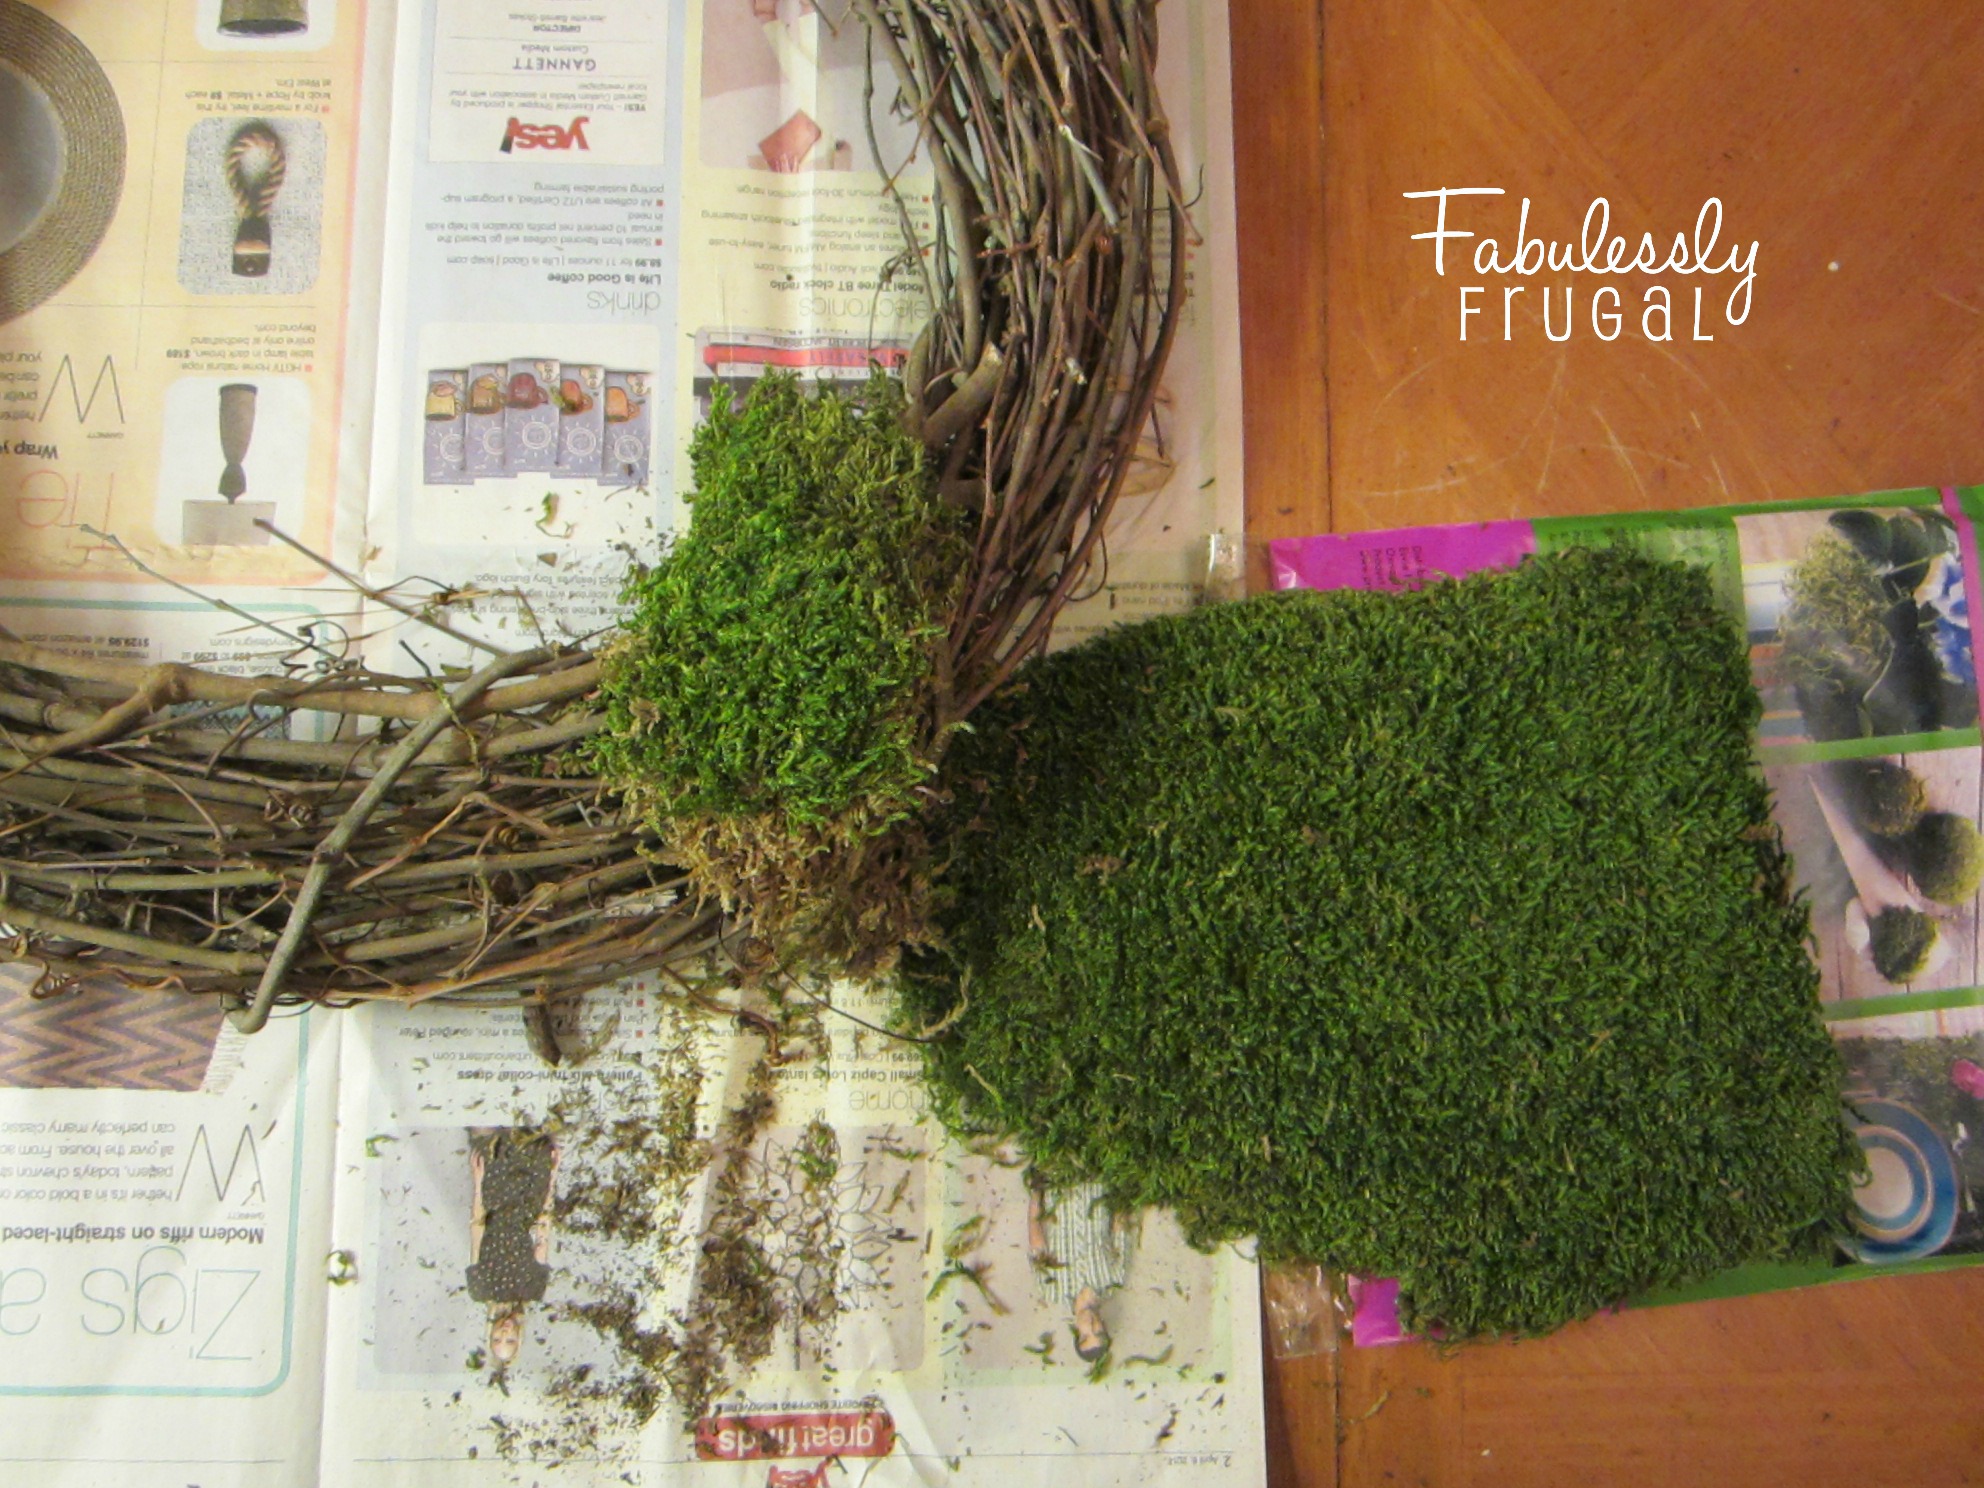
Start by pulling the sheet of moss out of the package and tear off a piece. You will want to place it on the wreath to make sure you have the right size and fit before you put glue under it.
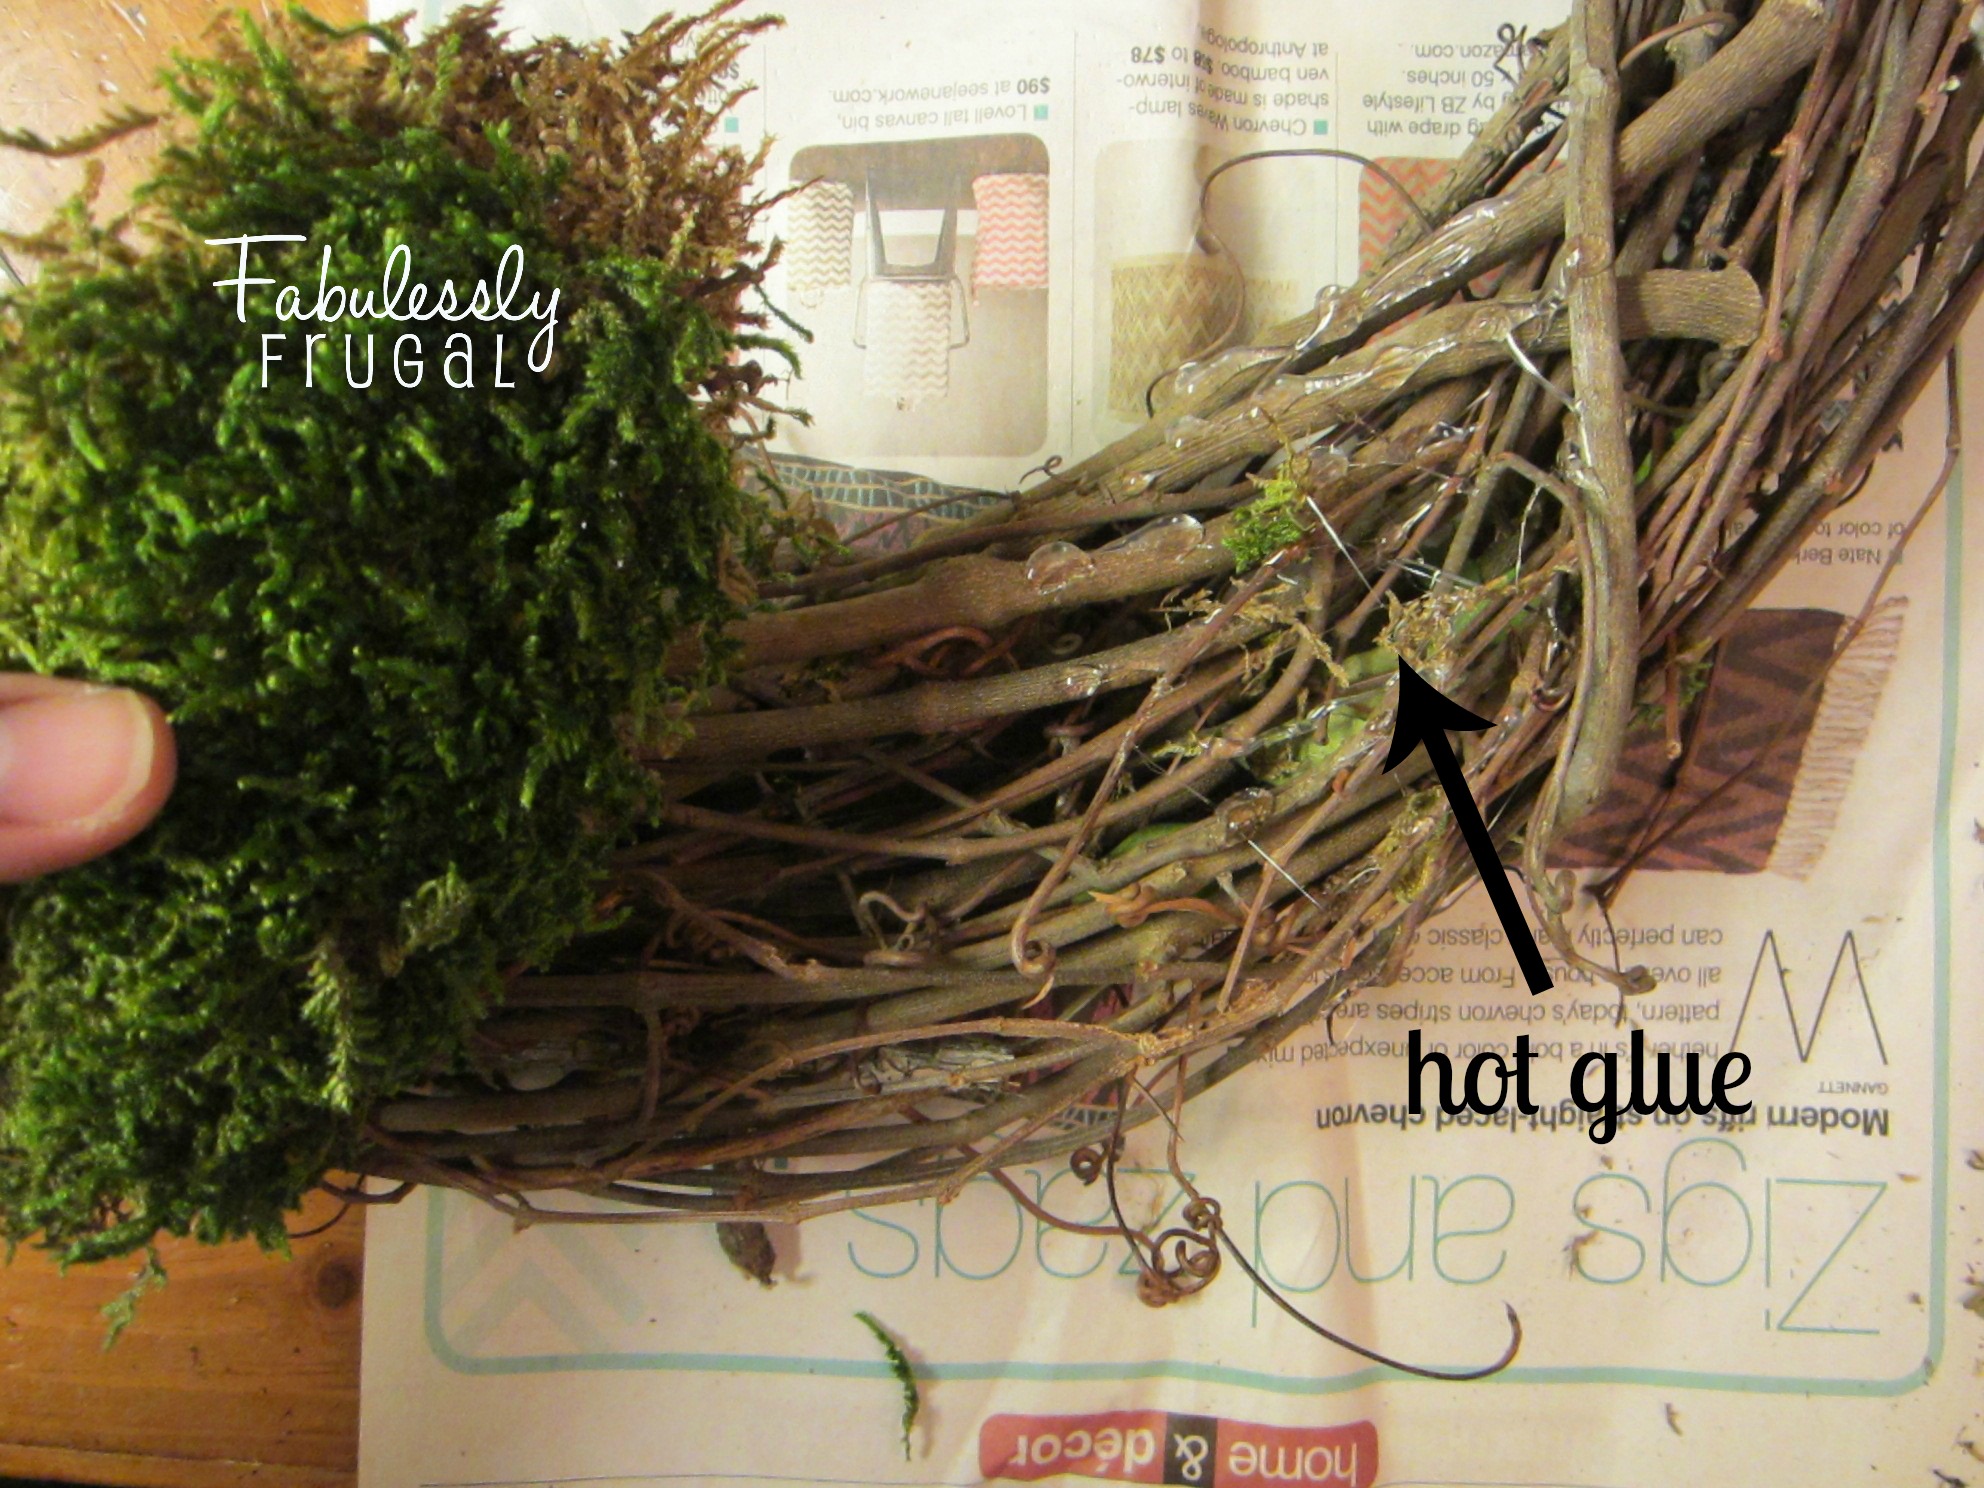
Once you find the right spot for your piece of moss, pull up the moss and cover that spot on the wreath generously with glue. In constructing the wreath, you can use the initial piece of moss as a base, then build upon it by adding flowers.
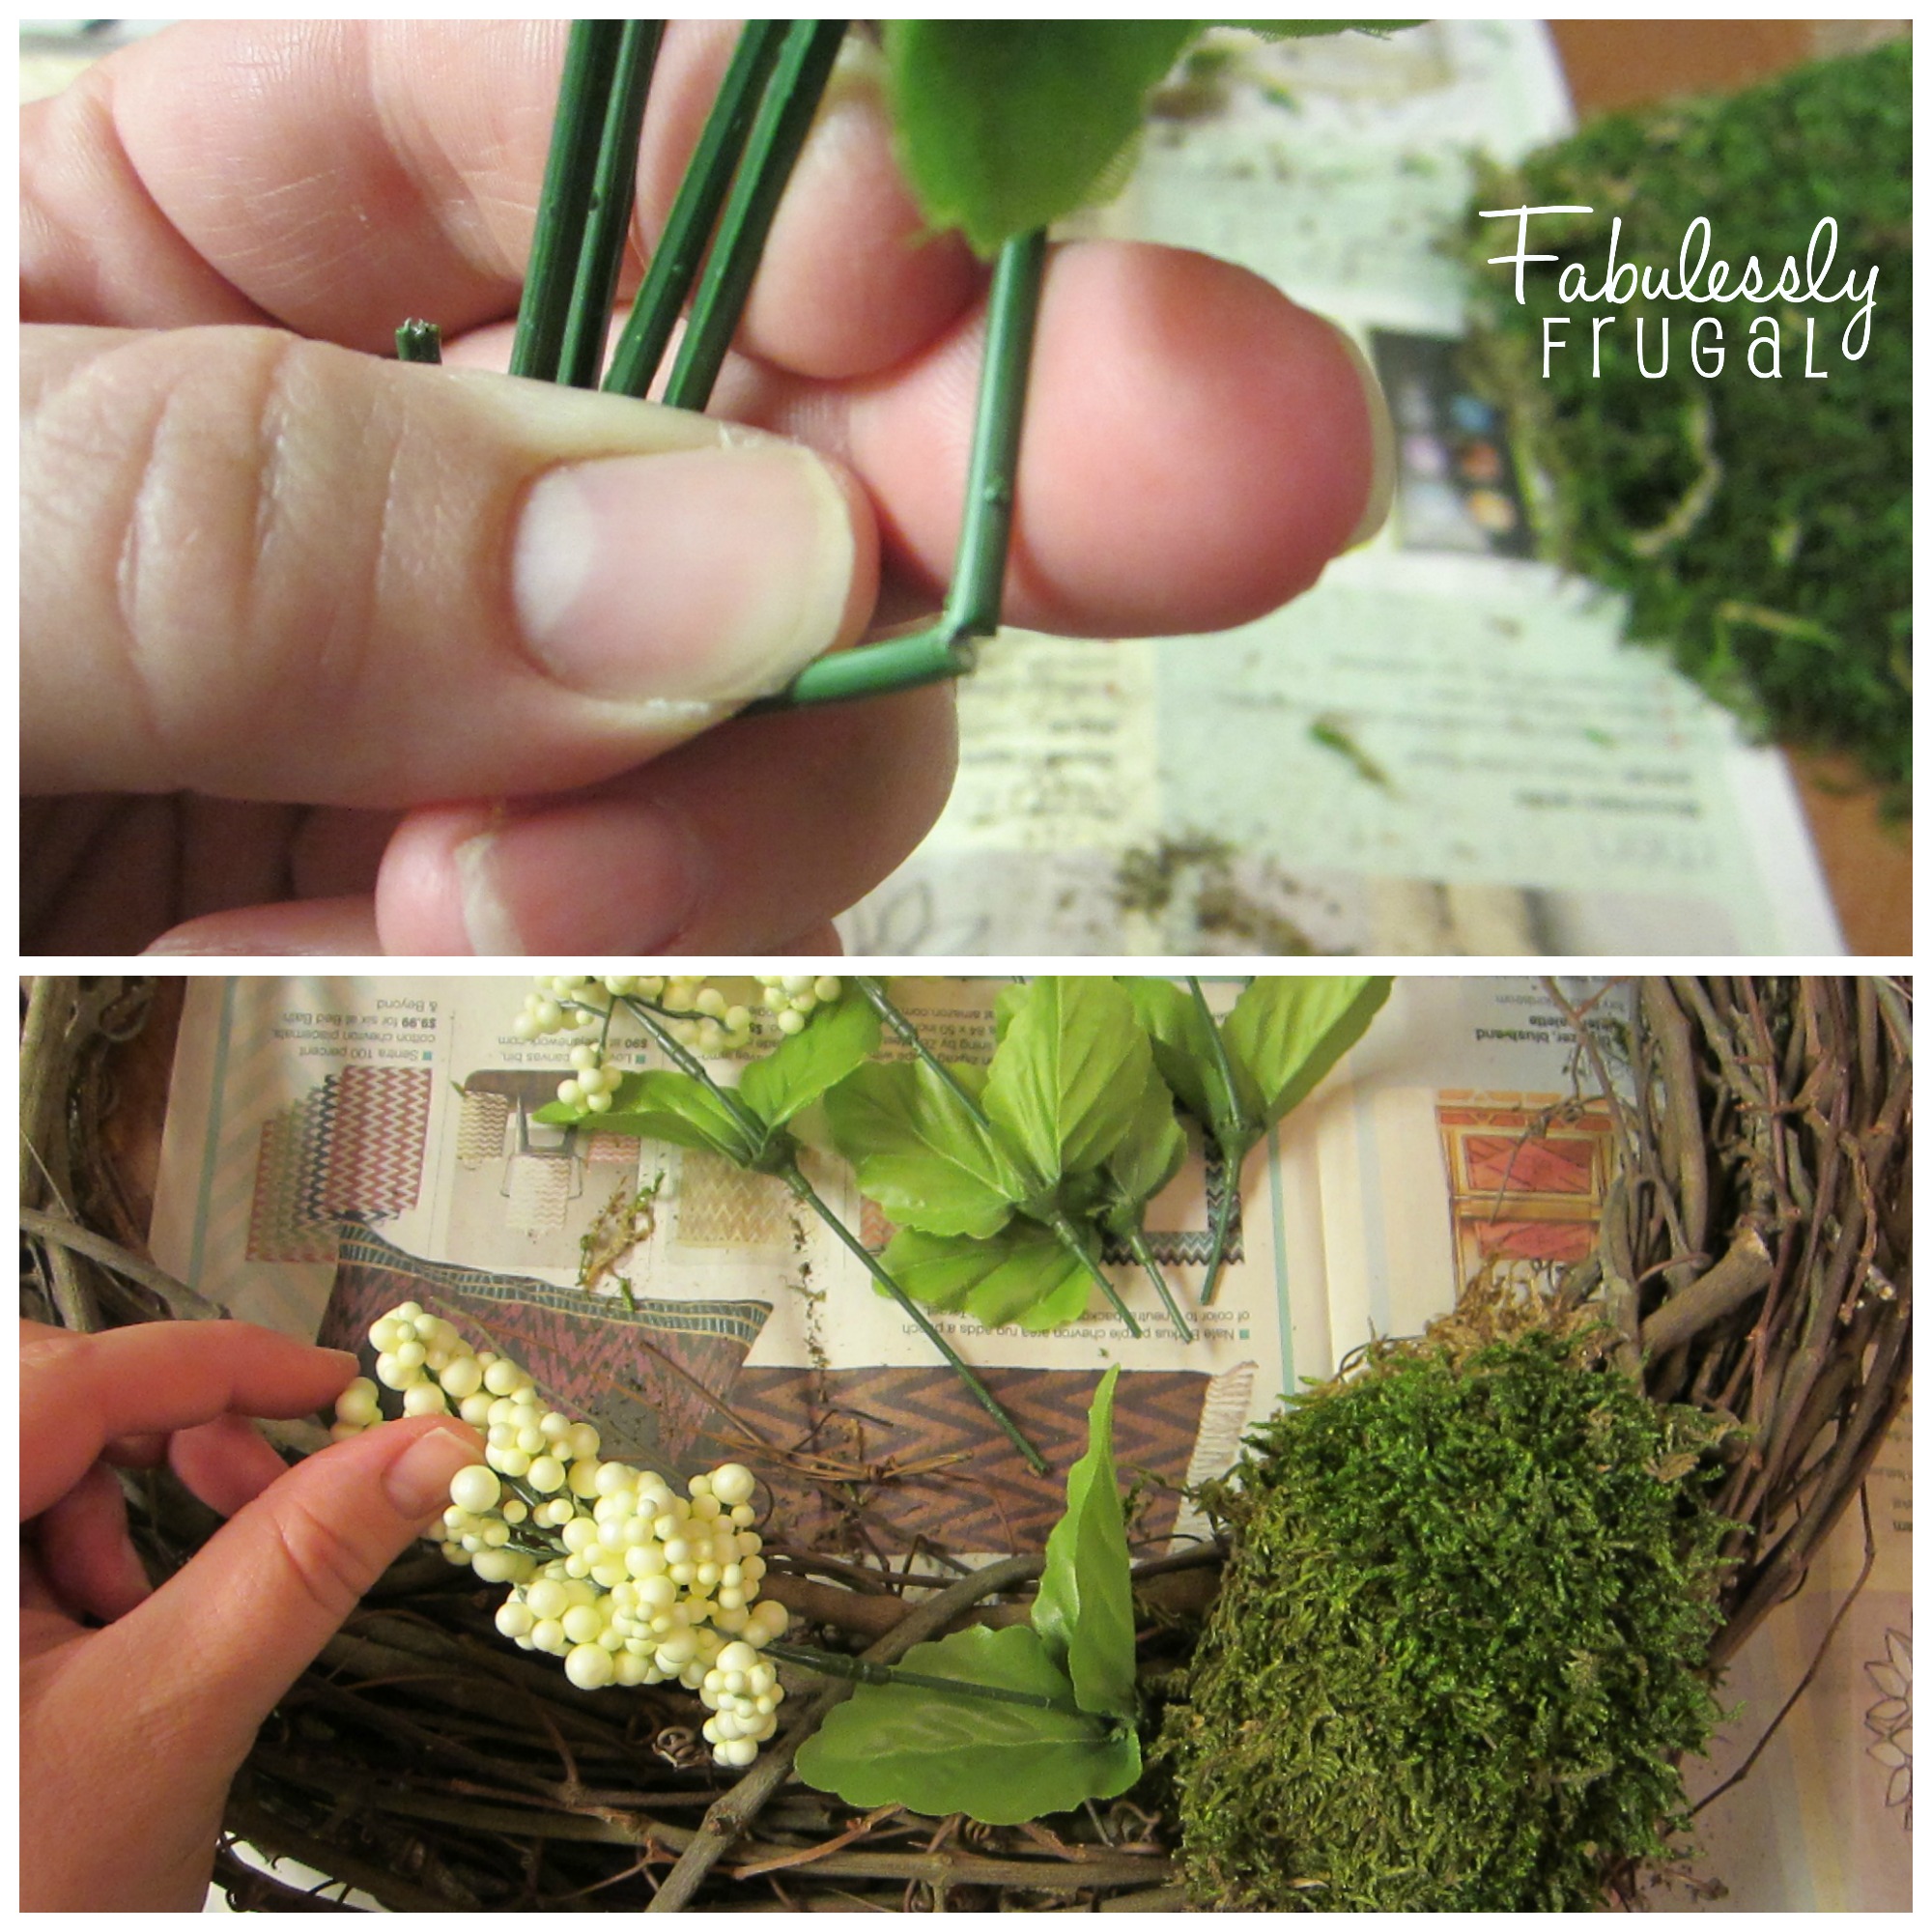
To separate the flowers from the plastic bunch, cut through the plastic coating with scissors and then bend the wire and it will snap off easily. Dry fit the flowers to place them how you like them.

Place a dot of glue underneath the flowers to hold each one in place. Glue the leaves so that they lay flat and point outward. If you look at the difference in pictures 1 and 2 above, you will see that how you place the leaves makes a big difference. You want moss to be peeking out from all around the flowers. Break off small pieces of moss to fill in on the sides of the wreath, making the flowers look like they are blooming out of fresh green foliage.

Continue building in the flowers, staggering them as you go. If you place them at varying heights and not in a straight line, they will look more natural. Fill in more moss too.
Finish the wreath by adding the mossy section at the other side of the flower cluster. When you are finished gluing down the last piece of moss, give the wreath a little shake over the newspaper or trash. Then you won’t have little pieces of moss falling off and continuing to make a mess.
I like to hang the wreath so the flower and moss section is off to one side. I think the assymetrical look is more pleasing to the eye.
There you have it. Simple, beautiful, fresh, and fun. Enjoy!
More Related Diys


Trending DIY Projects
- DIY
- Recipes
- Deals
- Blog


Report a Problem
Please select the problem you are facing with this deal:
- Price Increased
- Price Decreased
- No longer available
- Expired
- Link doesn't work
- Suggestion
- Compliment
- Other
Add more details:
Thank you for your feedback. We really appreciate it.
Enter your email address if you would like to receive a follow up.
Please Try Again
Thanks for providing the email address.
We will reach out to you as soon as possible.


Popular
Recommended
About Us

At Fabulessly Frugal, our goal is to help you live HEALTHY, WEALTHY, and WISE! My team and I work hard to bring you the best, online deals, clean eating, DIY's, freezer meal recipes, and more! I LOVE coaching and inspiring people to improve their health in my fitness challenge! You should also check out my favorite cleanse! Learn more about me and the rest of my team.


Copyright © 2008–2024
Fabulessly Frugal: A Coupon Blog Sharing Gift Ideas, Amazon Deals, Printable Coupons, DIY, How to Extreme Coupon, and Make Ahead Meals. All rights reserved