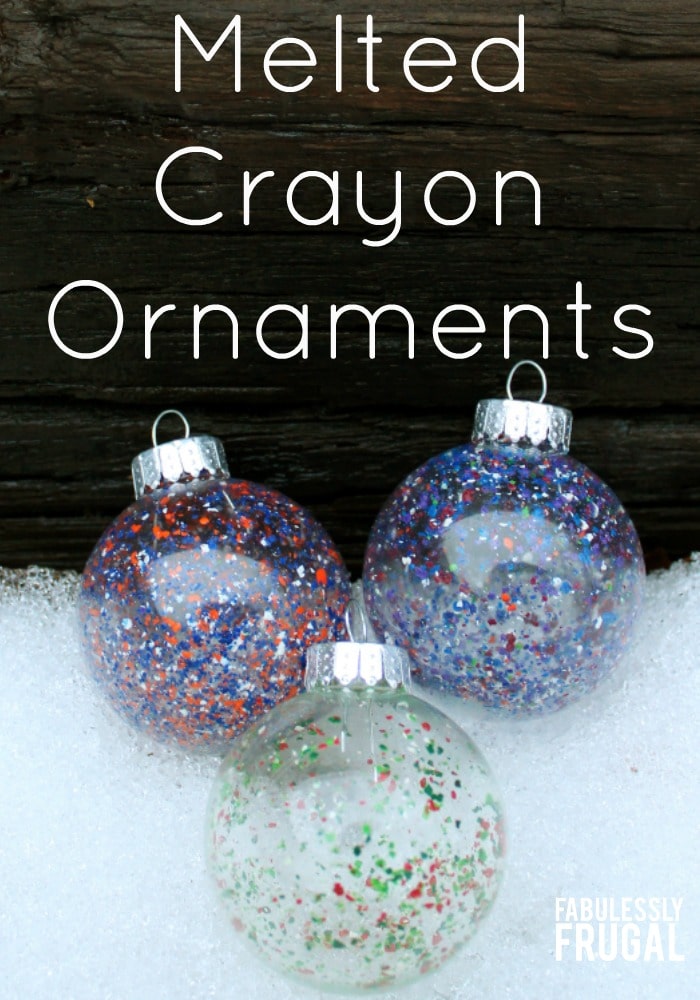
DIY Melted Crayon Ornaments
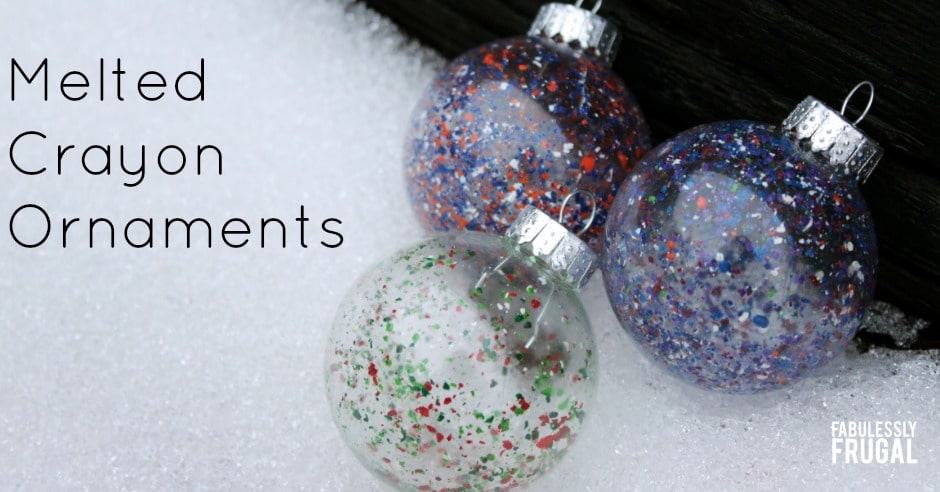
Make these melted crayon ornaments today for a quick and fun DIY decoration!
This time of the year is my favorite time to find the inner crafter in me because there are just so many cute decorations and fun things to make! Seriously, if you don’t believe me, head to Pinterest! My kids really enjoy crafting too so we always trying to make something during the holidays. These melted crayon ornaments are perfect for this! Not only are these ornaments perfect for your own home but they also make really great grandparent gifts or even class party favors! A friend of mine even did them at her son’s birthday party with the kids to take home this week! They are so easy to make and you don’t need skill to create them either, which is always a bonus in my opinion!
What you will need:
Clear glass ornaments
Crayons
Blow dryer
If you have little ones at home, finding some crayons that have seen some better days isn’t hard. You don’t have to use old beaten up crayons. You are welcome to use new ones but I had plenty of the old ones around.
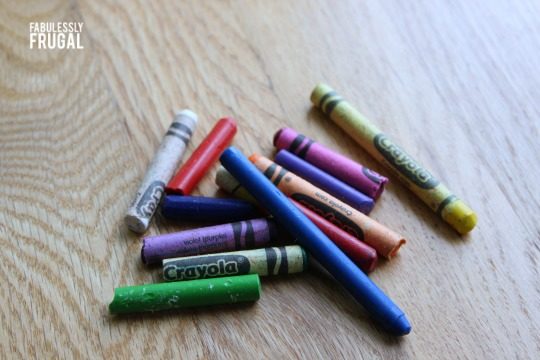
First thing you will need to do after you gather your crayons is to get the wrappers off. Lucky for me, my kids had already helped with this process with my crayons. Another advantage to using the old ones. If you have a ton with wrappers still you can enlist the help of the little ones to get the remainder of the wrappers off or you can soak them in water and this will make removing them super easy. However, I just peeled them right off.
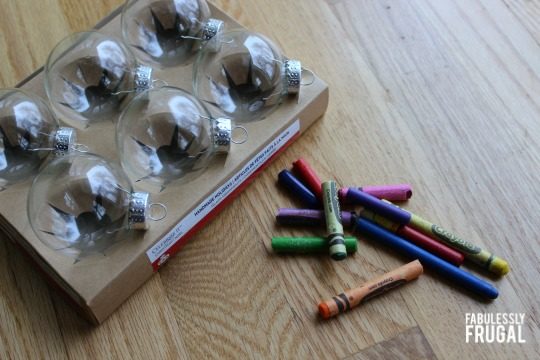
You will also need some clear glass ornaments for this project. You can pick these up at almost any retailer but make sure they are glass and not plastic.
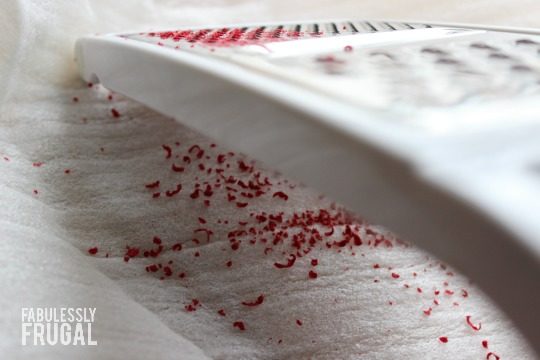
Once you have your crayons all unwrapped, it’s time to break them down. You can use a potato peeler if you’d like but I actually had an old cheese grater laying around that I had used for other crafts so I just used that. The nice thing about using a cheese grater instead of a peeler is the nice uniform pieces of crayon it creates.
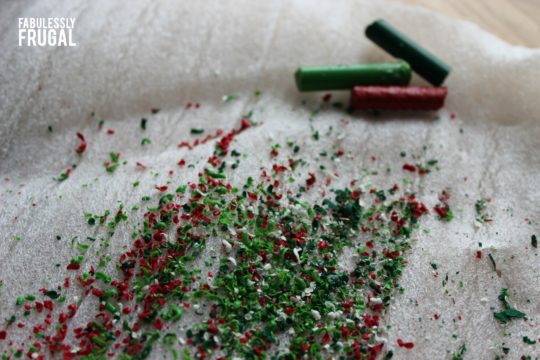
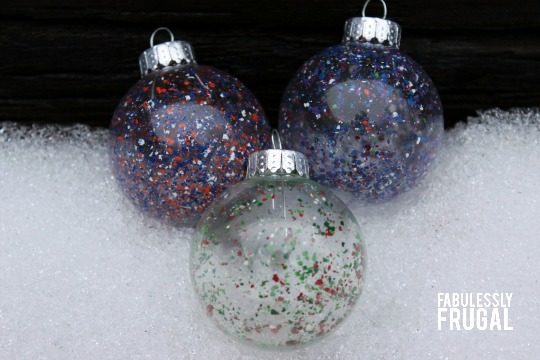
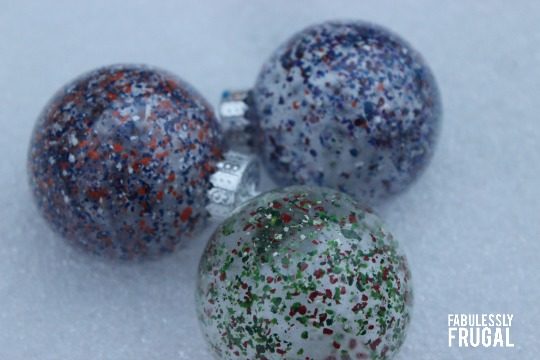
See how beautiful those little pieces of colored wax are! LOVE them! You can stay with traditional Christmas colors or make any color combos you would like. Another fun idea would be to create sports team colors or to match a certain theme. Totally open to do what ever you would like.
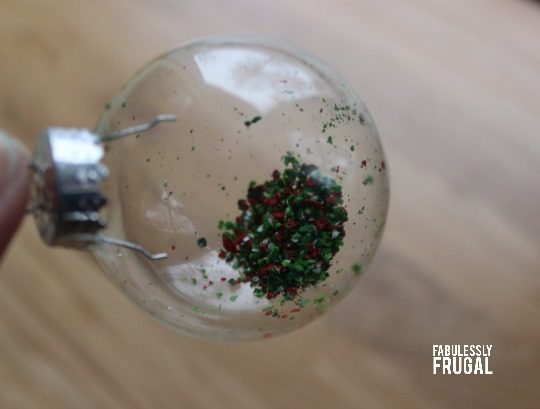
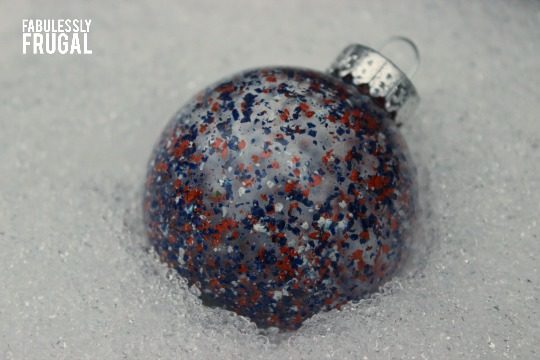
To get started, pop the little metal top of your bulb and put some of your crayon shaving n there. For the one above, there is about 1.5 teaspoons of shavings in my bulb. It was pretty sporadic so on my others, I doubled the amount of crayon shavings in the bulbs. Once you get your shavings in, pop the little metal top back on. It’s time to melt that wax now!
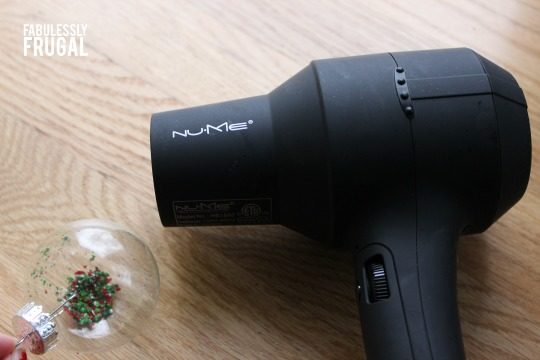
Grab your blow dryer and you are all set. Hold your bulb by the little metal cap and turn your blow dryer on and start melting the wax. Be sure you are no on your cold setting though. It will never melt. Trust me. Not speaking from experience though! Nope, not me. 🙂 Be sure to keep turning your bulb as you hit with heat to get the shavings to distribute evenly.
The melting process takes 3-6 minutes, depending on many shavings you have in the bulb. 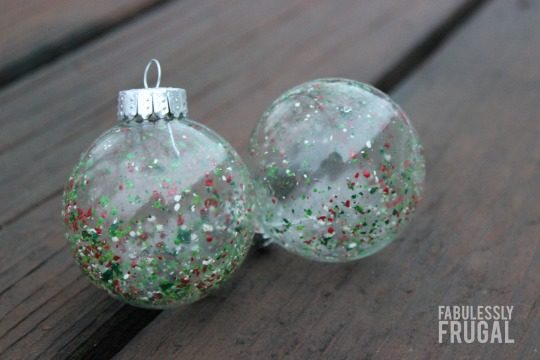
Just make sure to let them cool a bit before you hang them on the tree or put them any where cool!
These little bulbs are perfect to bring some new life to your old ornaments. Or have the kids create some and send them off at a grandparent gift!
Comments
Leave a Reply
More Related Diys


Trending DIY Projects
- DIY
- Recipes
- Deals
- Blog


Report a Problem
Please select the problem you are facing with this deal:
- Price Increased
- Price Decreased
- No longer available
- Expired
- Link doesn't work
- Suggestion
- Compliment
- Other
Add more details:
Thank you for your feedback. We really appreciate it.
Enter your email address if you would like
to receive a follow up.
Please Try Again
Thanks for providing the email address.
We will reach out to you as soon as possible.


Popular
Recommended
About Us

At Fabulessly Frugal, our goal is to help you live HEALTHY, WEALTHY, and WISE! My team and I work hard to bring you the best, online deals, clean eating, DIY's, freezer meal recipes, and more! I LOVE coaching and inspiring people to improve their health in my fitness challenge! You should also check out my favorite cleanse! Learn more about me and the rest of my team.

Copyright © 2008–2024
Fabulessly Frugal: A Coupon Blog Sharing Gift Ideas, Amazon Deals, Printable Coupons, DIY, How to Extreme Coupon, and Make Ahead Meals. All rights reserved
I have a question, my son and I tried these ornaments… they were beautiful! We found it difficult to get the shavings into the ball. We found the shavings to stick to everything! is there a trick to make this easier for little ones? Thank you!
I grated crayons over a tin can and then, I was able to use a small funnel and the crayon pieces fell right in.
Nice job Dee! Thank you… somehow I missed your Q Georgiana!! For sure a funnel will be great!
WIll this work with plastic ones?
Good cuestión i laso want to know this
You run the risk of not only melting the crayon bits but the plastic bulb as well. Probably better off using glass.