DIY Bisquick!
 Make your own Bisquick with items in your pantry!
I love to make pantry food items at home instead of buying them at the store. I like doing this to not only save money but because I am 100% sure what is going into the food I am making! Bisquick is one of the many items I like to make on my own. It’s so easy to whip up in the morning for pancakes or biscuits at dinner. Even better, you can make it in bulk and store it in an air-tight in the refrigerator for up to 3 months! Here is how I make it…
What you will need:
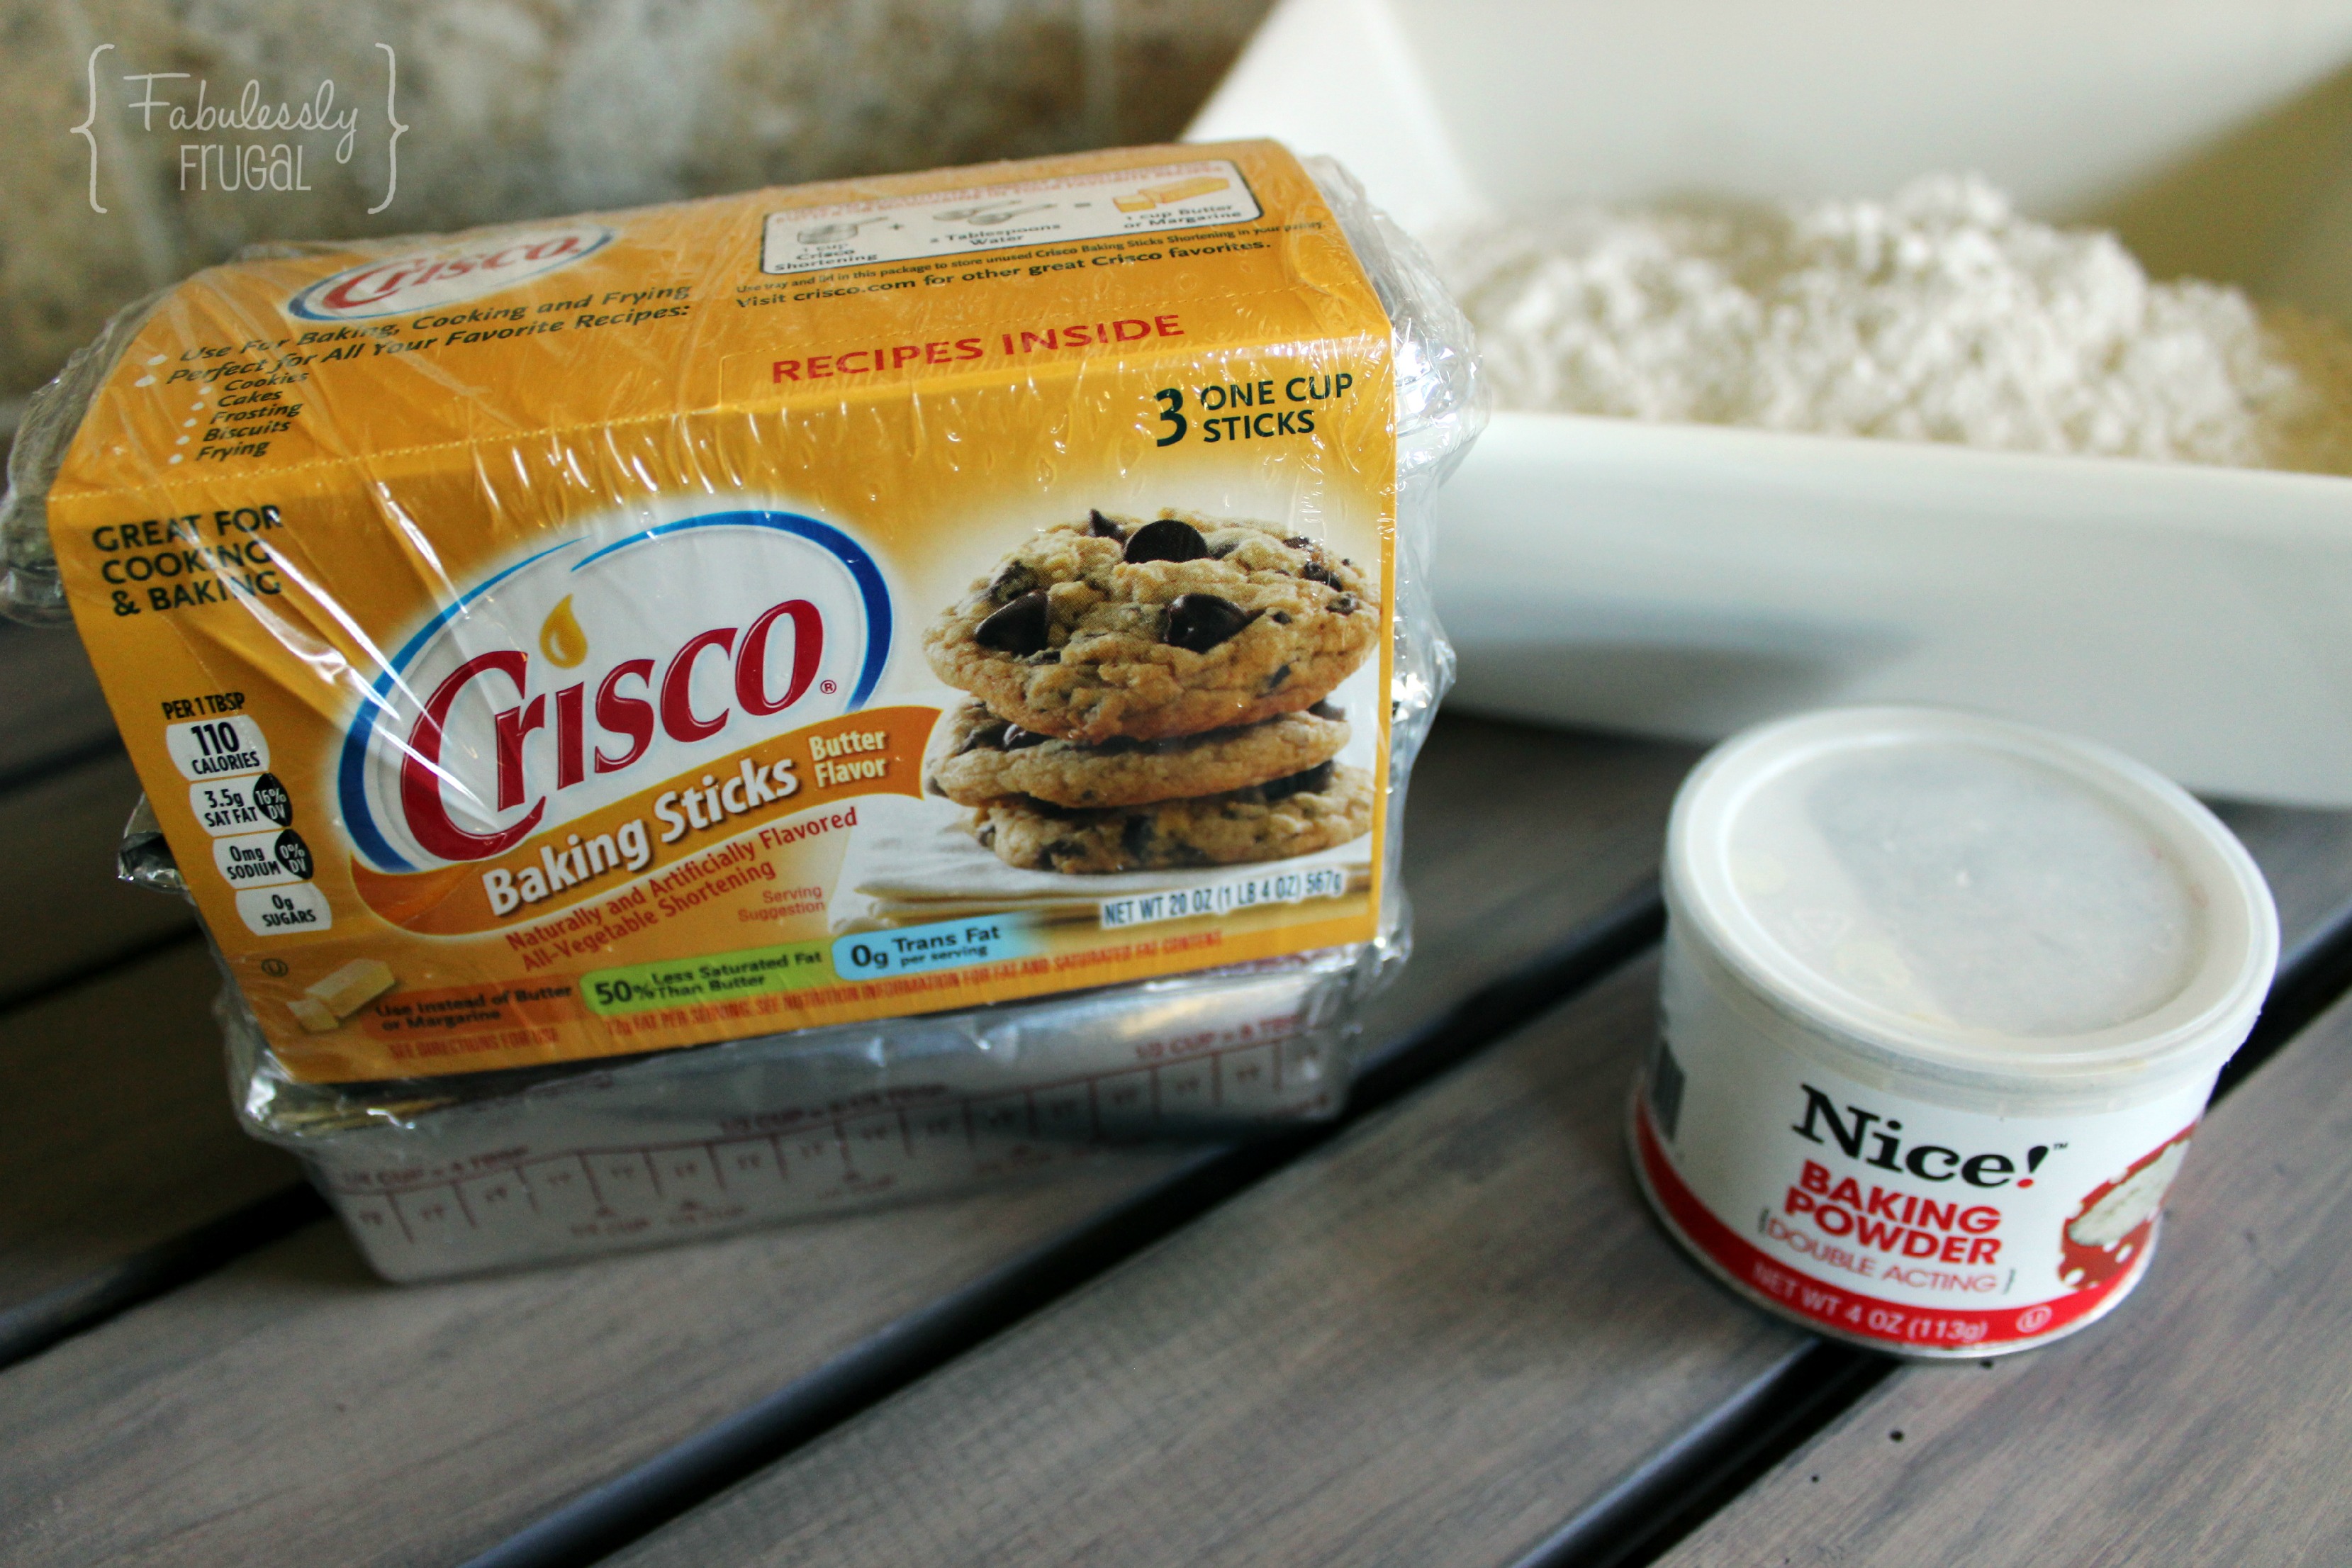
3 cups flour
1/2 cup of shortening (cut into cubes)
1 1/2 tablespoons of baking powder
1/2 tablespoon of salt
1 Air-tight container to store the mix in
Mix up your Bisquick:
Mix all of your dry ingredients together.
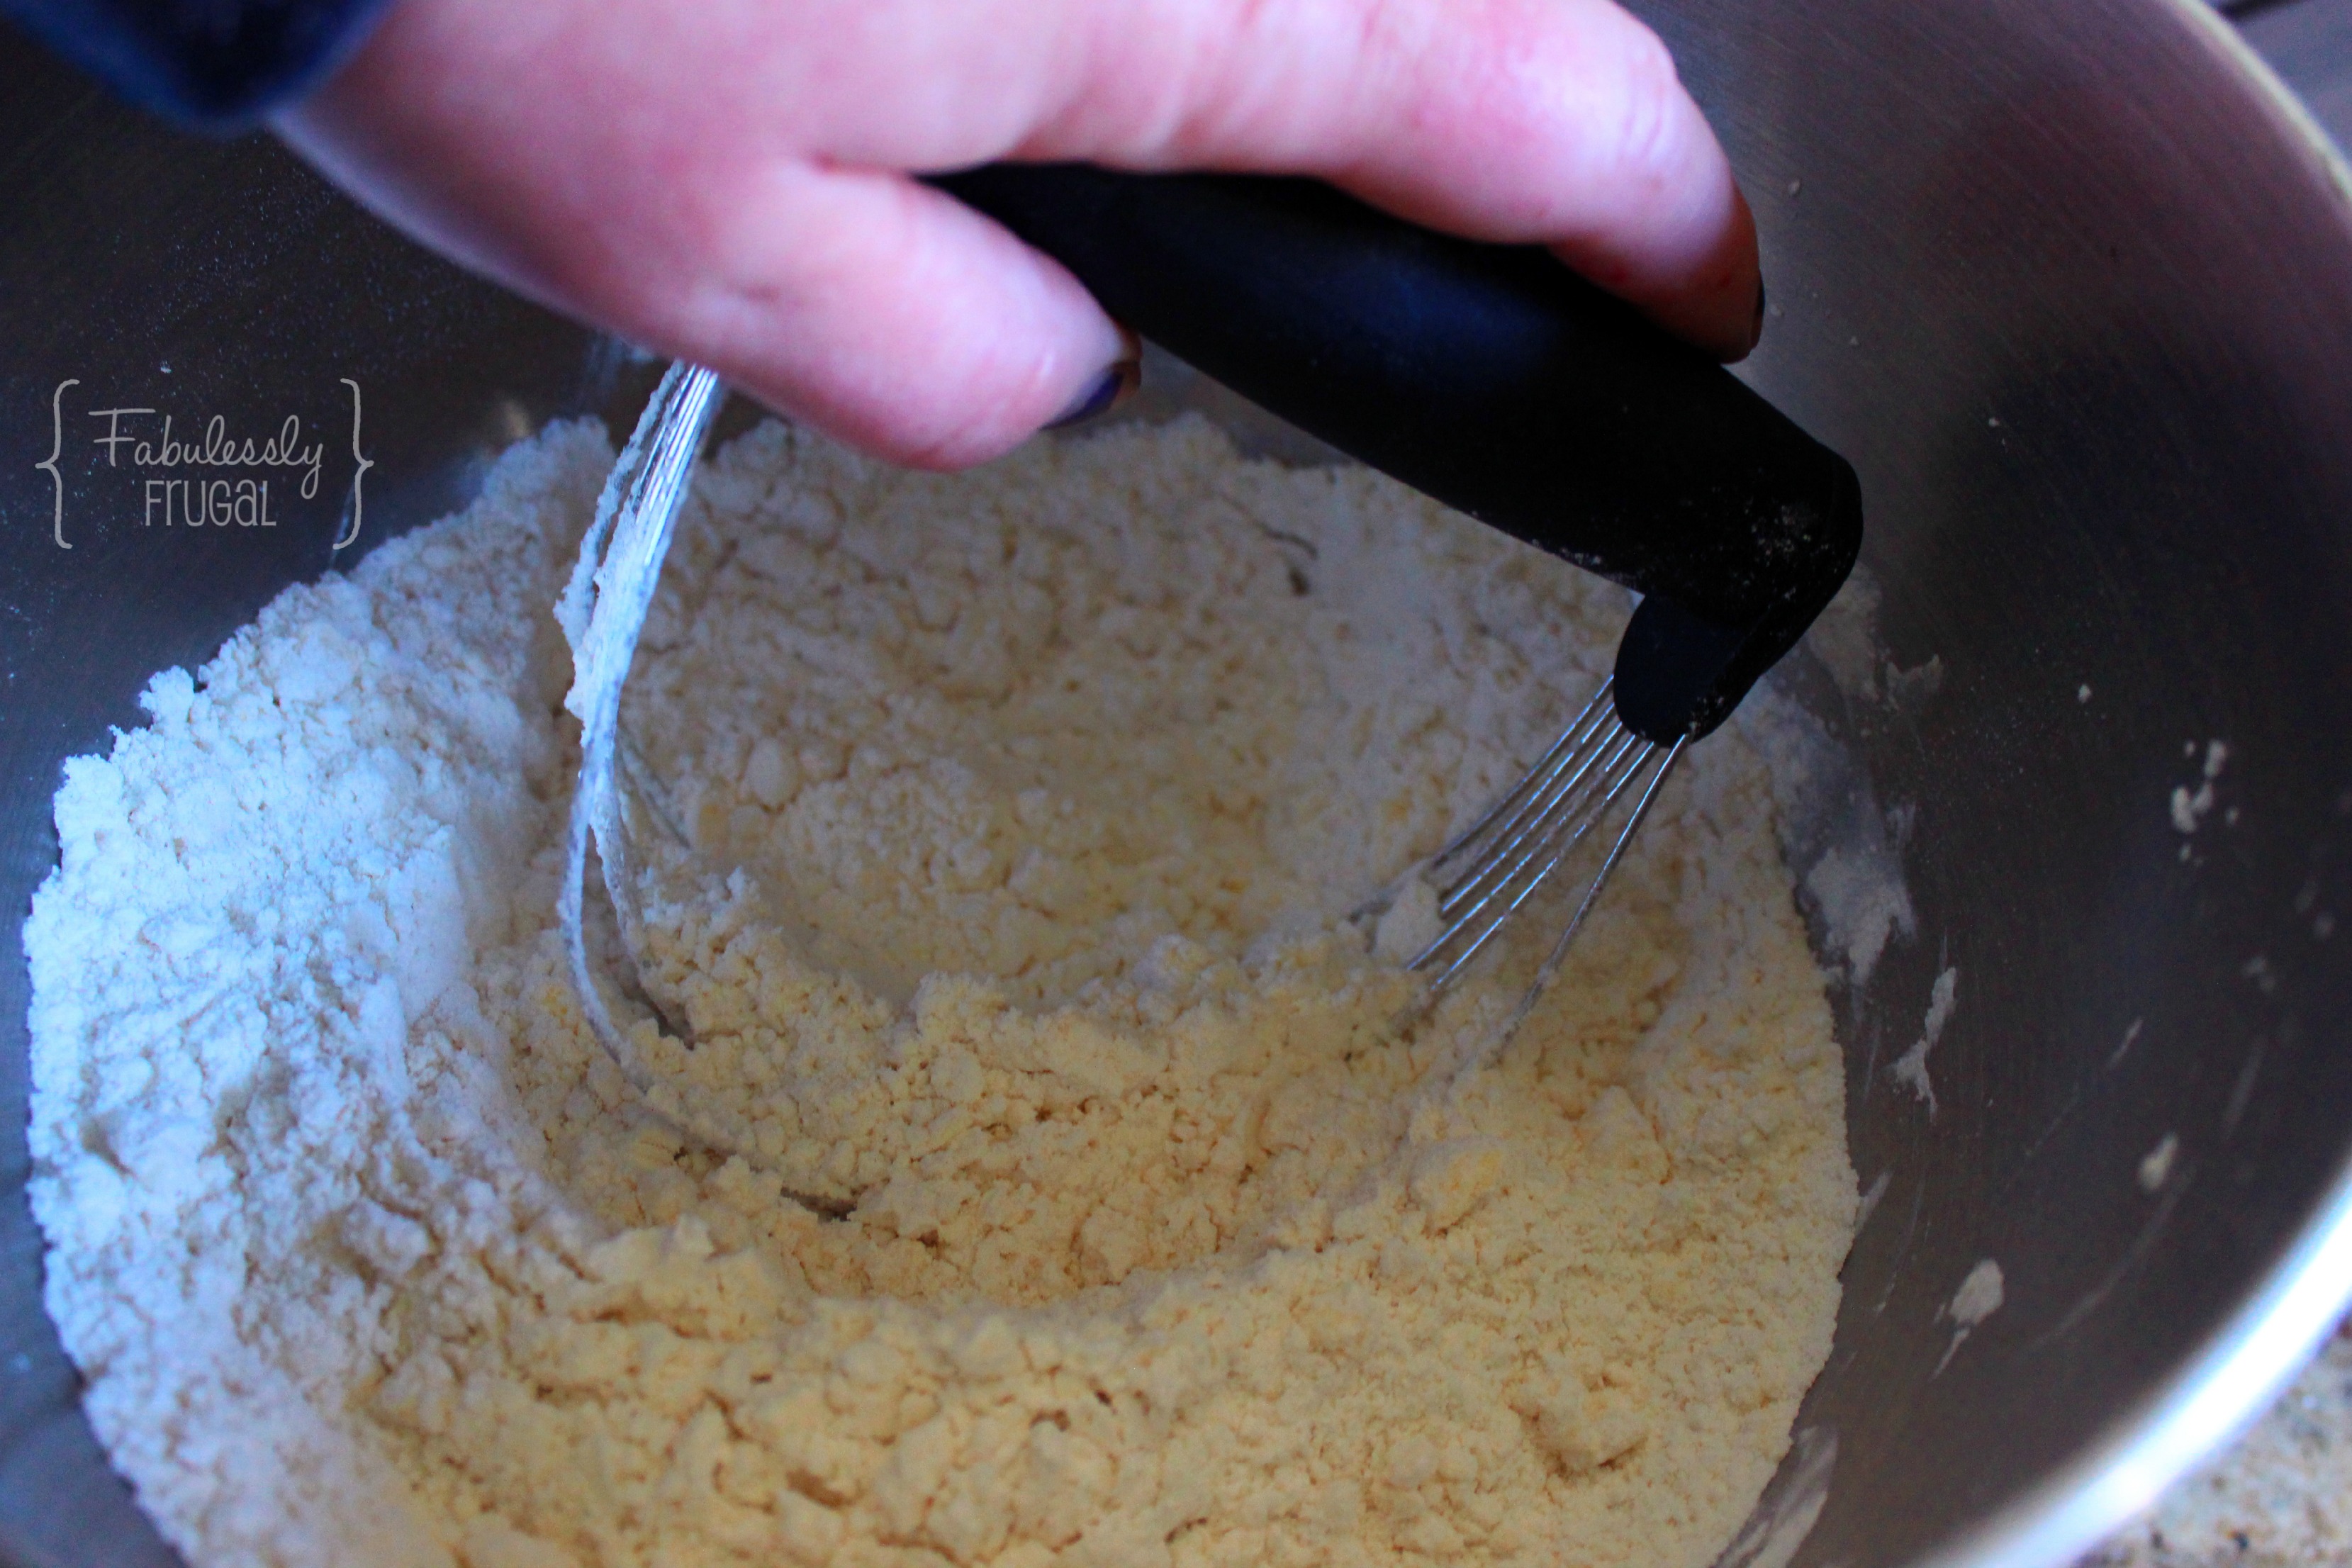
Cut your shortening into the dry mix. You can do this with a fork, a food processor, or a pastry cutter. If you do a lot of baking, I would highly suggest getting a pastry cutter. The pastry cutter is hands down my most prized kitchen utensil.
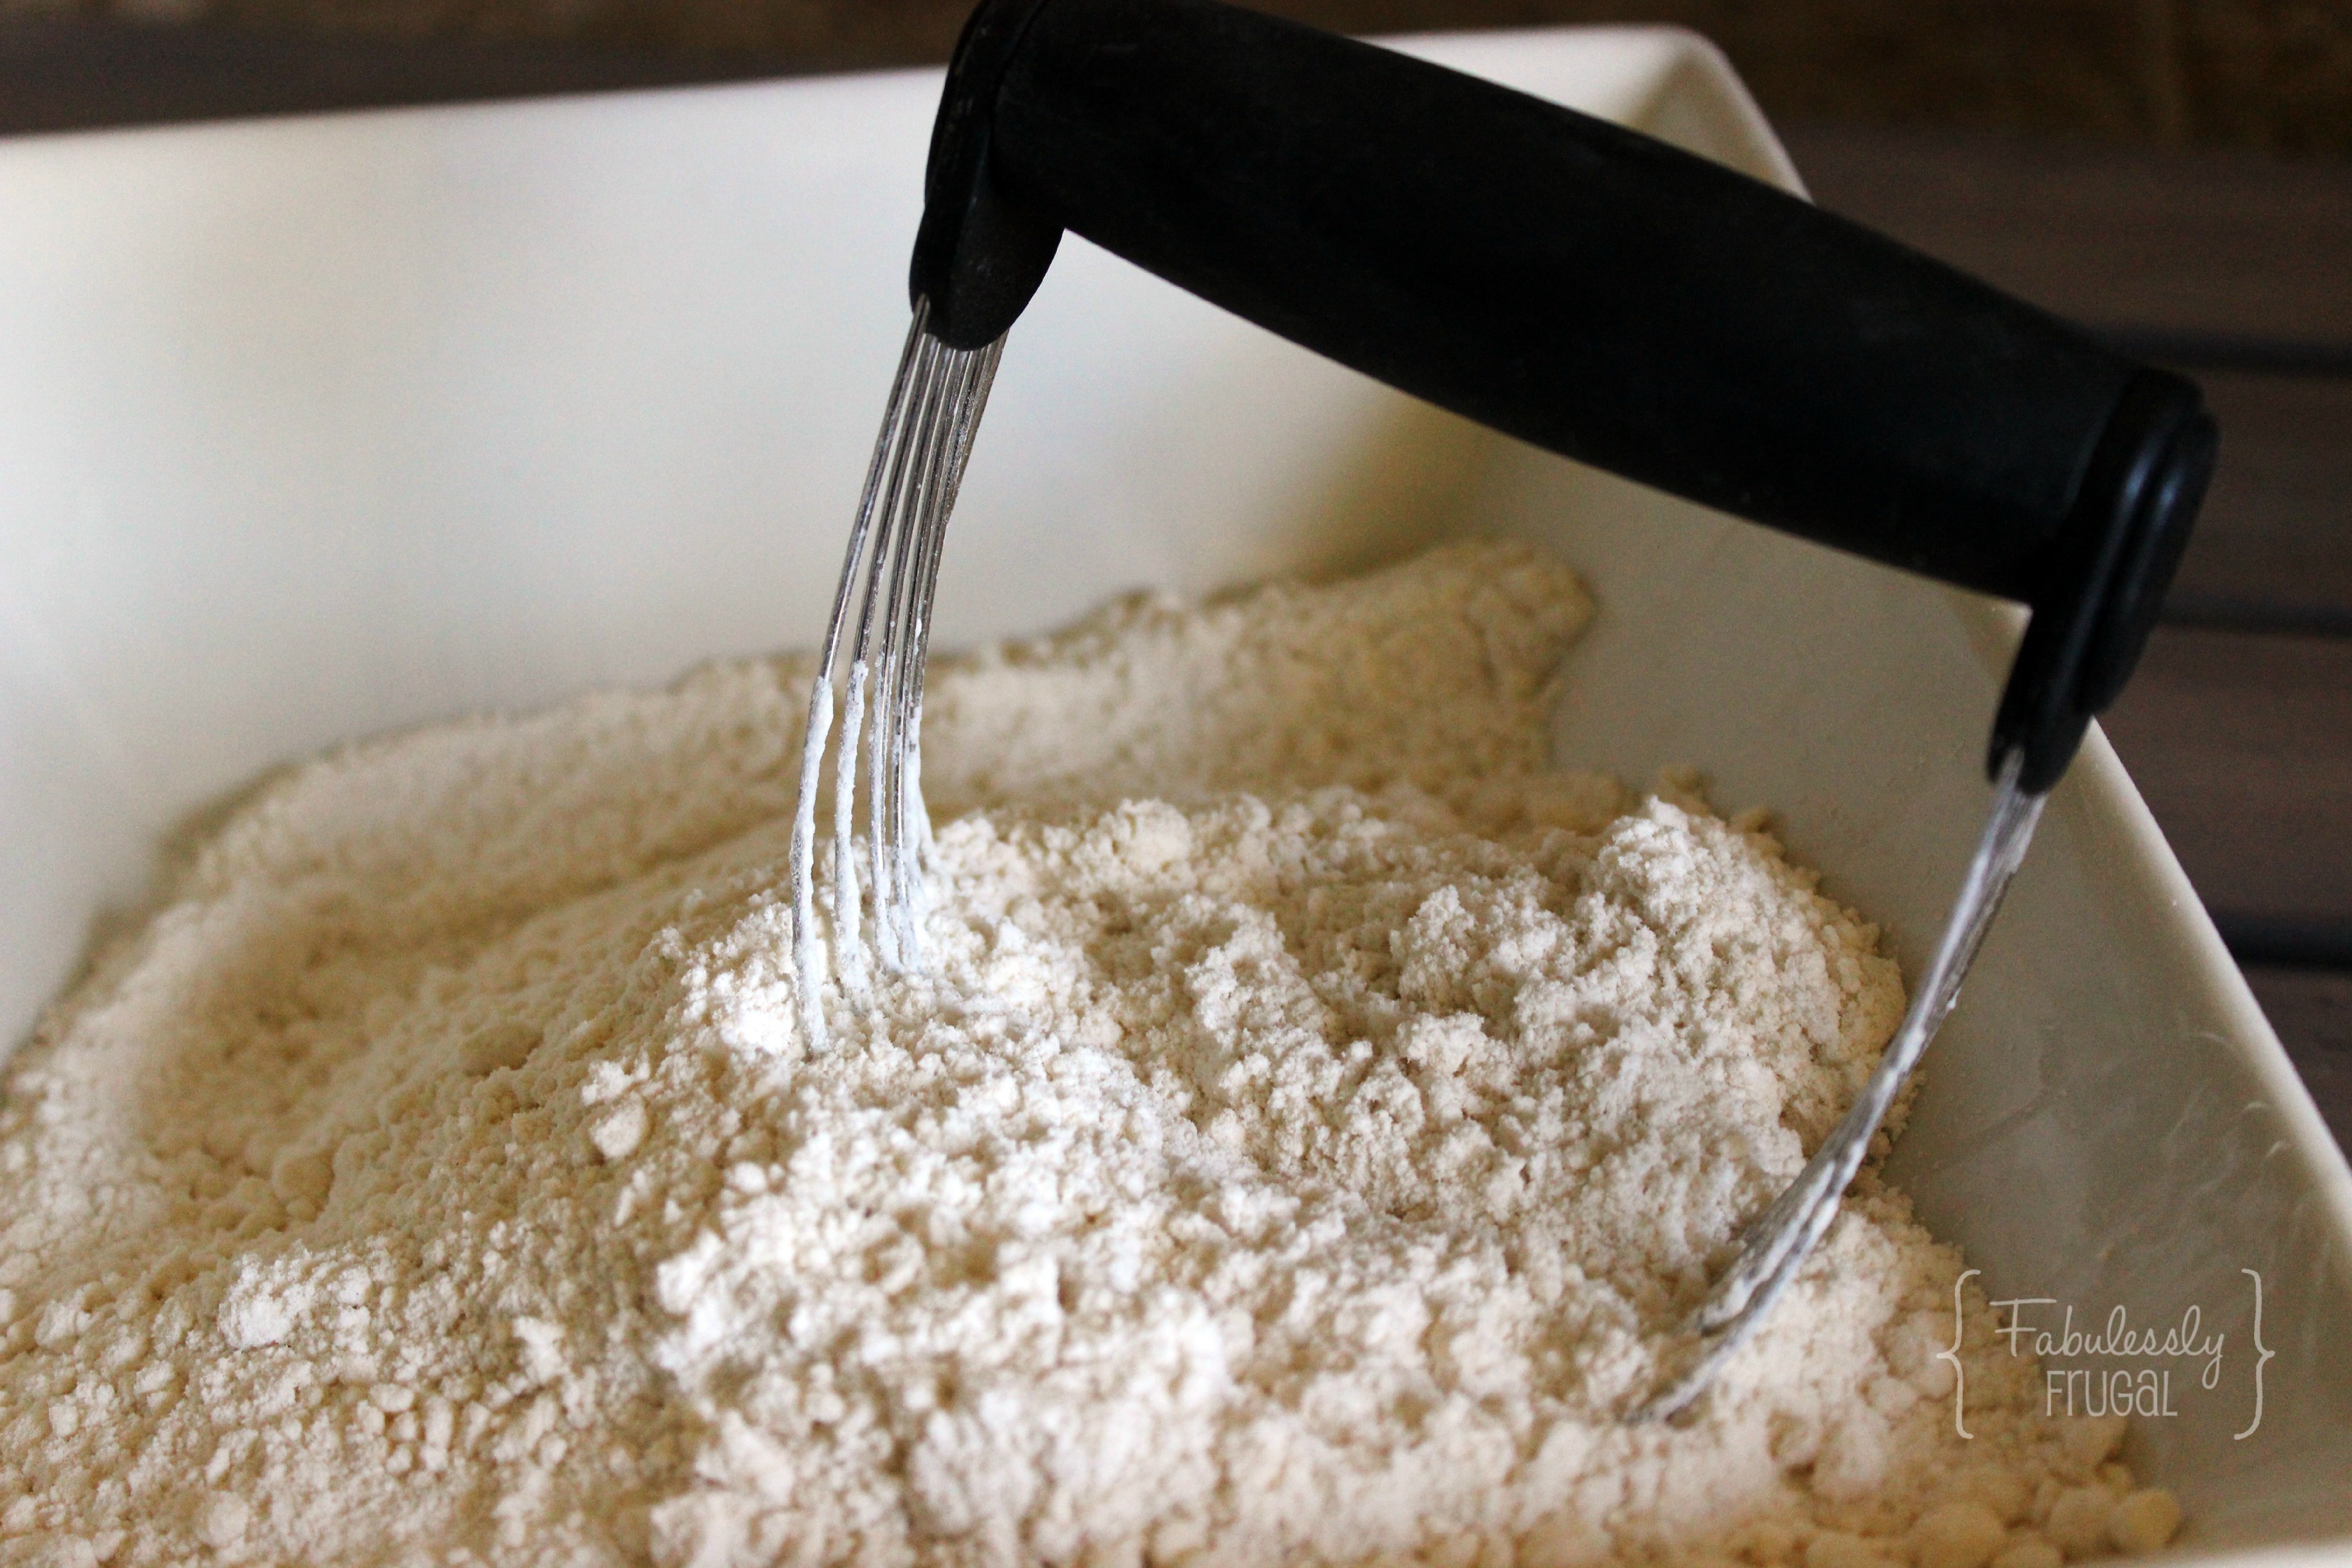
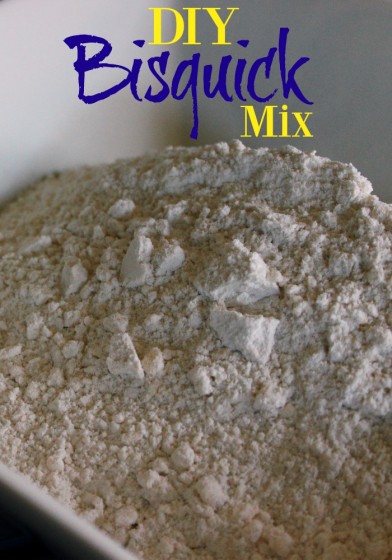
You will want to pulse with the food processor or cut in with another tool until the mixture roughly resembles the texture of cornmeal.
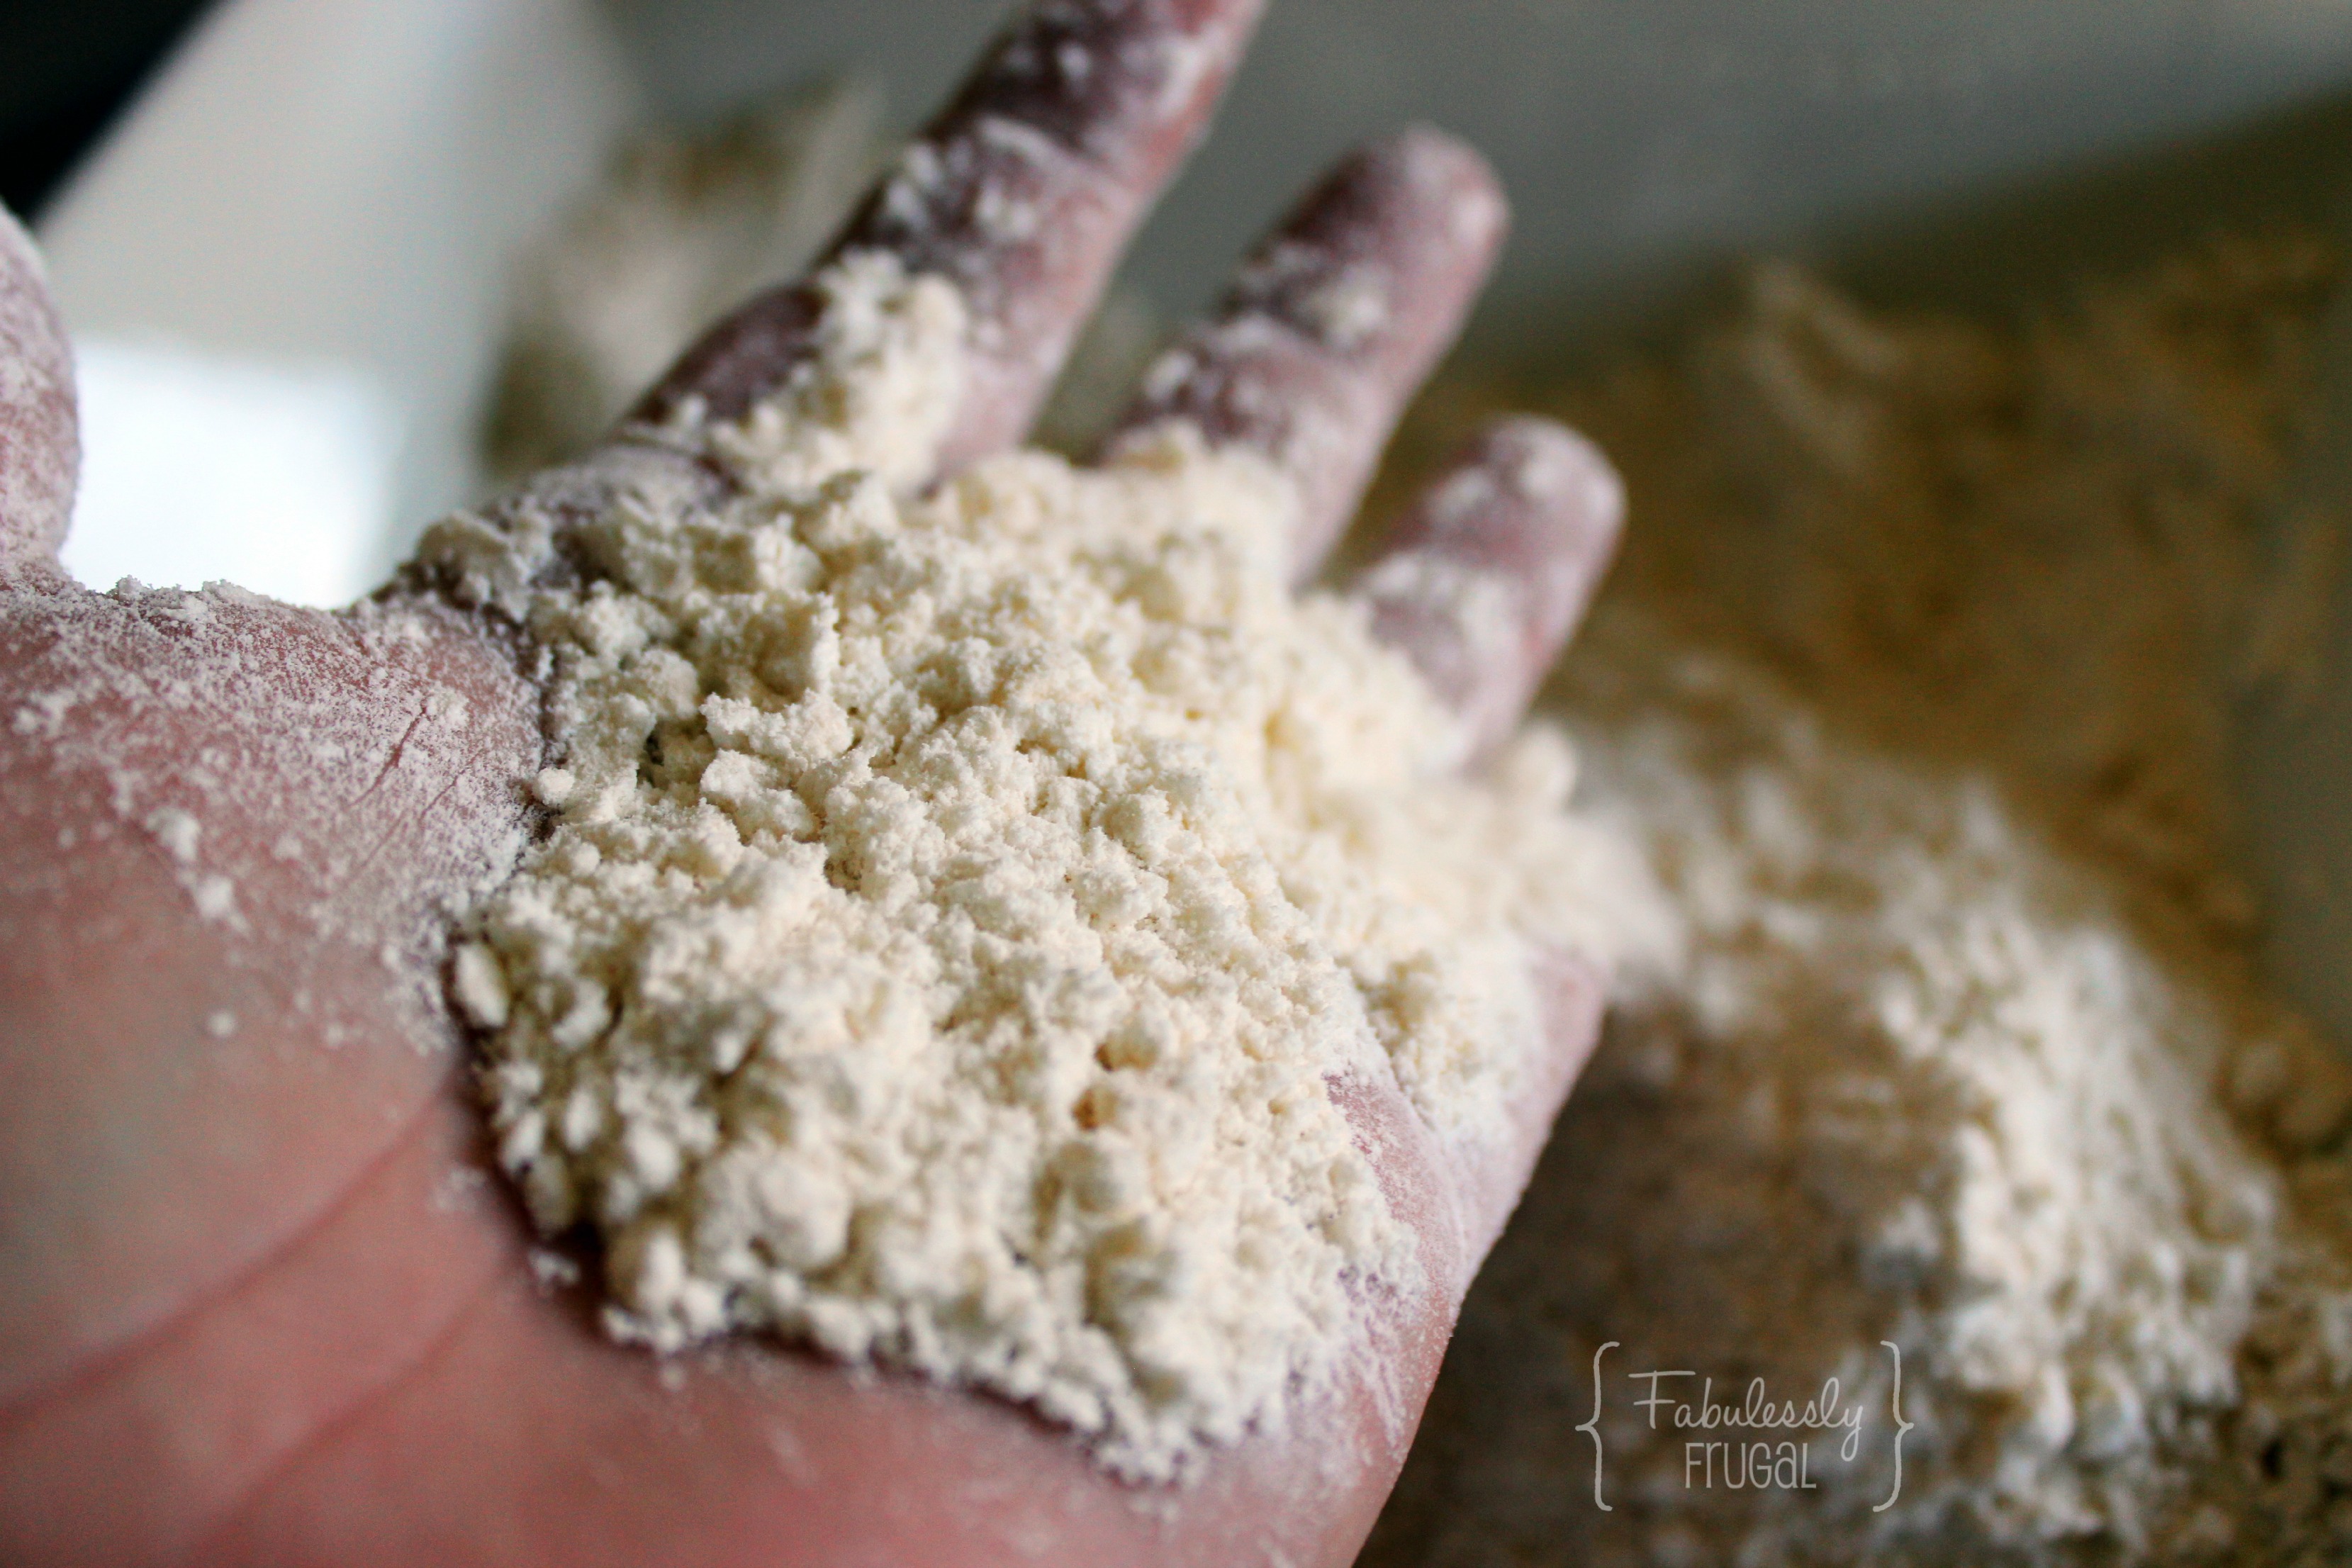
That’s it! You are all set! You can use it now or put it into your air-tight container.
Need gluten-free? Swap the flour for a gluten-free flour!
Use the mix for biscuits:
1 cup of mix
1/2 cup of milk
You don’t want to over mix this. Just enough to wet the dry ingredients. This recipe makes drop biscuits. You can add things cheese and garlic too!
Use the mix for pancakes or waffles:
Add 2 cups of mix
1 cup of milk
2 eggs
2 tablespoons of vegetable oil (for waffles)
Mix all of these items together and you are all set! Make the kids smile by adding some chocolate chips.
[amd-zlrecipe-recipe:691]
{Pin This} Recipes for later. You know it is going to come in handy!

DIY Bisquick!
Ingredients
- 3 cups flour
- ½ cup shortening cut into cubes
- 1 ½ tablespoons baking powder
- ½ tablespoon salt
Instructions
- Combine all of your dry ingredients together.
- Cut in the cubed shortening
- Store in an air-tight container in the refrigerator for up to three months.
Nutrition
Trending Recipes


More Related Recipes


Trending Recipes
- Recipes
- DIY
- Deals
- Blog


Popular
Recommended
About Us

At Fabulessly Frugal, our goal is to help you live HEALTHY, WEALTHY, and WISE! My team and I work hard to bring you the best, online deals, clean eating, DIY's, freezer meal recipes, and more! I LOVE coaching and inspiring people to improve their health in my fitness challenge! You should also check out my favorite cleanse! Learn more about me and the rest of my team.

Copyright © 2008–2024
Fabulessly Frugal: A Coupon Blog Sharing Gift Ideas, Amazon Deals, Printable Coupons, DIY, How to Extreme Coupon, and Make Ahead Meals. All rights reserved