Craft Stick Snowflakes Tutorial
 I love hand-made crafts, especially for holiday decorations. Not only are these snowflakes a cute decoration for your home, but they are a great activity to do with your children, for a family night, or for a craft night with your girlfriends. They are not difficult to make, and they allow for your own unique take on the design. You can make a really simple snowflake, or get very elaborate. They are great for hanging over a window, along a banister, on a door, or even outside on an awning. Here is what you will need:
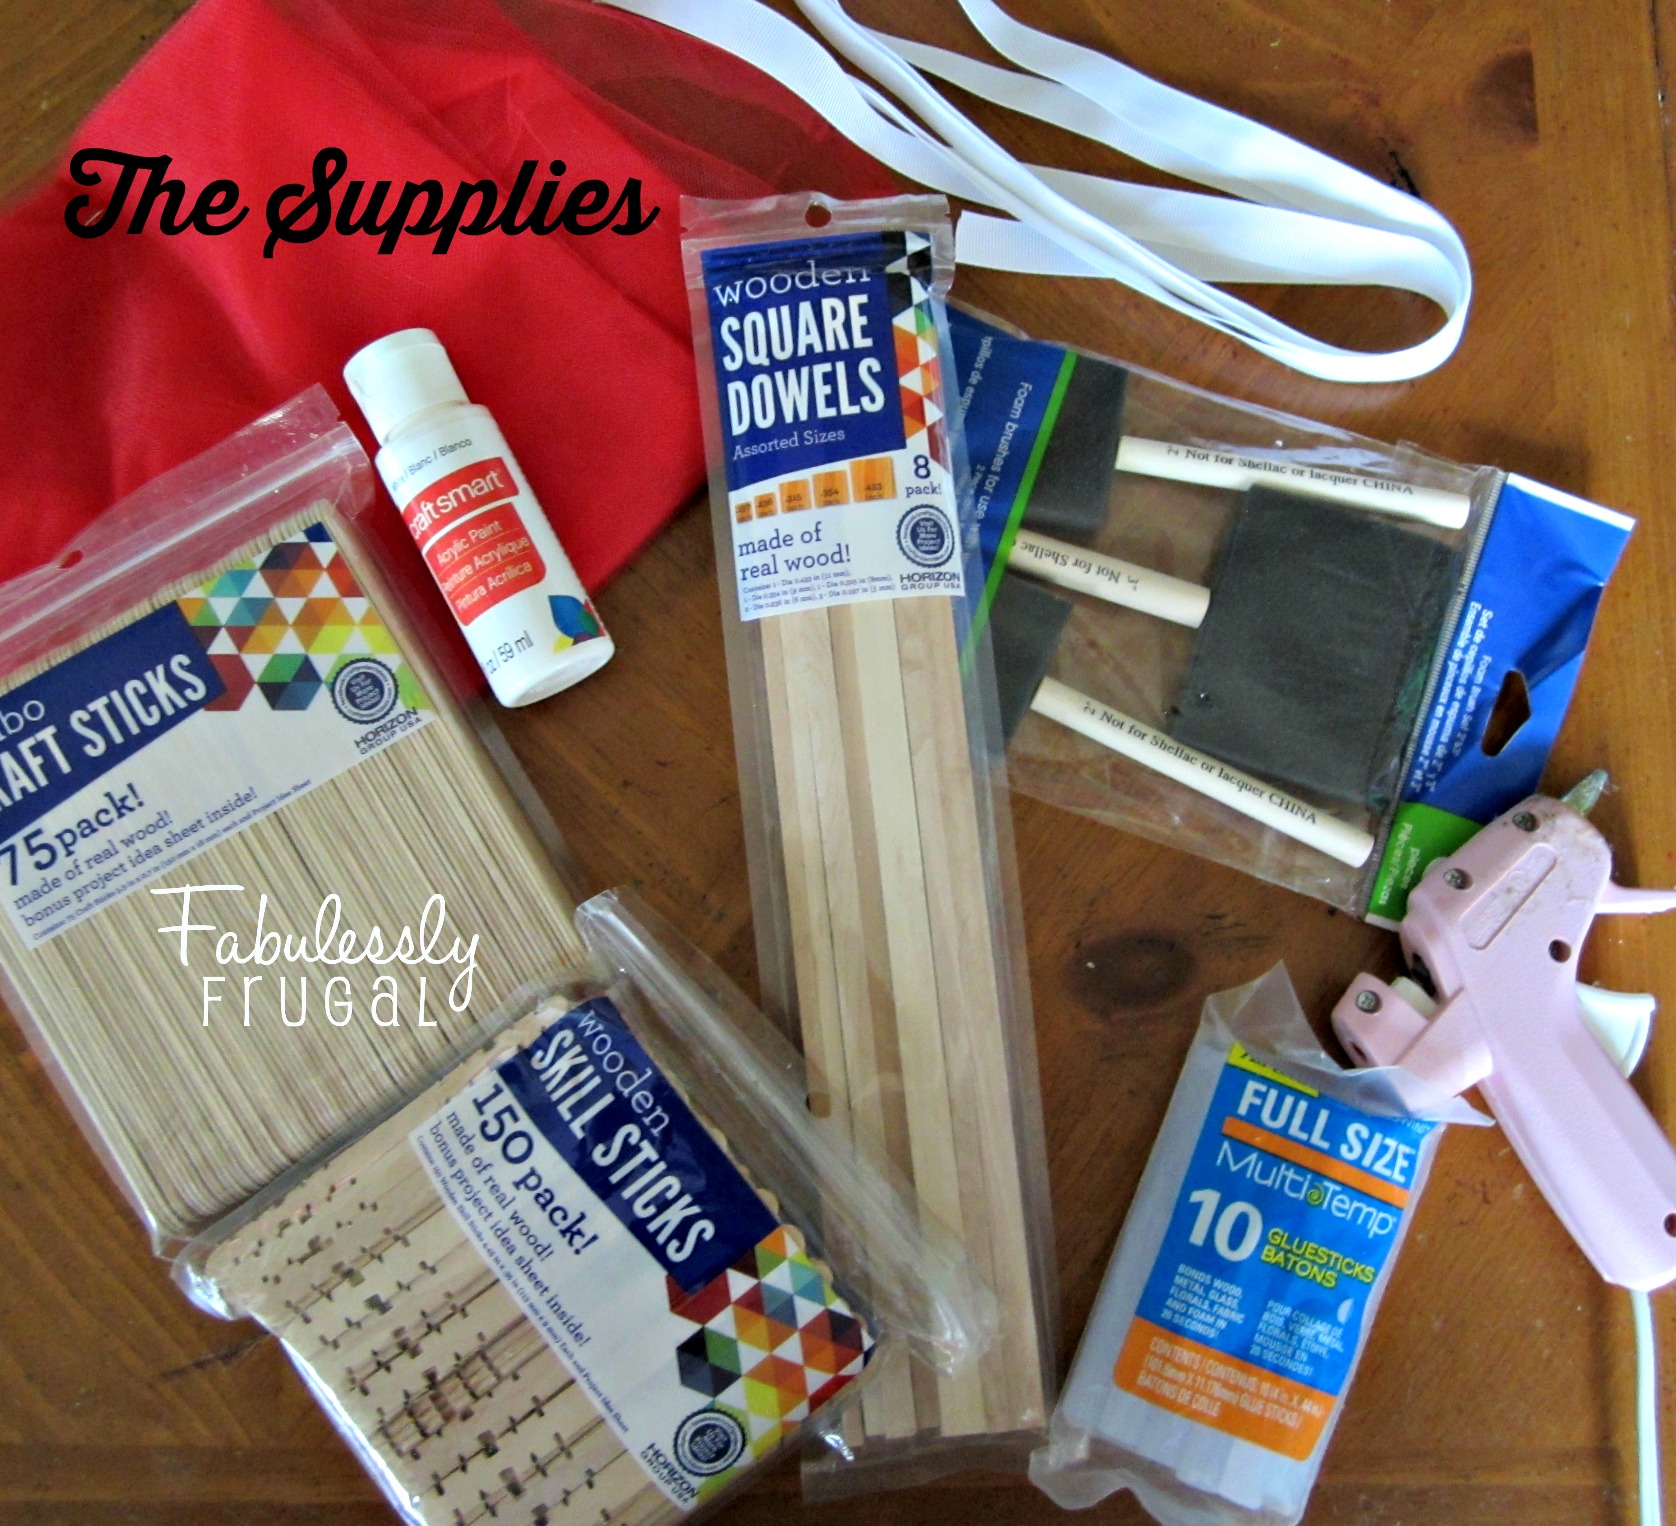
The Supplies:
- Jumbo craft sticks
- Skill sticks
- square dowels
- metal circles (Mason jar lids or frozen juice container lids)
- white paint
- sponge brush
- Red tulle or ribbon
- hot glue gun
- hot glue sticks
The Instructions:
 Start by painting all of the wood pieces you plan to use. I started with the square dowels so they could be used to rest the other pieces on. Plan for your fingers to get a little messy. It’s all just part of the fun though.
 Next I painted the jumbo craft sticks, and while they dried I rested them on the square dowels so the wet paint would not stick to the paper. I painted both sides of the sticks, but depending on how you plan to display your snowflakes, you may only need to paint one side.
 Next I painted the metal circles I used as the centers of my snowflakes. I tried two different ways. I started by pouring paint directly onto the center of the circle. In the number 1 picture, I tipped the circle back and forth until the paint rolled all over the surface. This way produced a smooth finish, but the paint had to be fairly thick and it took awhile to dry. In the number 2 picture, I decided to use my sponge brush and dab paint on. The sponge gave a very “snowy” effect, and it dried a lot faster. Either way looks nice, it just depends on what you like.
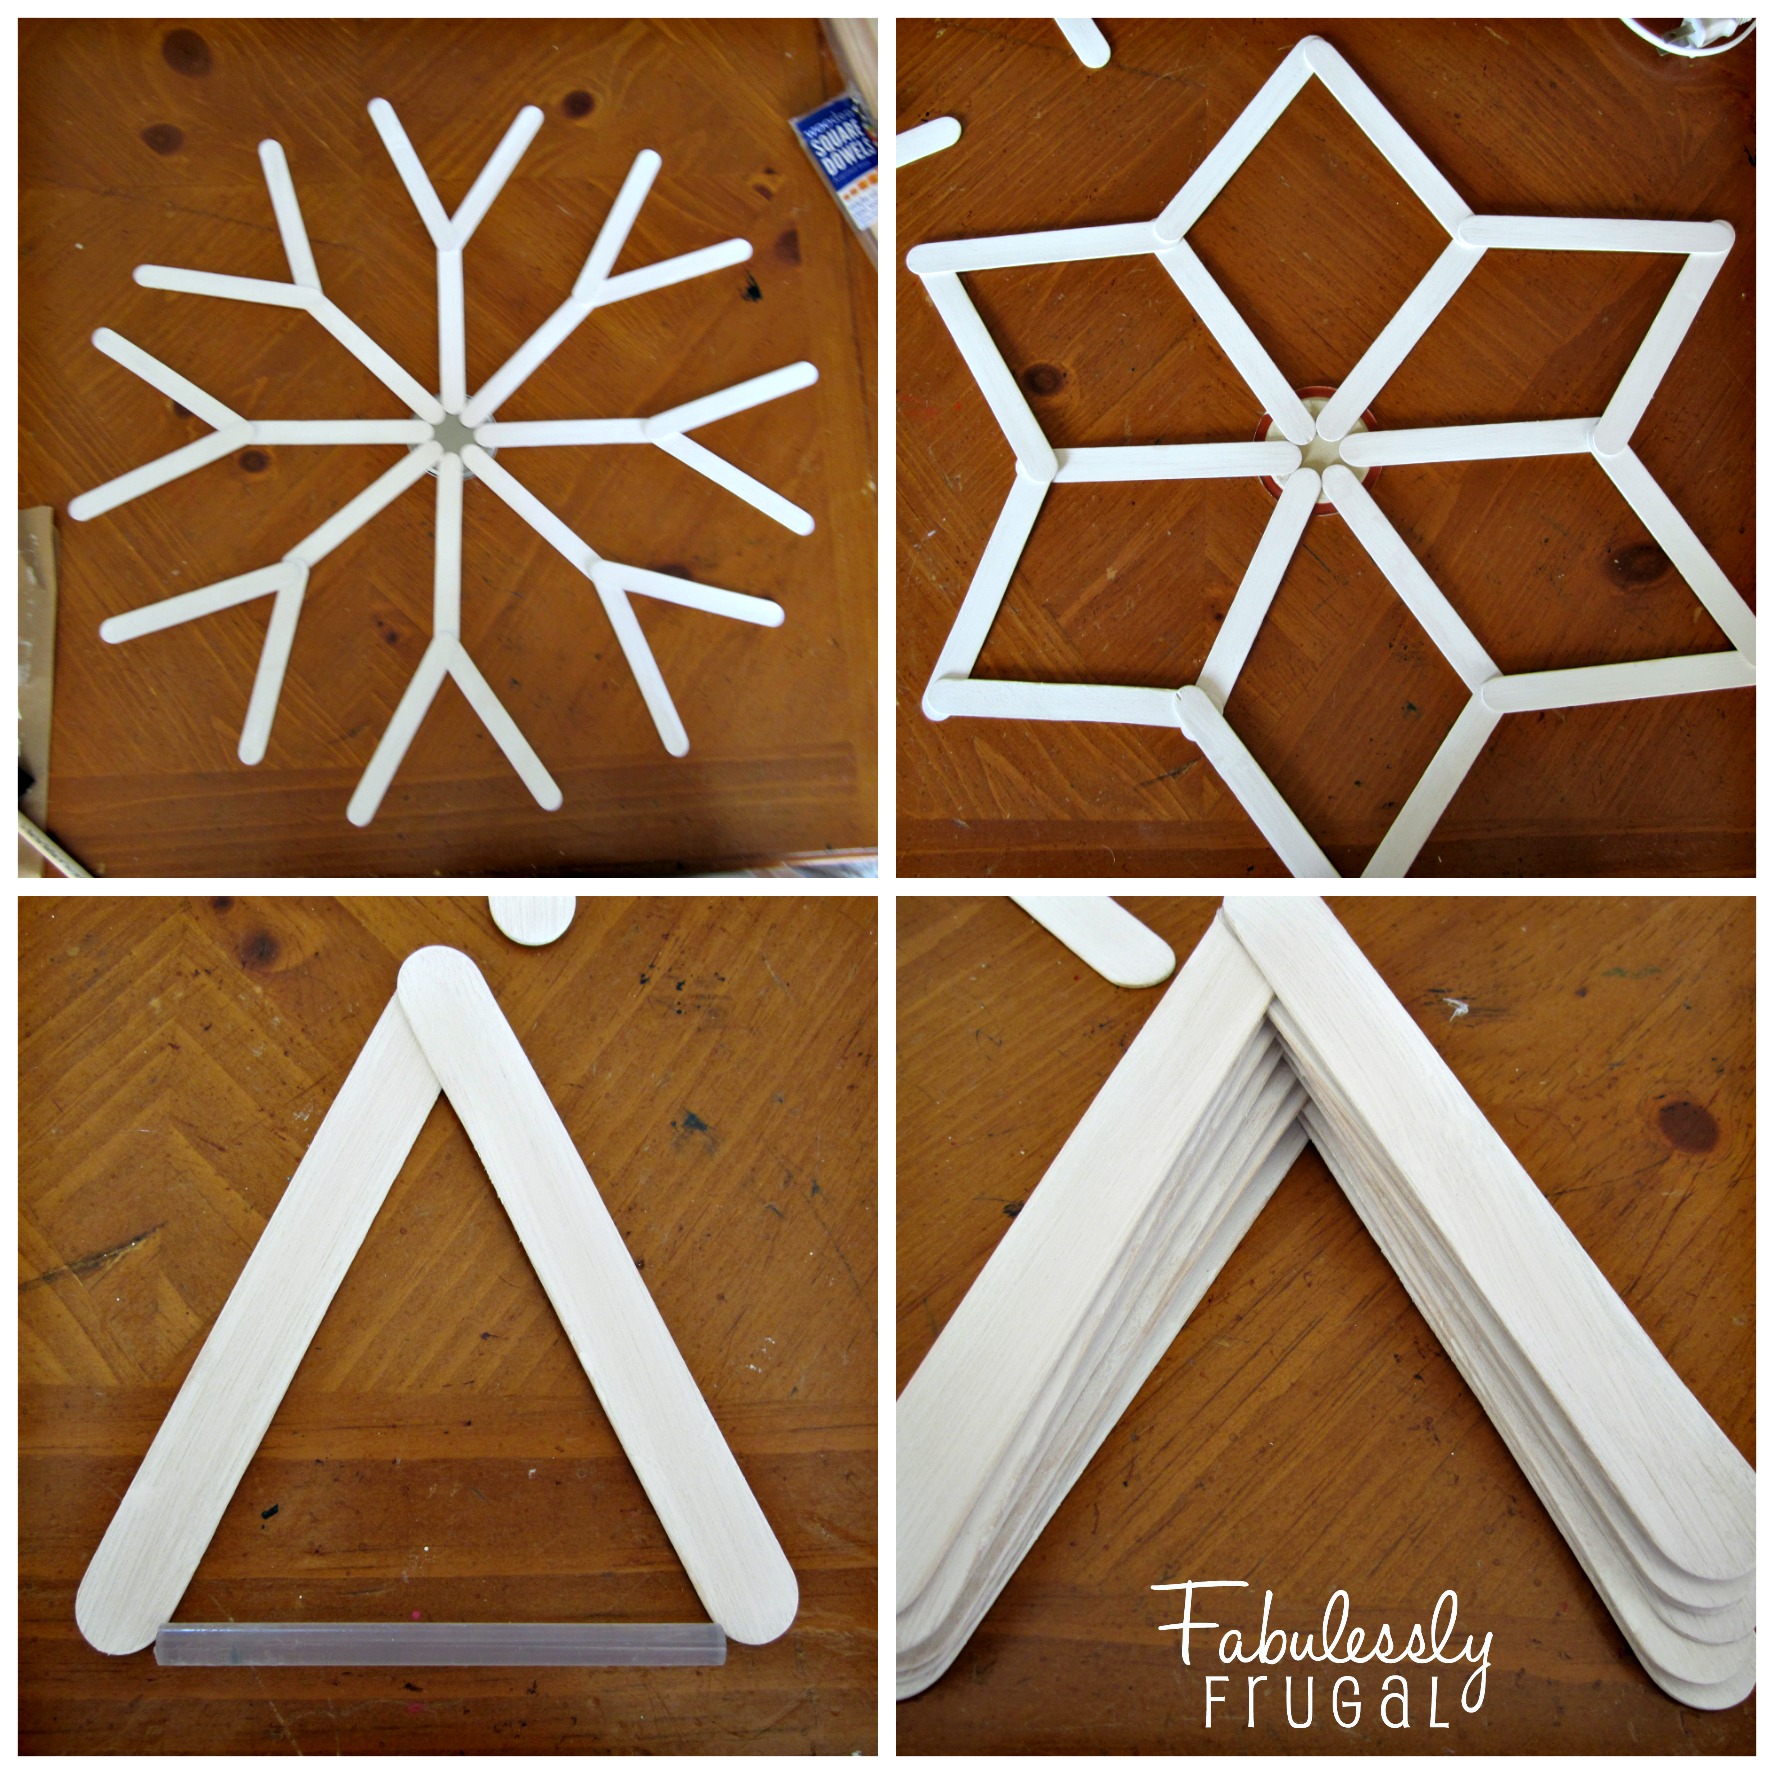 Once everything is dry, lay out your craft sticks to find a design that you like. You can even look online for images of snowflakes for inspiration if you need to. Once you like how your snowflake is laid out, start gluing by working from the center out. Glue the sticks to the back of the metal circle. For the outer edges, or wherever you make a “V” shape, it’s helpful to glue those 2 pieces together before gluing them to the main part of the snowflake. I used a glue stick as a spacer to know how far apart I wanted the “V.” It worked very well to make my snowflake uniform in size and shape. Once I had a pile of “V”s I was ready to glue them to the edges.
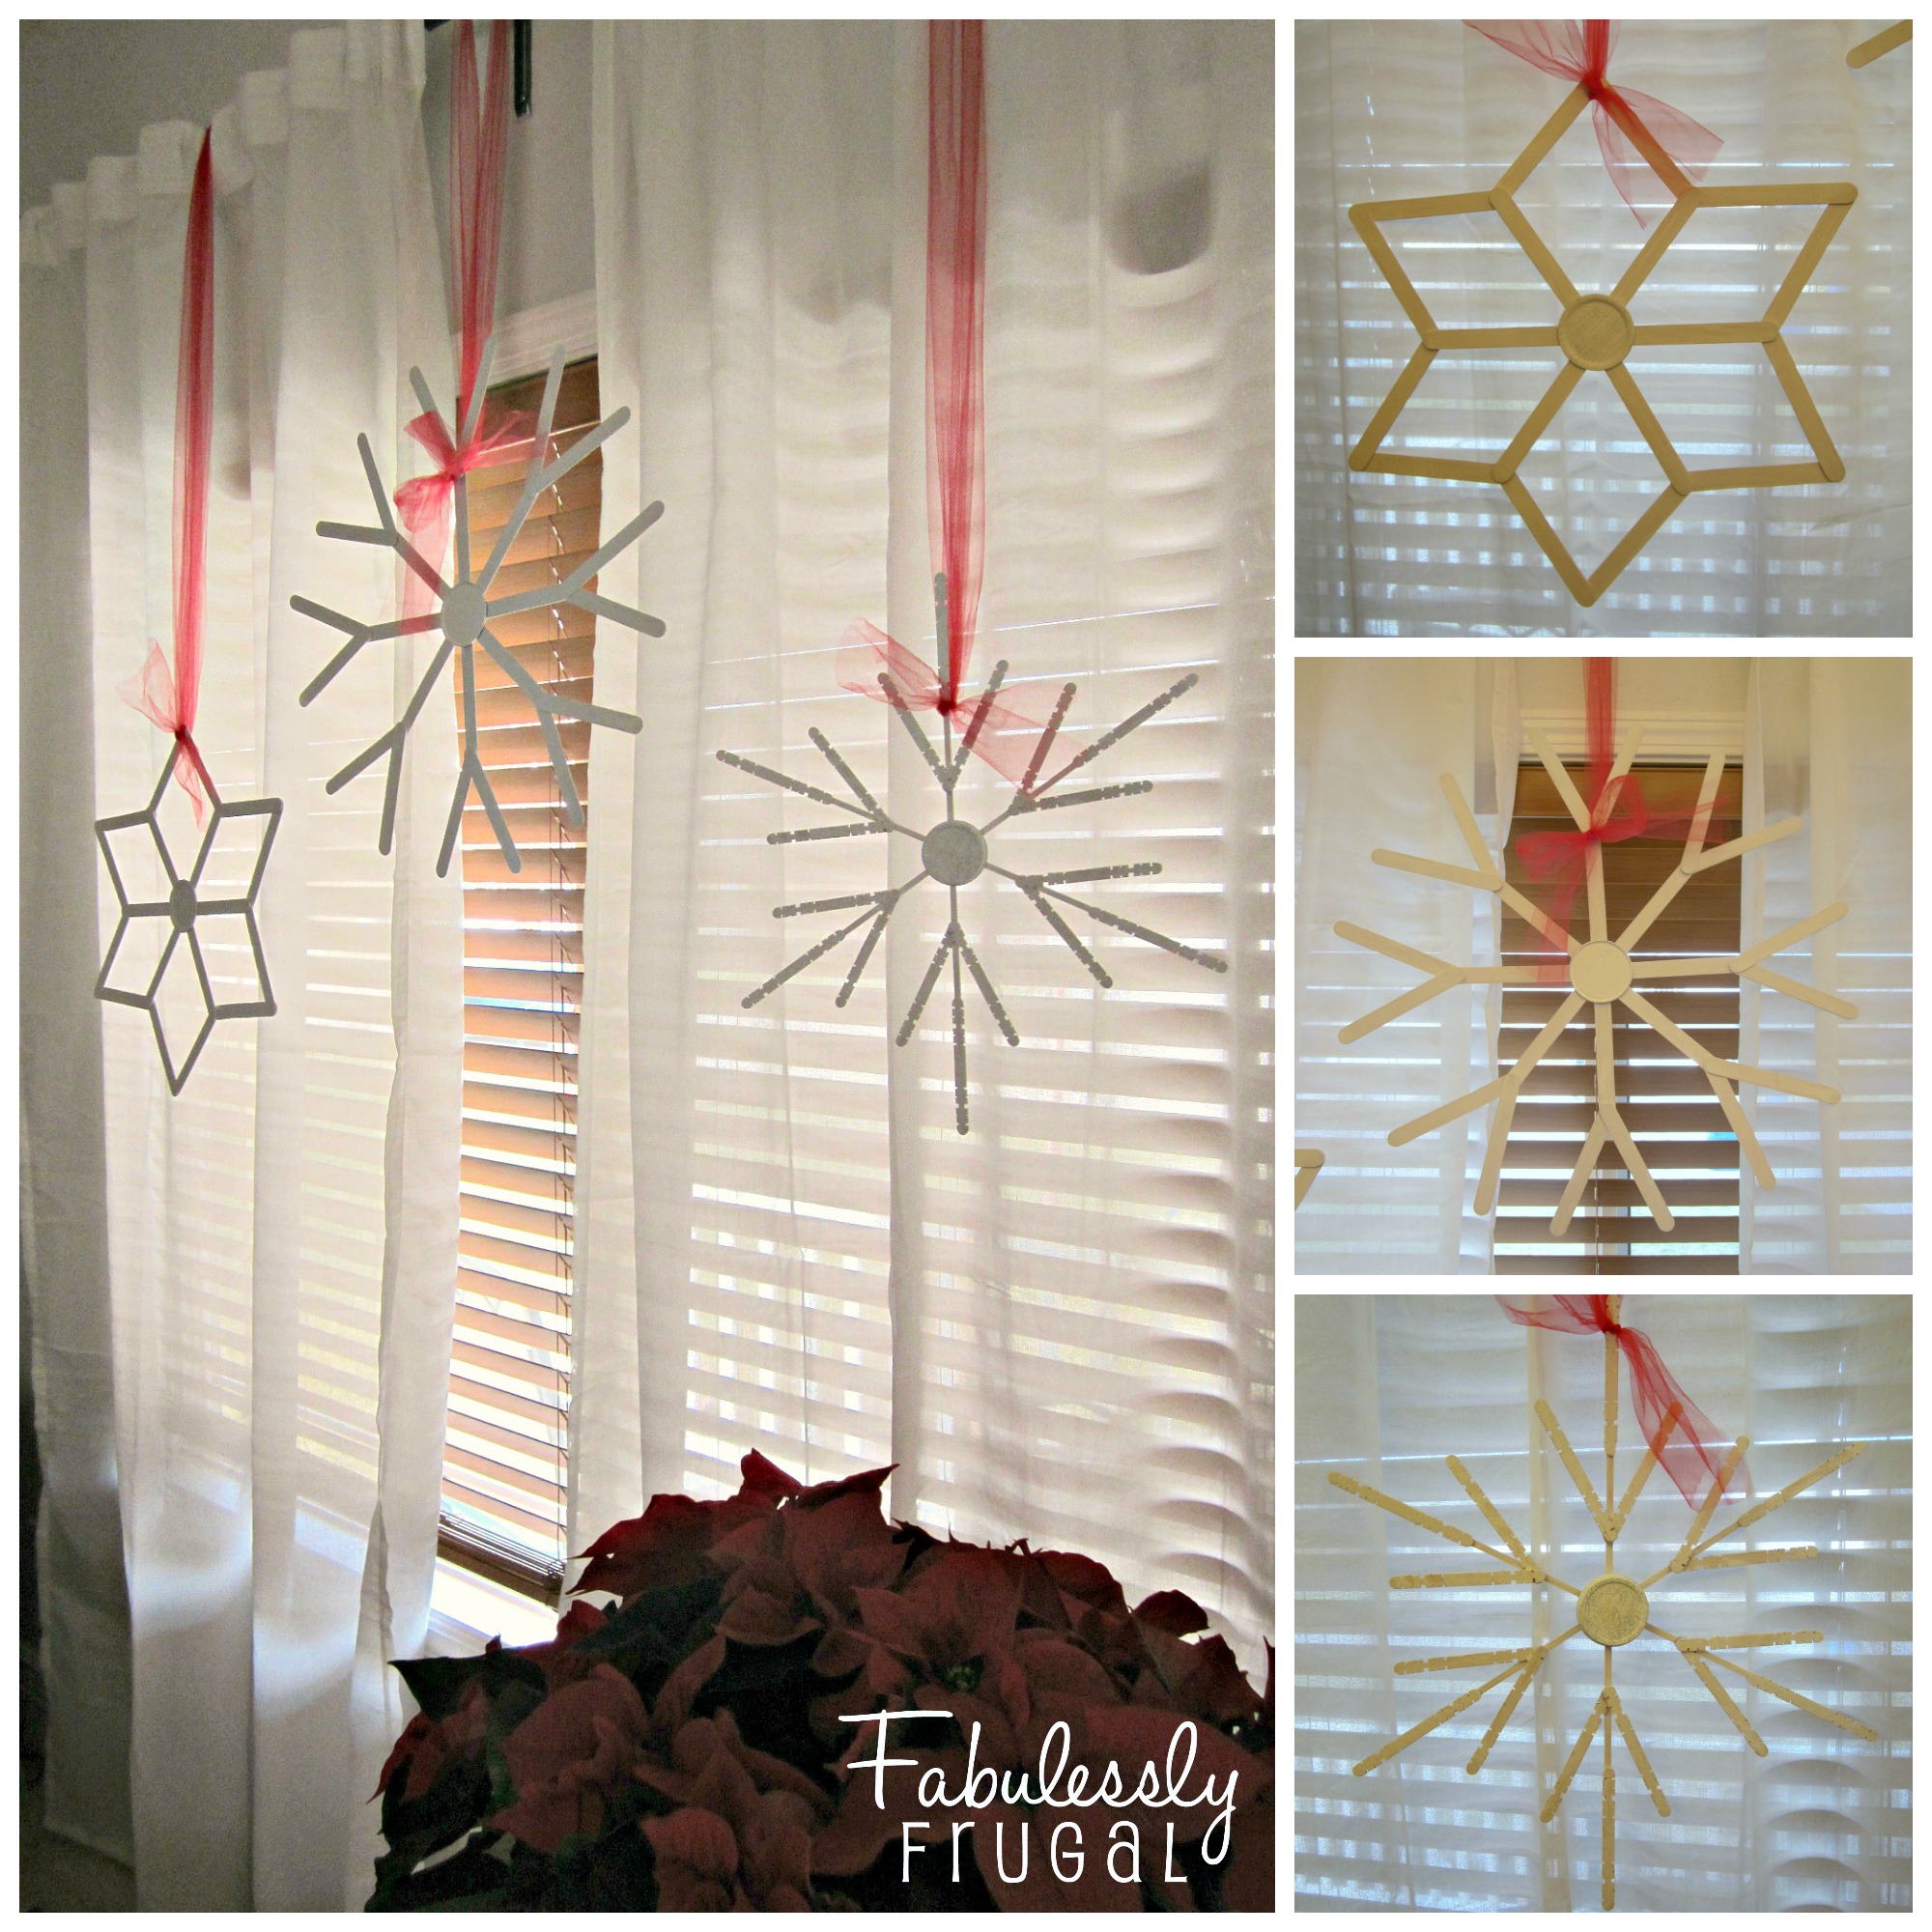 I cut strips of tulle, hung each one over my curtain rod and put one of the ends through (or around) the snowflake, then tied a bow. You could also use ribbon, or twine, or whatever you would like. You can make them any size, shape, or color you want. You can even add some glitter to glam it up. Go get creative, and have fun!
More Related Diys


Trending DIY Projects
- DIY
- Recipes
- Deals
- Blog


Report a Problem
Please select the problem you are facing with this deal:
- Price Increased
- Price Decreased
- No longer available
- Expired
- Link doesn't work
- Suggestion
- Compliment
- Other
Add more details:
Thank you for your feedback. We really appreciate it.
Enter your email address if you would like
to receive a follow up.
Please Try Again
Thanks for providing the email address.
We will reach out to you as soon as possible.


Popular
Recommended
About Us

At Fabulessly Frugal, our goal is to help you live HEALTHY, WEALTHY, and WISE! My team and I work hard to bring you the best, online deals, clean eating, DIY's, freezer meal recipes, and more! I LOVE coaching and inspiring people to improve their health in my fitness challenge! You should also check out my favorite cleanse! Learn more about me and the rest of my team.

Copyright © 2008–2024
Fabulessly Frugal: A Coupon Blog Sharing Gift Ideas, Amazon Deals, Printable Coupons, DIY, How to Extreme Coupon, and Make Ahead Meals. All rights reserved