
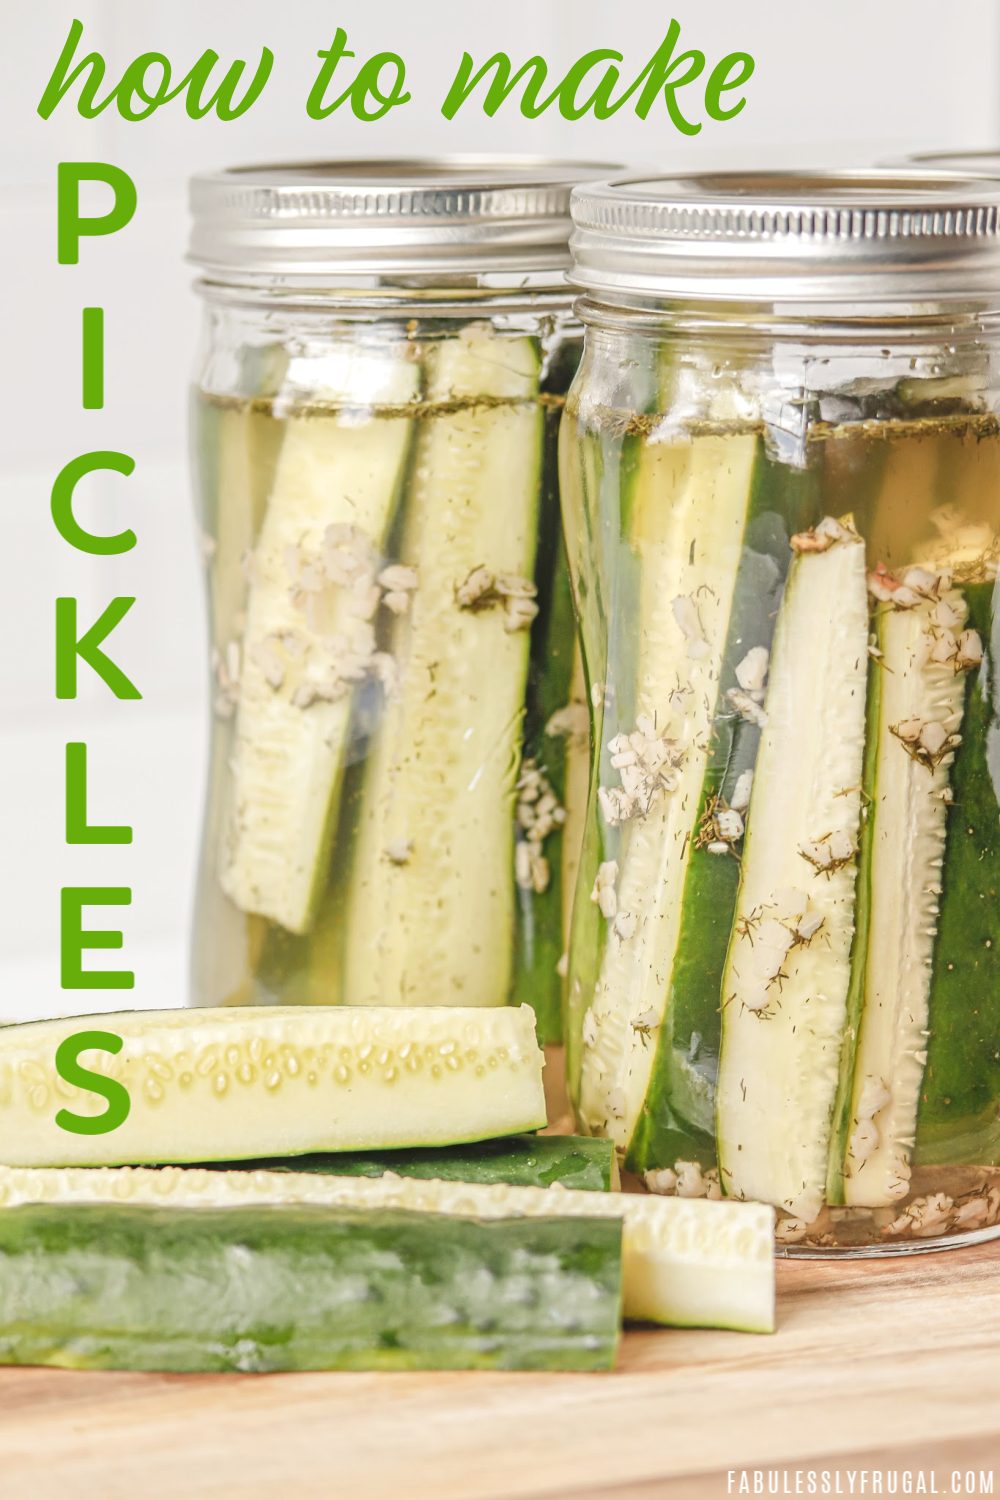
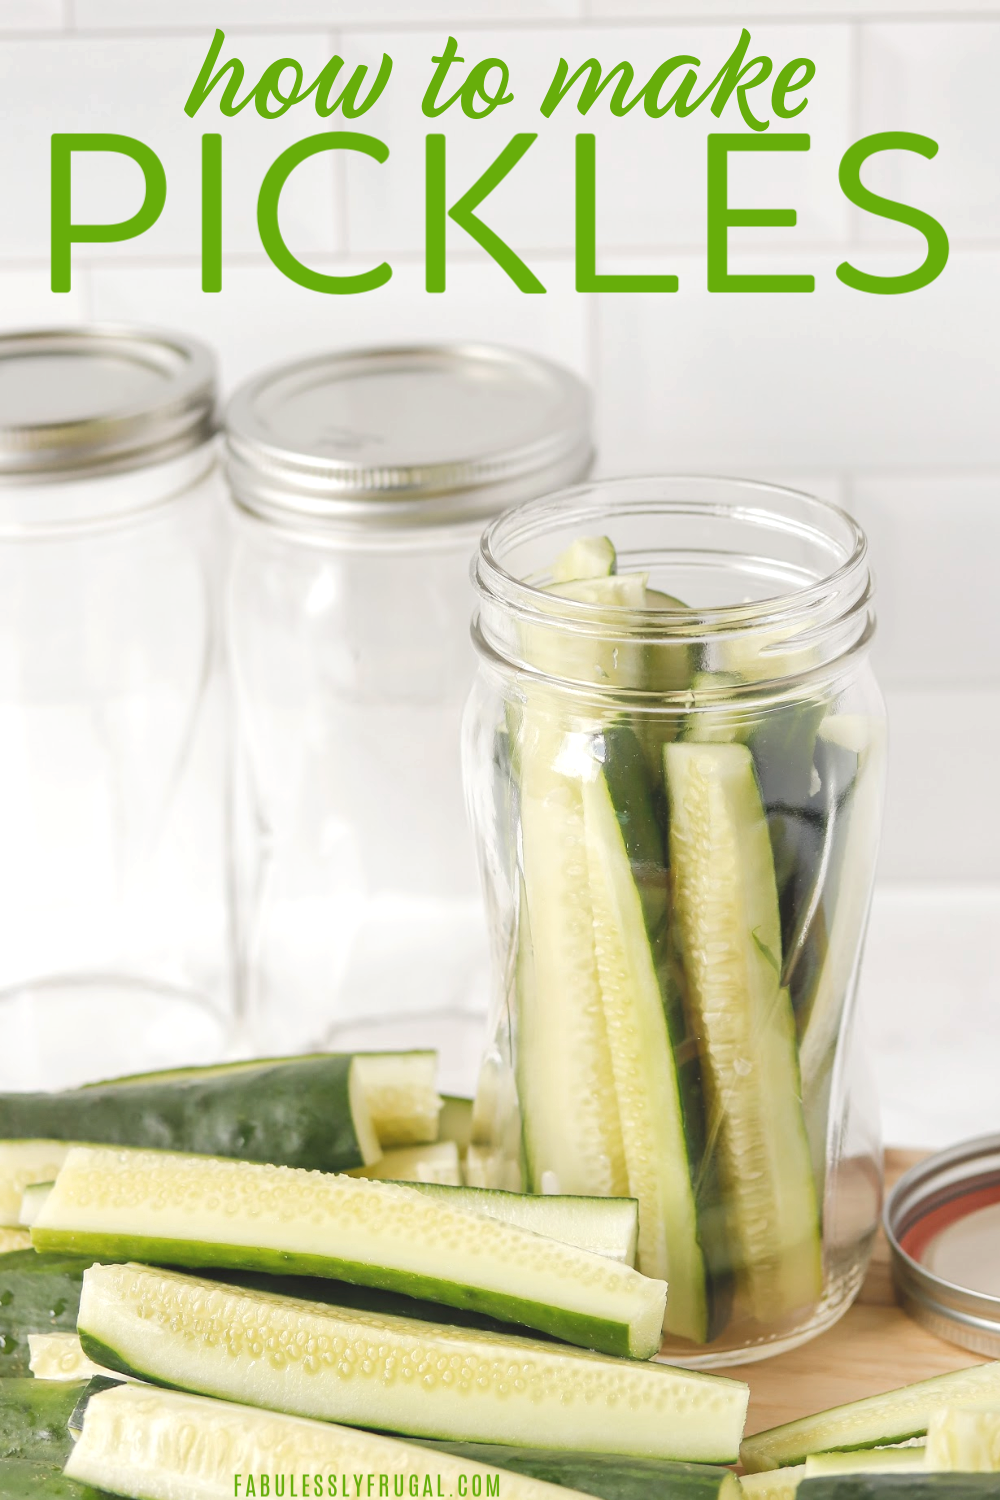
How to Make Pickles at Home (Step-By-Step Guide)
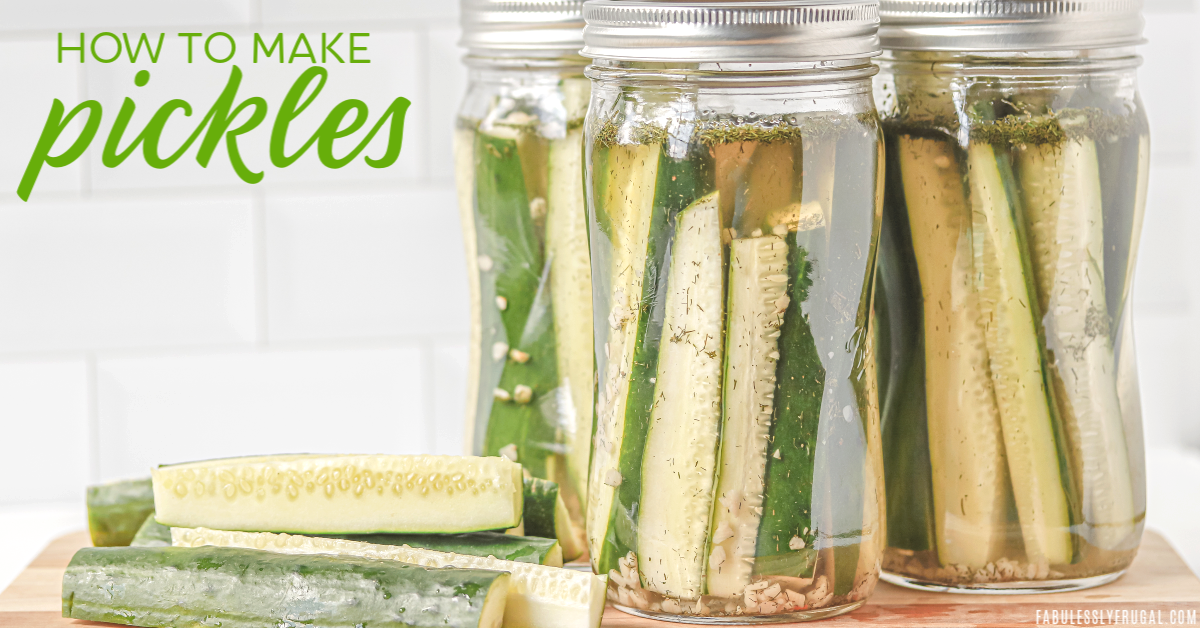
Whether you enjoy pickles as a stand-alone snack or atop your favorite sandwich recipe (or both), homemade always tastes better. And even if you’ve never made your own homemade pickles before, with the guide below, you’ll breeze through the process even as a beginner!
In fact, making pickles is one of the easiest and most frugal things you can do with produce! Plus, if you’re a gardener and your cucumbers are ripening at different paces, you can bottle them as you pick them with this recipe.
Supplies Required For Making Homemade Pickles
Canning Equipment:
- 1 large pot
- 1 Steam Canner with Rack
 or Water-Bath Canner with Rack
 - Quart canning jars (Ball or Kerr jars can be found at grocery stores, like Safeway, Publix, Kroger, grocery stores, even online – about $8 per dozen jars including the lids and rings). Be sure to get wide mouth jars to fit the pickles in!
- Jar Lifter (to pick up the hot jars)
- Ball Regular Mouth Lids and Bands – thin, flat, round metal lids with a gum binder that seals them against the top of the jar.
- Lids – metal bands that secure the lids to the jars.
- Jar funnel
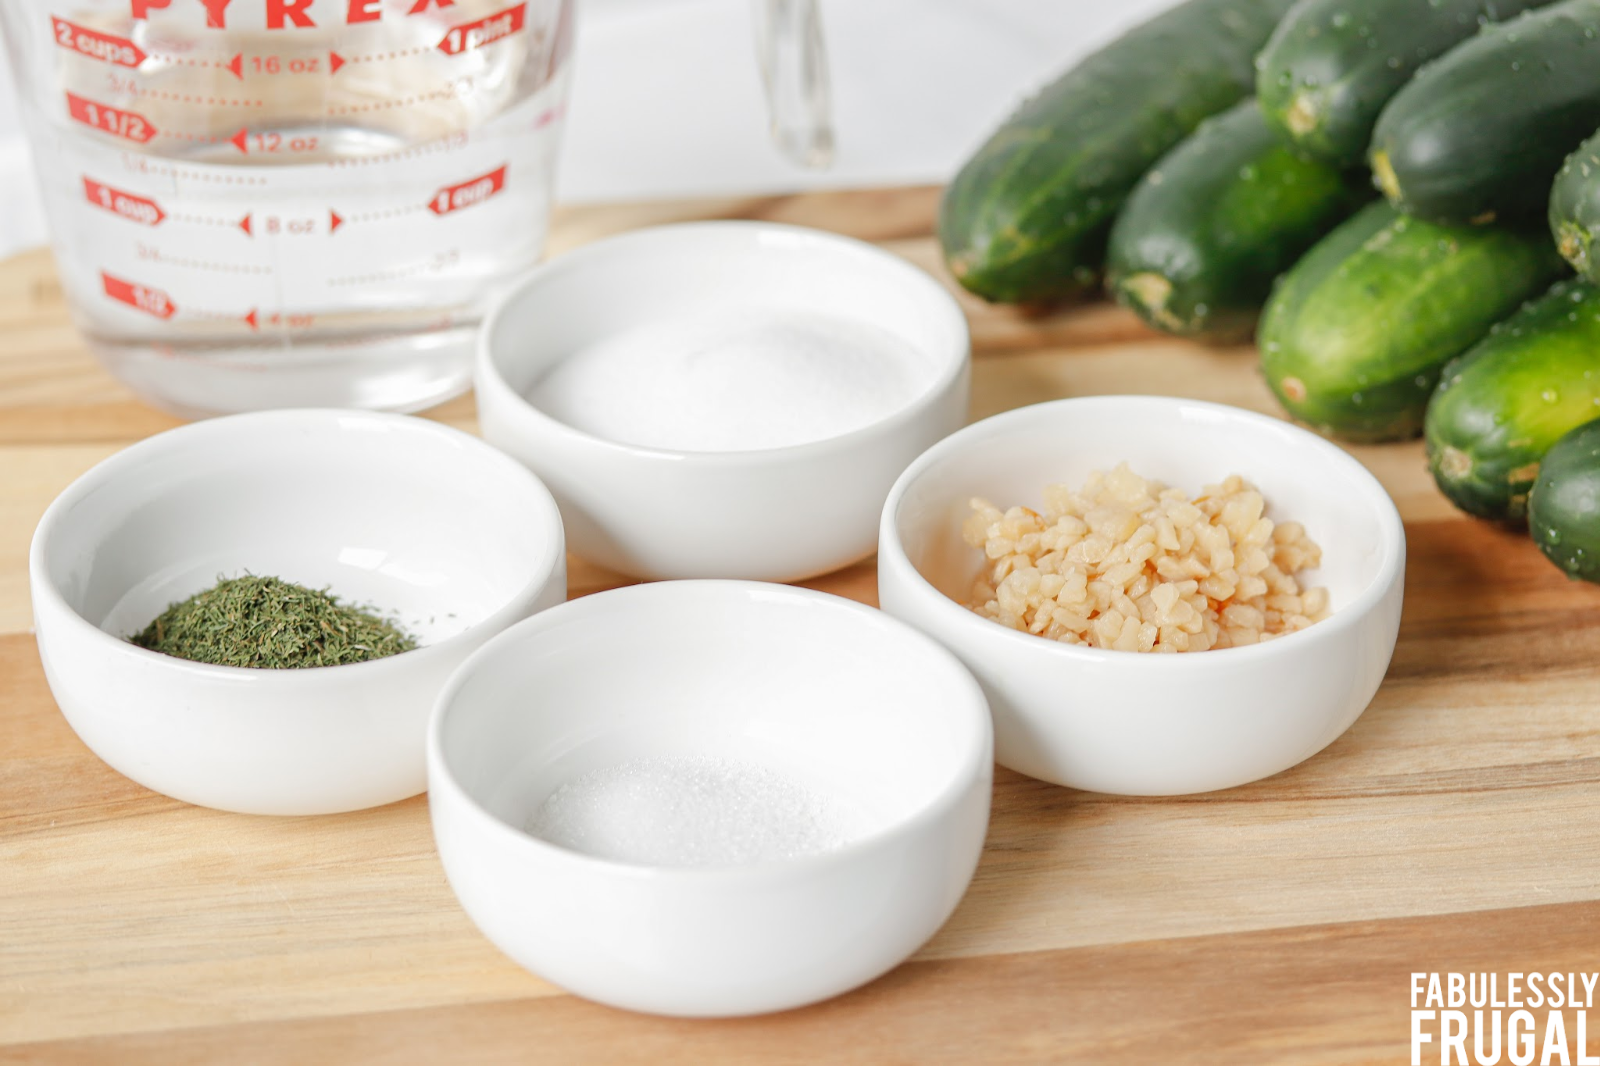
Dill Pickle Ingredients:
- 12 small or 8 medium cucumbers
- 1 1/3 cups White Vinegar
- 1/4 cup Salt (without iodine, iodine causes the pickles to be soft)
- 3 cups Water
- 1 tsp Alum
- 1 tsp Garlic per jar (or however much garlic you like)
- 1 Tblsp Dill per jar (or adjust to preference)
Choosing the Right Cucumbers
For the best results select fresh, crisp cucumbers – not wilted, soft or overripe! The best cucumbers are the smaller underripe ones.
If you can’t find small underripe cucumbers at your store, just choose the smallest of the regular cucumbers that you can.
How to Make Pickles at Home (in 5 Steps)
Once you have all your pickle making supplies ready to go, it will take about 40 minutes to make your pickles, jar them, and seal them, start to finish. That’s it!
Step 1. Prepare the Brine
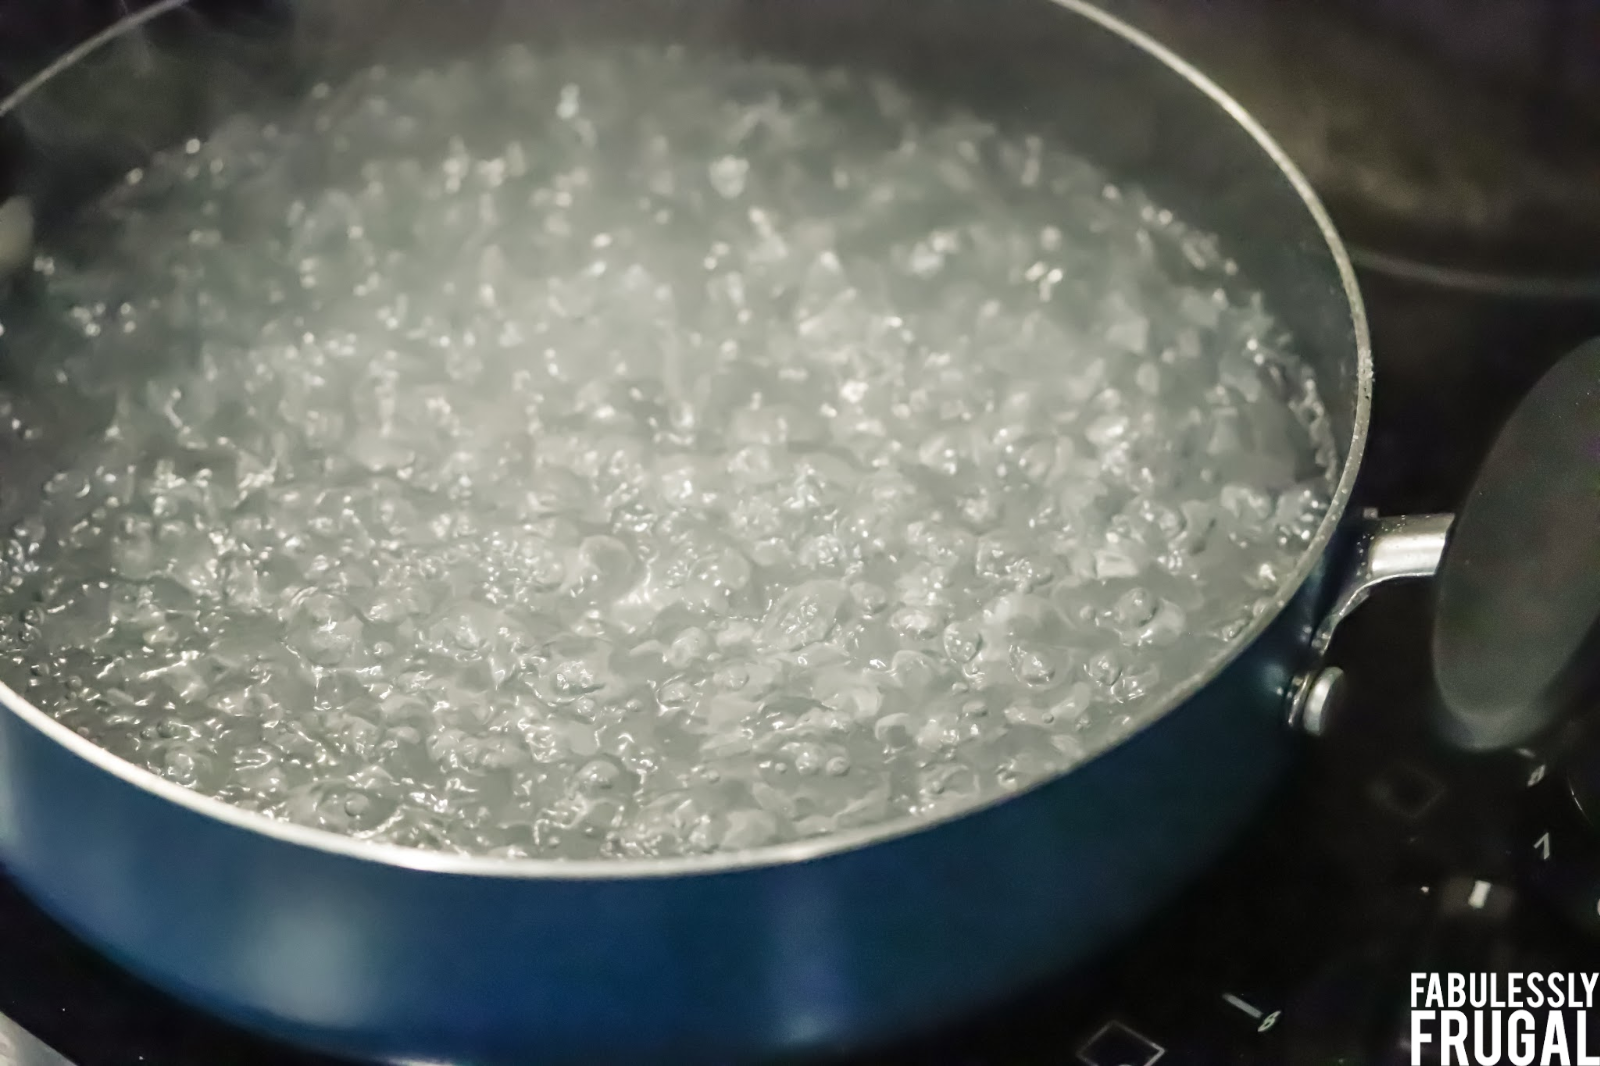
The brine is very fast & easy to make. Just place your water, salt, vinegar, and alum in a pan and bring to a boil.
I boiled the brine for a couple of minutes, transferred it into a pitcher, & let it cool while I sliced the cucumbers. The brine made just enough for (3) 28 oz glass jars of canned pickles. Had only a little leftover.
Step 2. Prepare Your Cucumbers
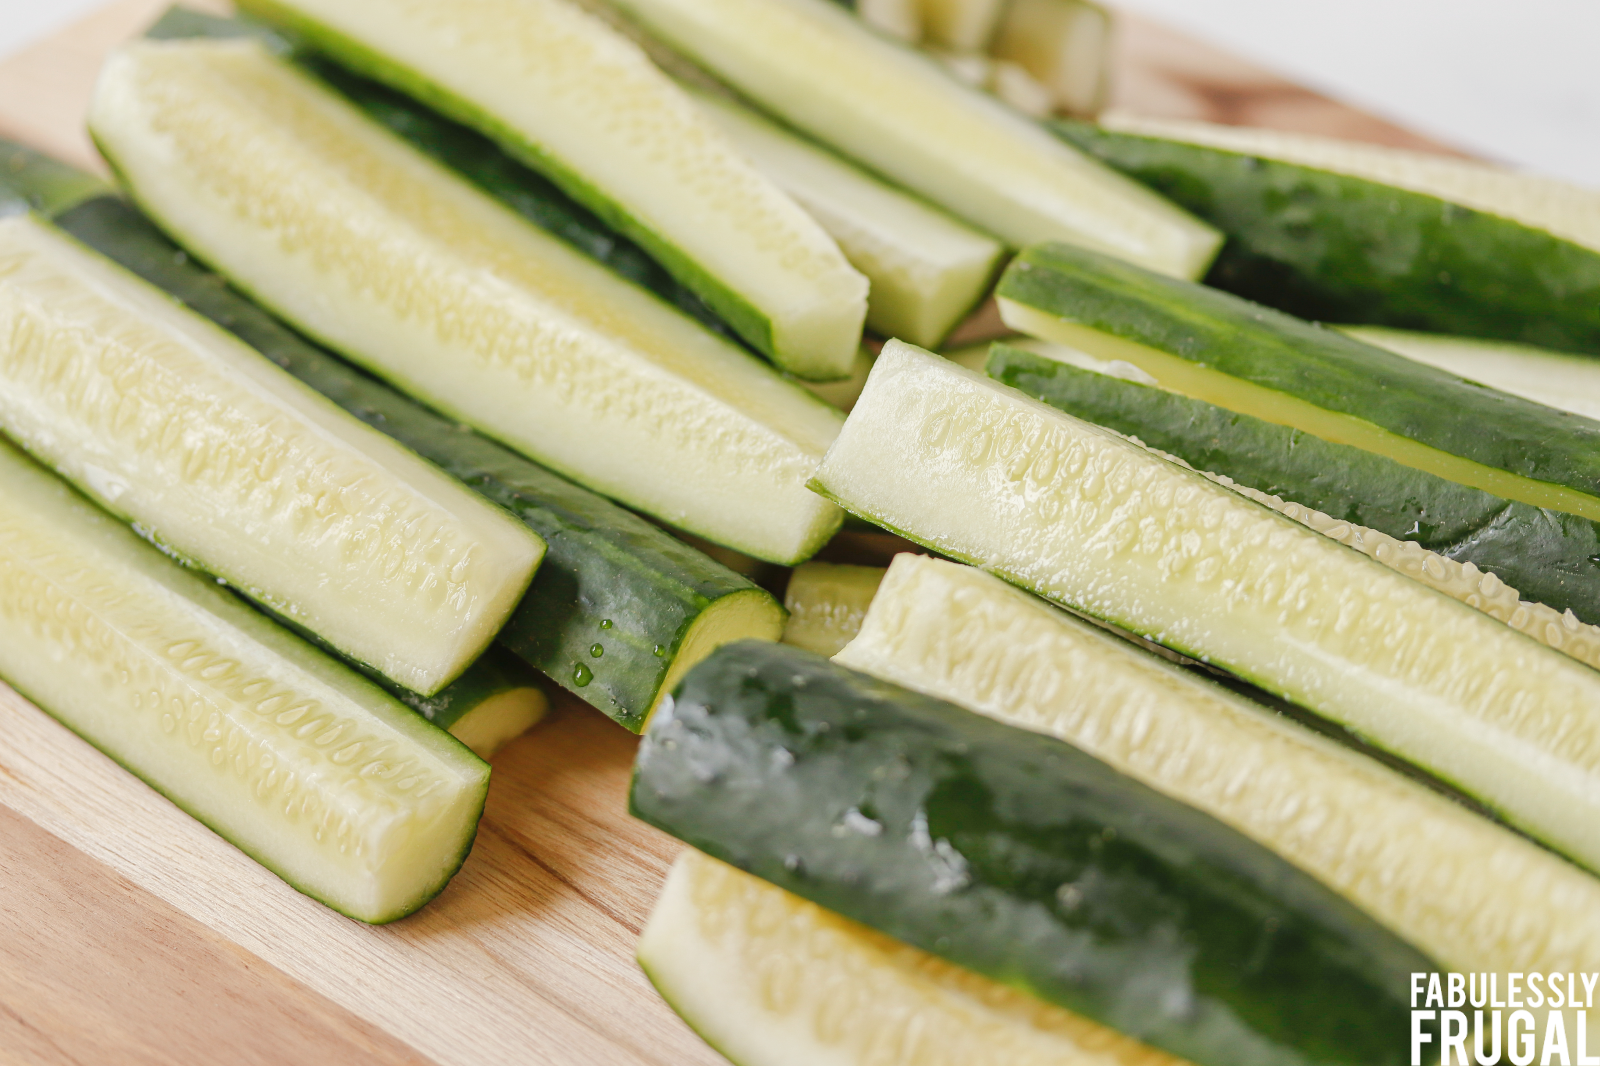
Start by cleaning the dirt and prickles off of the cucumbers with a soft brush. You can then either leave them whole, or you can cut them into speared or sliced cucumbers. All three ways work for this recipe!
Personally, I chose to cut my cucumbers into spears since some of them were long and they wouldn’t fit into the jars whole. Cutting them also makes it easier for the brine to soak in.
Step 3. Fill Your Jars
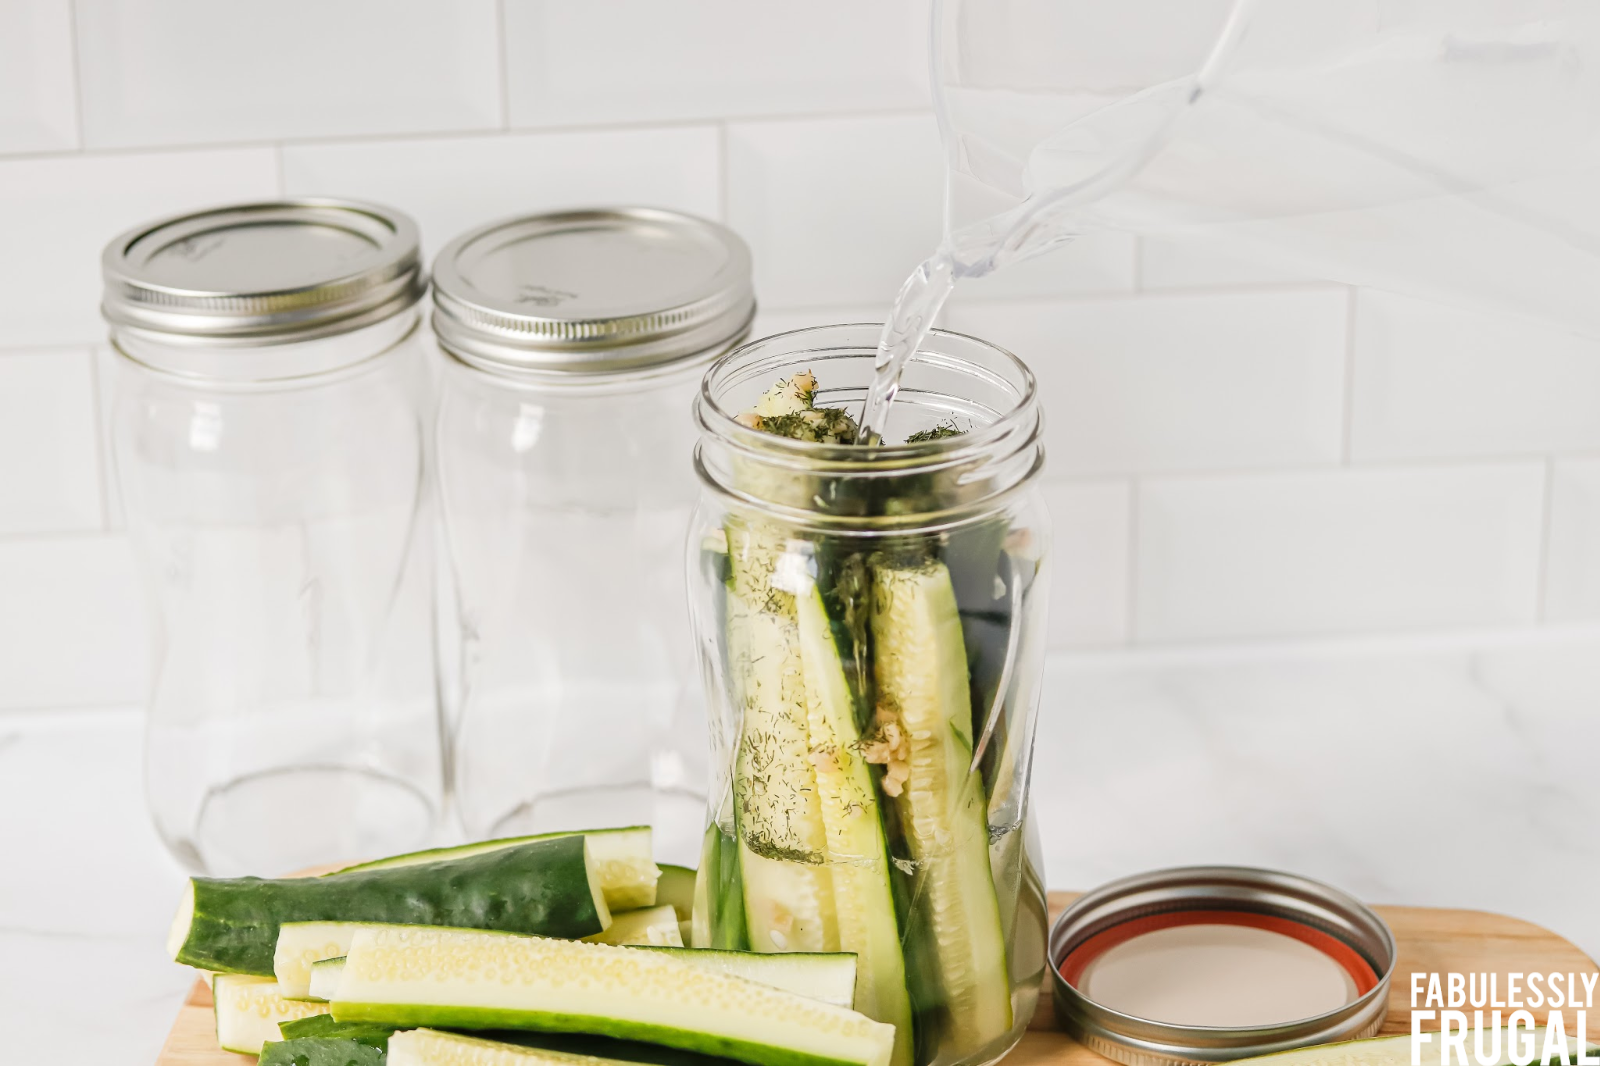
Grab your jars, make sure they’re clean, and fit your freshly prepared cucumbers into them. You want to make sure to get the jars as full as you can but not so full that the brine can’t flow freely around the cucumbers.
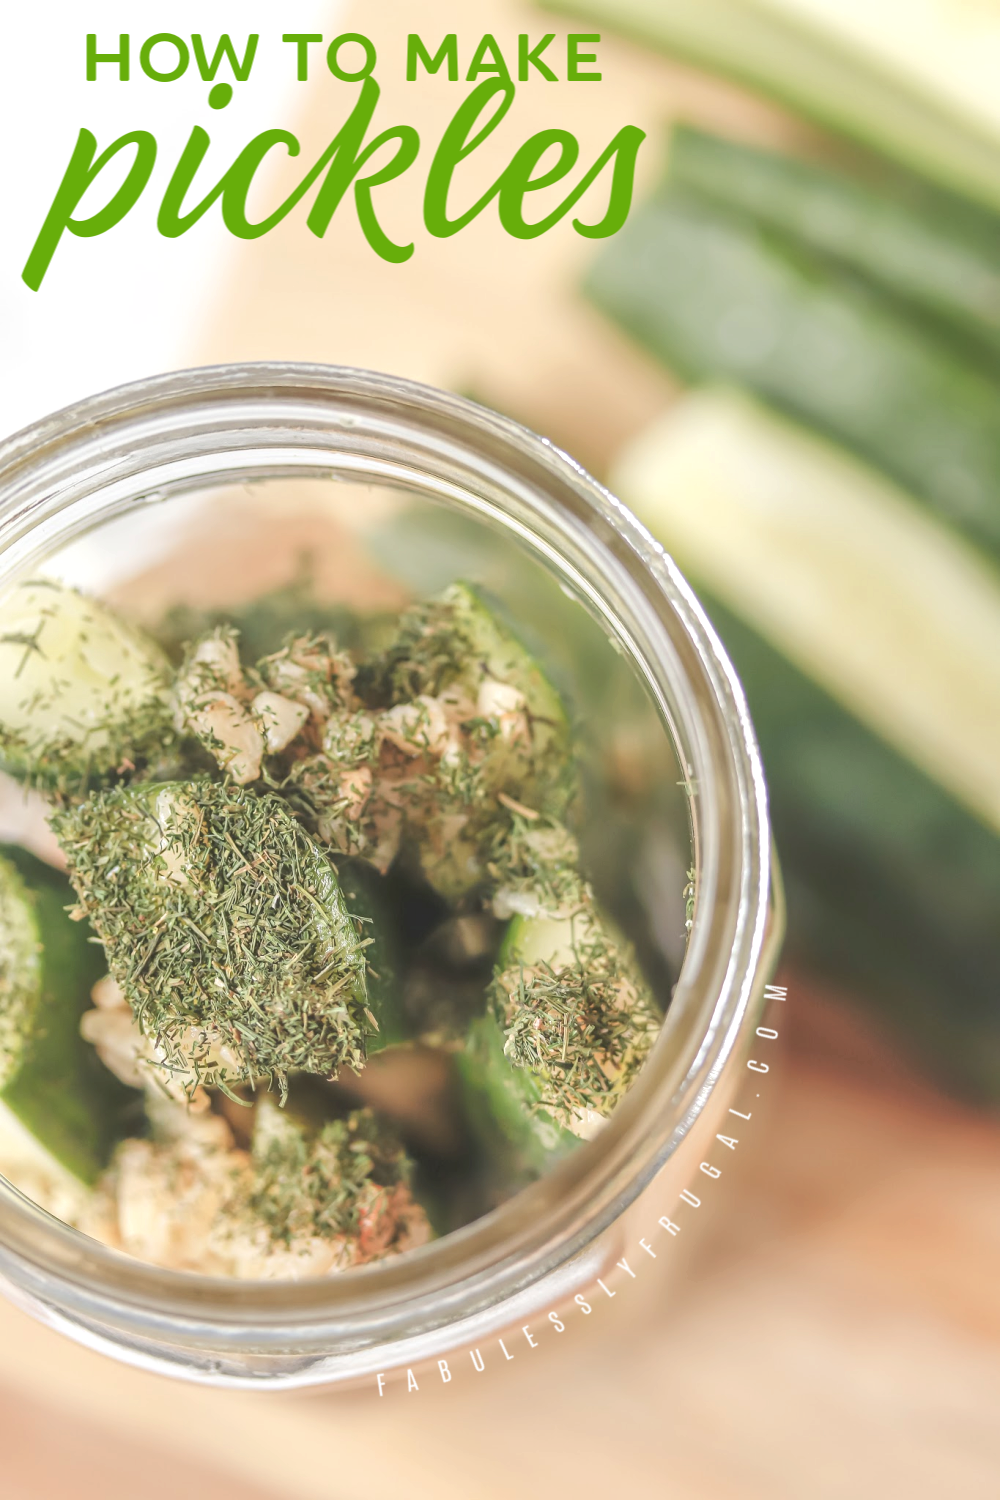
Once filled, add your minced garlic and dill to the jars and then pour in the brine you made earlier. You’ll want the brine to reach the neck of the bottle, about an inch from the top.
Note: Before you place the canning lid on top, make sure the top/lip of the bottle is clean. Secure the lid tightly with a ring and you’re ready for step 4:
Step 4. Start Sealing!
You’ve got two options when it comes to sealing your jarred pickles: a steam canner or a hot water bath canner. Instructions for both are below!
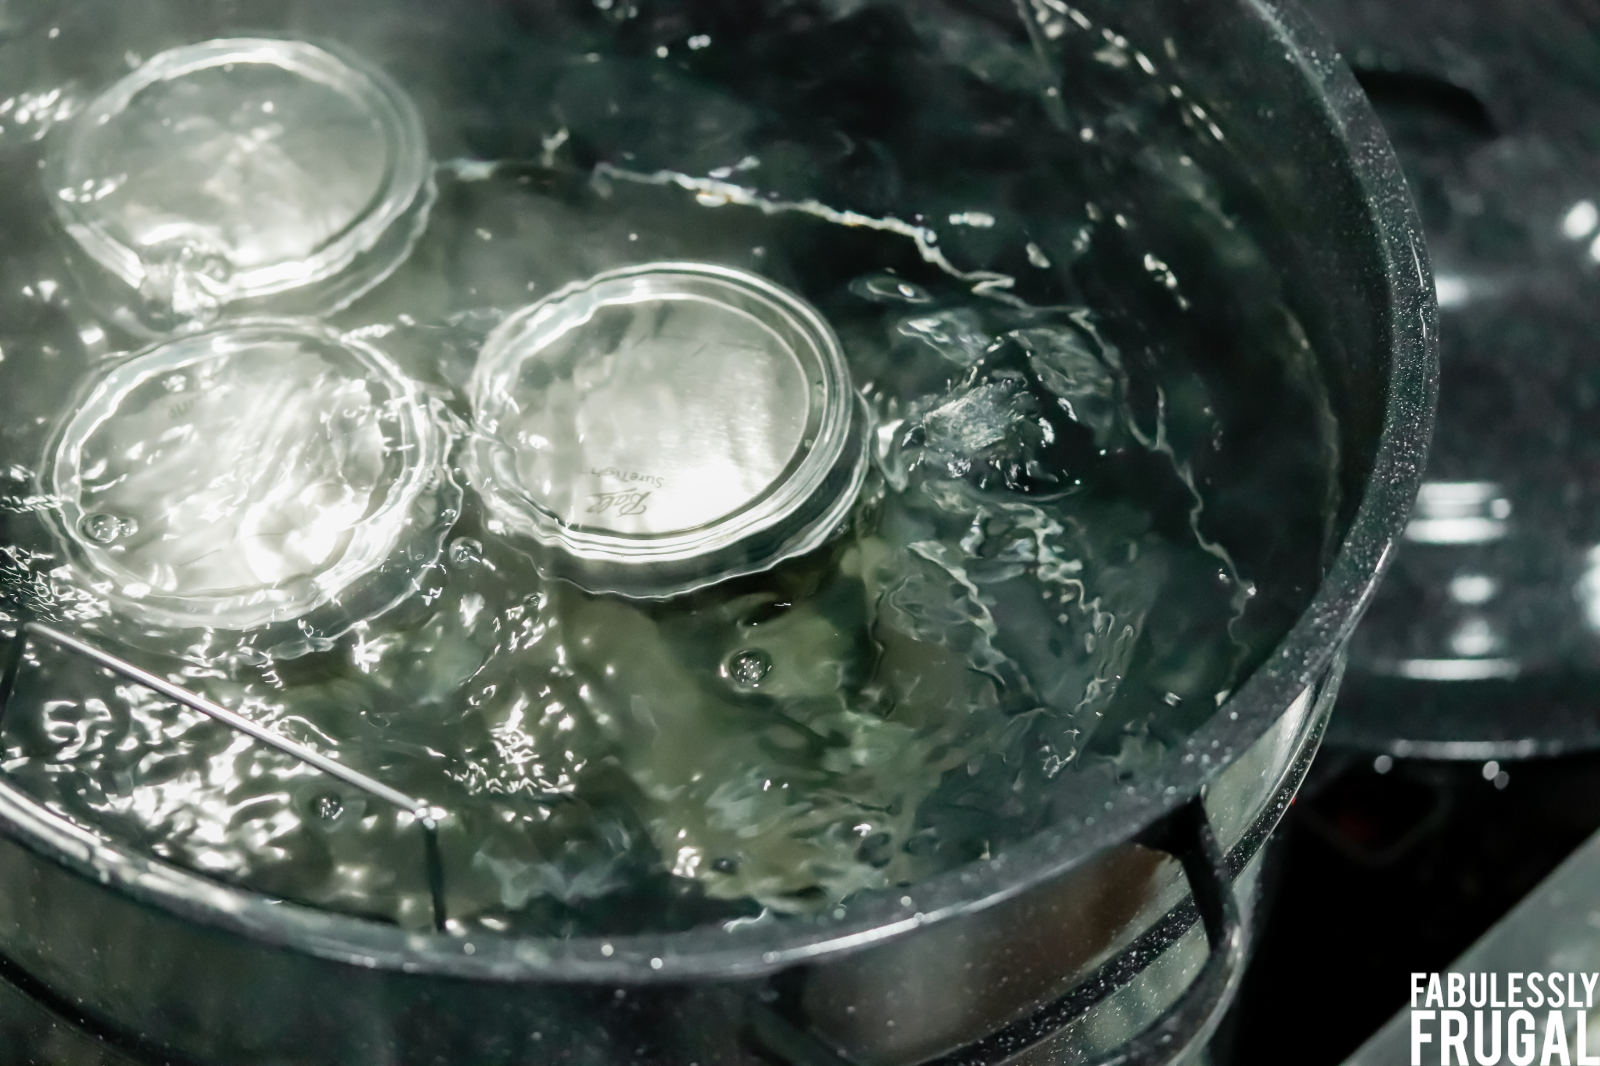
Hot water bath canner instructions:
This method is really simple. Just note that for a pot large enough for all three jars, the water will take at least 30 minutes to come to a rolling boil. You’ll need the water to reach at least 1 inch above the tops of the jars.
If you want to save a bit of time, start boiling the water while you’re preparing and jarring the cucumbers. That way it will (hopefully) be ready by the time you’ve filled all the jars.
Once boiling, place the jars into the hot water bath for 10 minutes. After, lift them out and let them cool in a draft-free place without touching or bumping them (you can let them sit overnight).
Steam canner instructions:
The steam canner method is very simple and quick as well:
- Make sure the bottom of the steamer is filled with at least 3 quarts of water.
- Place the jars of pickles on the steam canner. Careful to avoid blocking the holes. The canner will fit a maximum of 7 bottles per batch (but you could do as little as 1 if needed).
- Place the lid on the canner and bring to a boil.
- When you can see steam coming out of the hole on the lid of the canner, start timing and process for 10 minutes.
- Lift the jars off of the steam canner and let them cool the same way as described under the hot water bath instructions. I like to use a jar lift to lift them out.
Step 5. Check the Seal & Store
Once the jars have cooled down, make sure they’re fully sealed by checking if the lid has been sucked down. Just press in the center, gently, with your finger. If it pops up and down (often making a popping sound), it is not sealed.
If you put the unsealed jars of pickles in the refrigerator right away, you can still use them.
Homemade Pickle FAQs
When are homemade pickles ready to eat?
It takes some time for the seasonings to be absorbed into the pickles, at least 24 hours. For best flavor wait at least 2 weeks!
How long do homemade pickles last?
If they’re unopened and sealed, they should last for up to a year or longer on the shelf. Once opened and in the fridge, try to eat them up within a month.
Keep in mind that they may start to lose their crunch the longer they sit.
What to Do With Your Homemade Pickles
You can eat them on their own or try them with some of your favorite recipes! Here are some ideas:
- Simple Cheeseburger Quesadillas
- Sandwich On A Stick
- Best Juicy Burger Recipe Ever
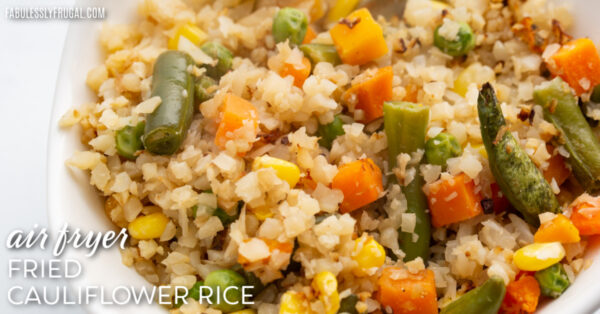
- 10 Air Fryer Side Dishes – Try the fried pickles!
- Easy Cheeseburger Soup – Try pickle toppings.
- More Sandwich & Burger Recipes
If you wanted, you could also give a jar of freshly made dill pickles as a homemade gift! They’re that good.
Your turn: What’s your favorite way to enjoy homemade pickles? Let us know in the comments!
Final Thoughts
I hope this pickle canning guide helps! All in all this is a very simple and easy recipe. It comes together quickly and the flavors work perfectly together. These are delicious dill pickles that you’ll definitely want to make again!
More Canning Guides:
- The Easy Way to Can Corn
- How to Can Peaches the Easy Way!
- Homemade Salsa Recipe for Canning or Having Fresh
- Canned Apple Pie Filling Recipe with Printable Labels
- Quick Strawberry Freezer Jam Recipe

How to Make Pickles at Home (Step-By-Step Guide)
Equipment
- Pan
- Jars
Ingredients
- 12 small cucumbers or 8 medium cucumbers
- 1 ⅓ cups White Vinegar
- ¼ cup Salt without iodine, iodine causes the pickles to be soft
- 3 cups Water
- 1 tsp Alum
- 1 tsp Garlic per jar or however much garlic you like
- 1 tbsp Dill per jar or adjust to preference
Instructions
- Place water, salt, vinegar, and alum in a pan and bring to a boil. This is called “brine”. I like to pour the finished brine into a pitcher for easy pouring into the bottles.

- Cucumbers – for best results select fresh, crisp cucumbers- not wilted, soft or overripe! The best cucumbers are the smaller underripe ones. Clean the dirt and prickles off of the cucumbers with a soft brush.
- Fit the cleaned cucumbers into clean jars. Make sure to get the jars as full as you can without overfilling. It is important that the brine can flow freely around the cucumbers.
- Add minced garlic and dill to the jars. Fill the brine to the neck of the bottle (about an inch from the top).
- Make sure the top (or lip) of the bottle is clean and place a canning lid on the top, secure it tightly with a ring.
- Boil in a hot water bath for 10 minutes. Water must reach at least 1 inch above the tops of the jars.
- Lift the jars out of the water bath and let them cool without touching or bumping them in a draft-free place (usually takes overnight). I like to use a jar lift to lift them out.
- Once the jars are cool, check that they are sealed verifying that the lid has been sucked down. Just press in the center, gently, with your finger. If it pops up and down (often making a popping sound), it is not sealed. If you put the unsealed jars in the refrigerator right away, you can still use them.
Nutrition
Trending Recipes


More Related Recipes


Trending Recipes
- Recipes
- DIY
- Deals
- Blog


Popular
Recommended
About Us

At Fabulessly Frugal, our goal is to help you live HEALTHY, WEALTHY, and WISE! My team and I work hard to bring you the best, online deals, clean eating, DIY's, freezer meal recipes, and more! I LOVE coaching and inspiring people to improve their health in my fitness challenge! You should also check out my favorite cleanse! Learn more about me and the rest of my team.

Copyright © 2008–2024
Fabulessly Frugal: A Coupon Blog Sharing Gift Ideas, Amazon Deals, Printable Coupons, DIY, How to Extreme Coupon, and Make Ahead Meals. All rights reserved